Usability: eWeLink app
Quick jump to: Homescreen, Device screen, Thermostat interface, Device settings, Device settings: Widgets, Device settings: Screen settings
As described at the chapter Compatibility the Sonoff NSPanel supports many standard features other multichannel devices also do have. On top of that the device has its own unique features.
Homescreen
Below you can see the display of the Sonoff NSPanel in both list and grid view mode. It shows as a regular 2-gang switch. It would have been nice when it would also show the temperature. Or that you can choose between showing the switches and temperature. Or perhaps a mode where you can quickly change the temperature of the thermostat feature with - and + buttons.
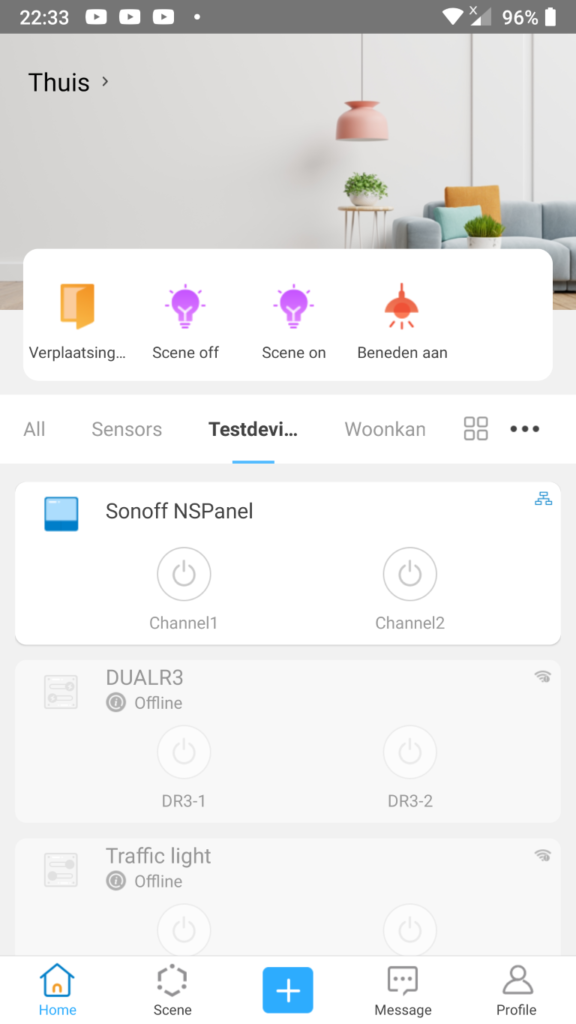
List view 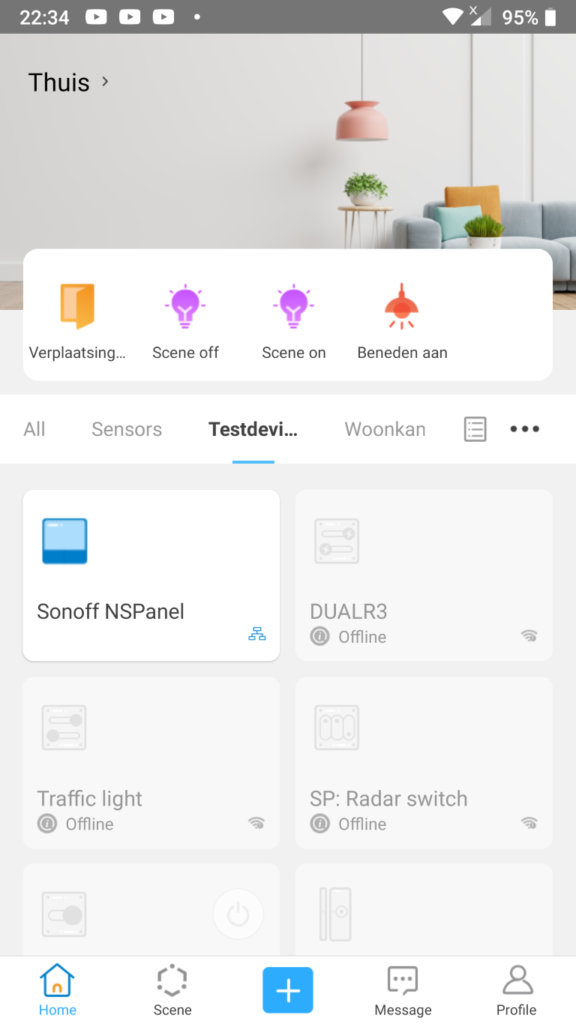
Grid view
Device screen
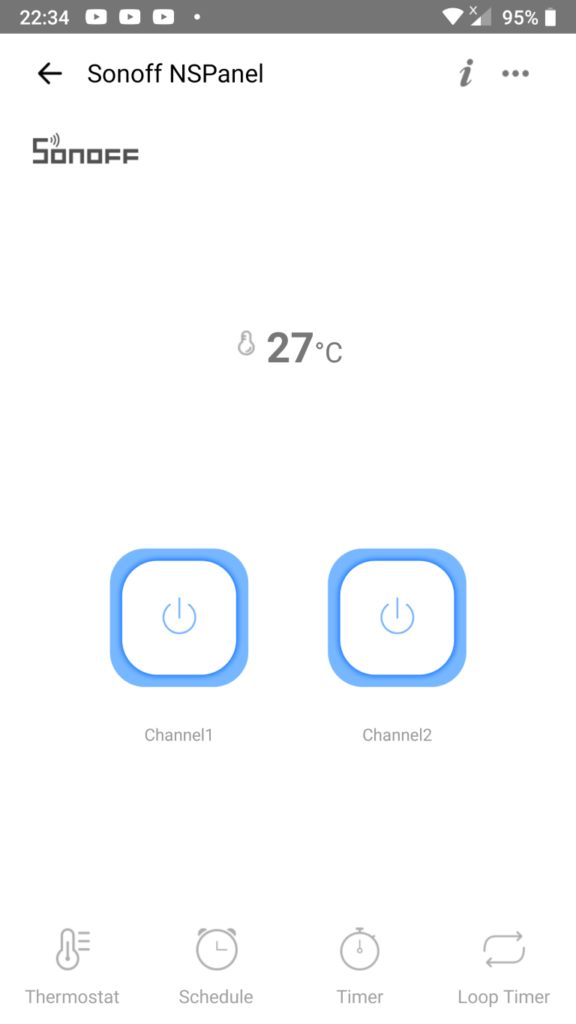
The device screen shows the on/off buttons for the 2 channels. On top of that the current measured temperature is shown. It would have been better if the thermostat interface would have showed up at this spot too (when the thermostat interface is enabled).
Thermostat interface
I believe the thermostat feature is a well designed feature which offers a nice flexibility to drive all kinds of heating and cooling devices (that operates by just turning the power on or off).
As mentioned before the downside of the feature seems to be the fact that the temperature sensor measures the room temperature 2 to 2.5 degrees Celsius higher than my Zigbee temperature sensor does measure.

The thermostat interface looks nice. It looks and works quite intuitive. You can draw your finger at the blue/red line or just press the - and + button to adjust to the desired temperature.
Pressing Manual mode sets the thermostat to manual mode. At the manual mode you have to adjust the temperature yourself.
The Auto mode allows you to set several heating periods. At each heating period you set which temperature the room needs to stay at.
The power button at the bottom completely switches the thermostat feature on or off. After switching the thermostat completely to off the thermostat won’t affect the targeted heating or cooling device anymore.
Pressing the overflow button (3 dots in the upper right corner) brings up the thermostat settings to configure the target heating/cooling device (see next image).
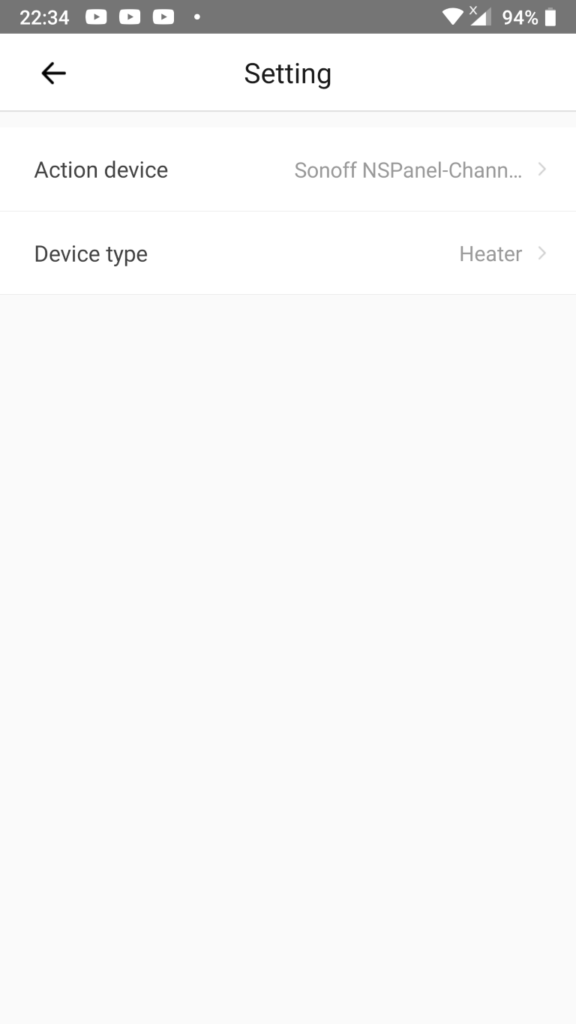
This is the Setting screen for the thermostat.
At Action device you choose your target device for the thermostat feature to operate. In case of a multichannel device you will also need to choose which channel to operate.
At Device type you can choose between Heater and Cooler. When you choose Heater then the targeted device switches on when the requested temperature is higher than the room temperature. When you choose Cooler then the targeted device turns on when the requested temperature is lower than the room temperature.
Device settings
The Sonoff NSPanel offers many settings you would find too on other 2-gang switches, but ofcourse it also has its own unique settings. Below you can see the Device Settings screen split up in 2 parts:
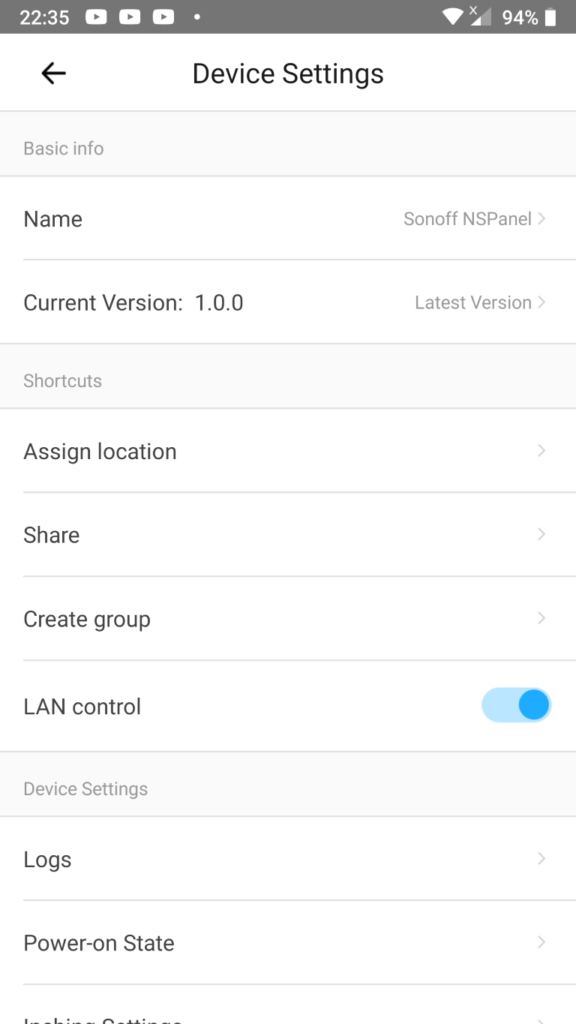
Device settings (1/2) 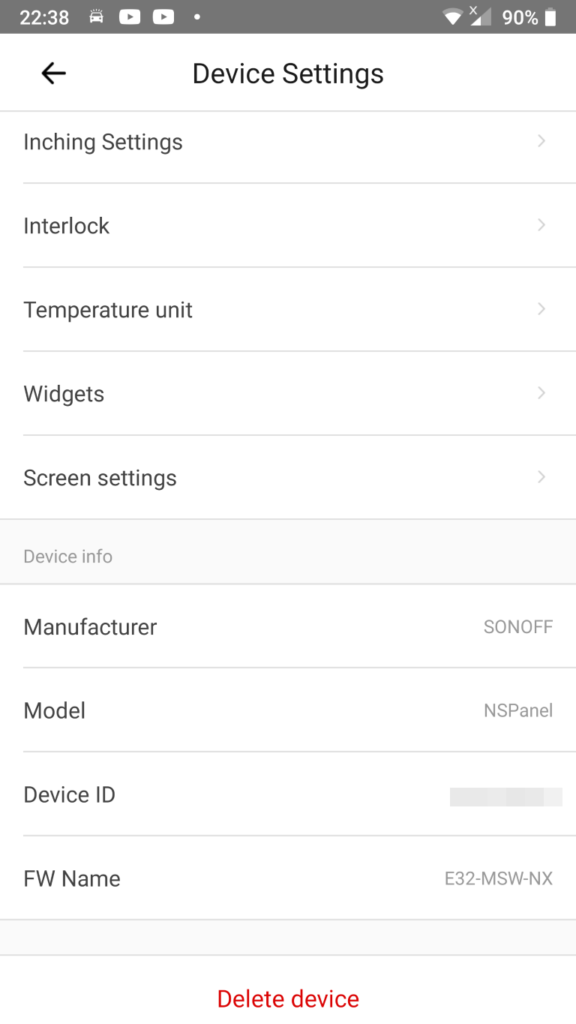
Device settings (2/2)
We will highlight the NSPanel’s unique settings below.
Device settings: Widgets
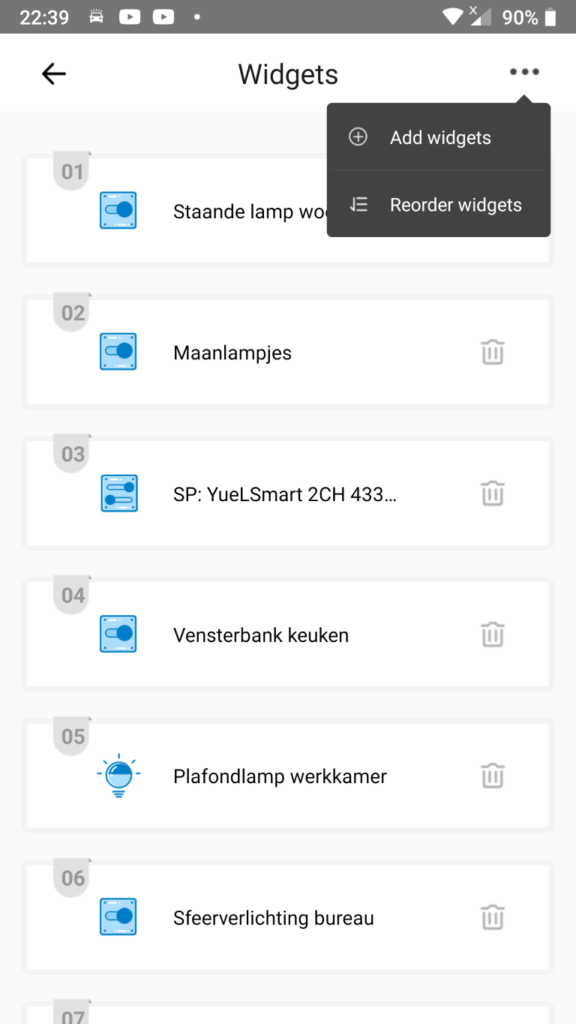
At the Widgets screen you an configure which shortcuts to devices and tap-to-perform (manual) scenes should show up at widgets screen on the Sonoff NSPanel.
You can tap a numbered slot and then select the device you want to add at that slot or you tap Add widgets at the overflow menu (3 dots in the upper right corner).
The overflow menu also provides you the option Reorder widgets to change the order of your widgets.
A thing that could be improved here is that replacing a widget with another widget is not working intuitive. You would expect that you can tap an existing widget and the widget selector shows up to select a new device or scene, but nothing happens upon tapping an existing scene. You will need to tap the trash icon and then you can tap the empty widget slot to select a new device or scene.
The widget selector works easy. You just put a tick in a checkbox to select the device or scene you want to add.
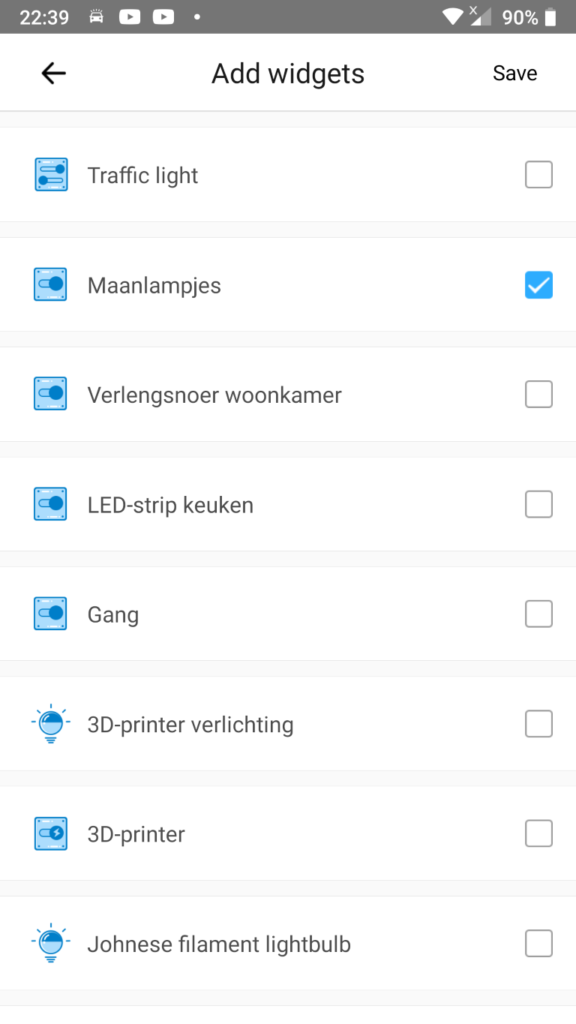
Selected device for widget slot 
Select scene for widget slot (bottom of the list)
Device settings: Screen settings
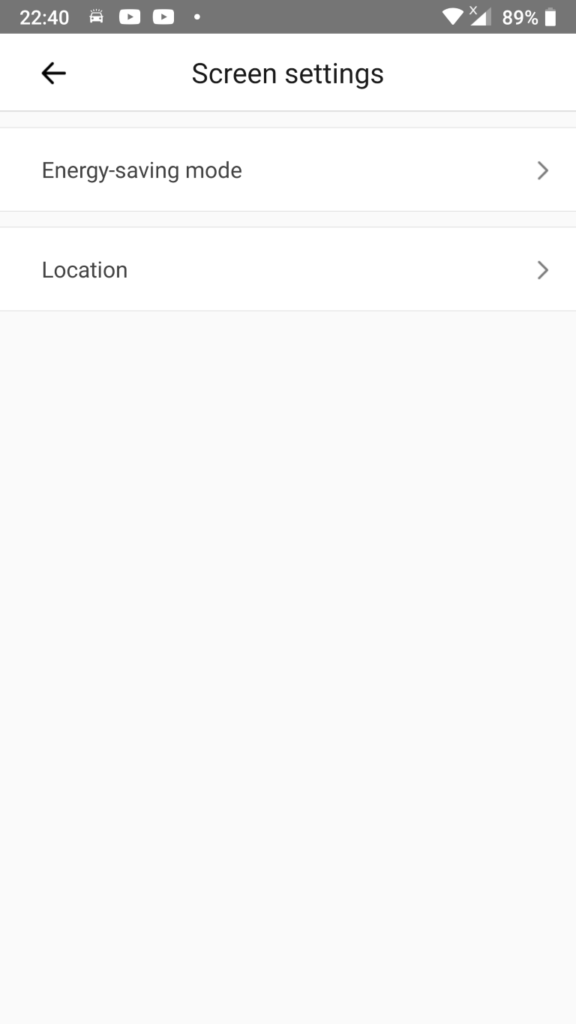
At the Screen settings screen you can set Energy-saving mode and Location.
The Energy-saving mode allows you configure the screen of the Sonoff NSPanel to go off after a certain amount of time set. When the screen is off it can only be woken by a tap on the screen or by disabling the Energy-saving mode. A press on a hardware button doesn’t turn the screen on, but the button press does still operate the corresponding channel of the device. Being able to turn the screen to black can be ideal for installation in a bedroom.
I’m not sure whether I understand the Location setting correctly but it at least allows you to set the location used to fetch the weather data on the homescreen of the Sonoff NSPanel. I’m not certain weather it affects the time and date. Maybe the time and date are done automatically in some way. I have the feeling the date and time is based on your eWeLink account location setting.
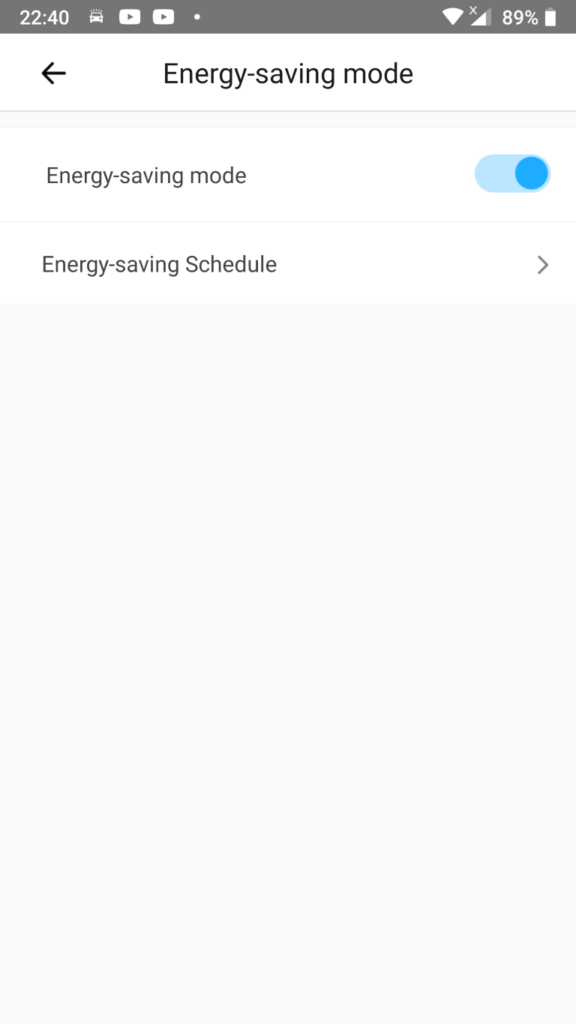
At the Energy-saving mode screen you can enable or disable the mode and go to the Energy-saving Schedule screen to set the effective period for the Energy-saving mode.
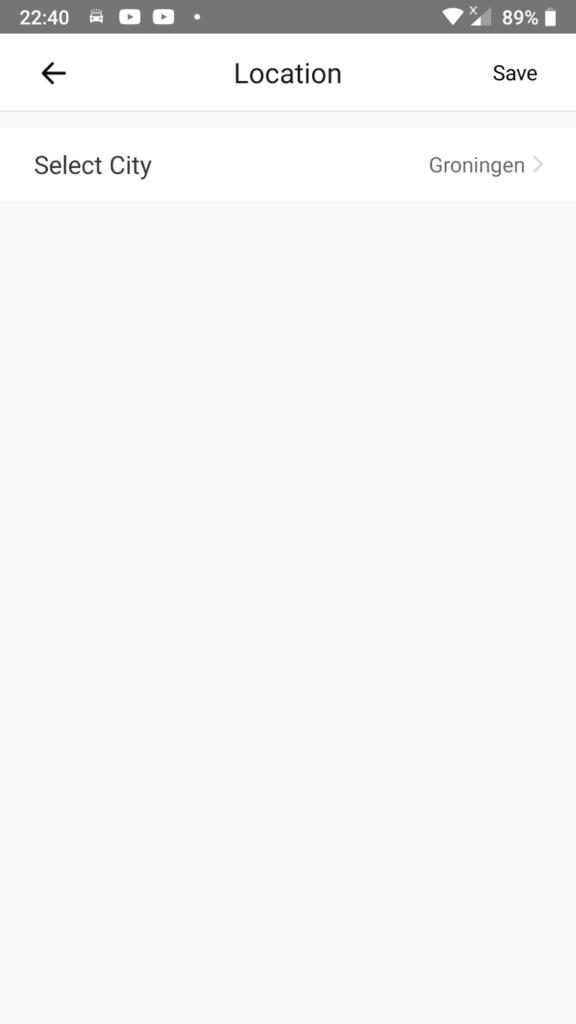
Location setting 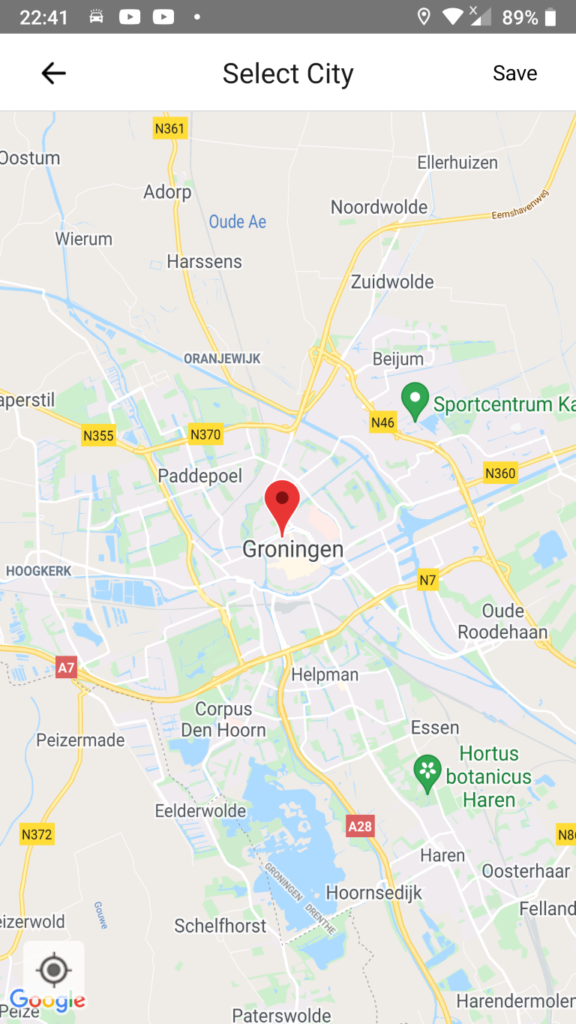
Select location on the map
At the Location screen you can see the current location set and tap that setting to go to a map to set a new location. You can pinch to zoom in and out and single tap to set the marker at the location where you tapped the map.