Appearance of the device and installation
Quick jump to: Hardware, Pairing
Hardware
I’m not an expert on enclosure materials but with a hard plastic and a good screen the Sonoff NSPanel feels and looks decent and sturdy. With the dimensions of 86 x 86 x 41.7 mm it will fit most EU junction boxes. The panel sitting in front of the wall is approximately 13 mm thick, dim gray and will look well on most walls. The physical buttons are nice to have on the device although they feel a bit hard to press because you don’t easily feel feedback from the buttons. ITEAD did take this last thing seriously and informed the testers it is one of the reasons of the delay of the release of the Sonoff NSPanel: they wanted to improve the physical buttons.
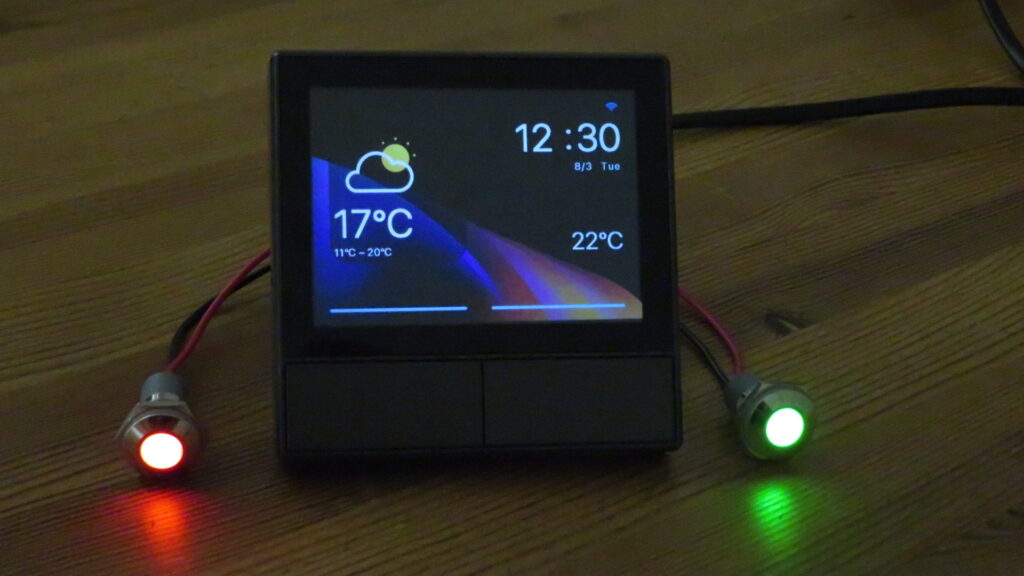
In operation without junction box 
Thickness of panel
To attach wires to the Sonof NSPanel you easily remove a lid at the back of the device to reveal the terminal block screws. There you will find the following connections:
- L Out II: To connect peripheral 2
- L Out I: To connect peripheral 1
- L In: To connect the live wire
- N: To connect the neutral wire

Wiring example without junction box (1/2) 
Wiring example without junction box (2/2)
To attach the Sonoff NSPanel to the junction box you need to detach the panel from the relais part and there we encountered a problem: the manual doesn’t tell that the panel needs to be detached from the relais part in order to attach the NSPanel to the junction box. So there is also no instruction on how to detach the panel.
After inspecting the Sonoff NSPanel very well and some trying out I figured out the panel can be detached by putting a screwdriver in the small retangular opening at the bottom of the panel and twist the screwdriver a bit. You will see it is now very easy to put the relais part in the junction box, screw it in into the kunction box and reattach the panel. To reattach the panel it is best to start with the 2 little hooks at the top and then press the bottom part back to the correct position.
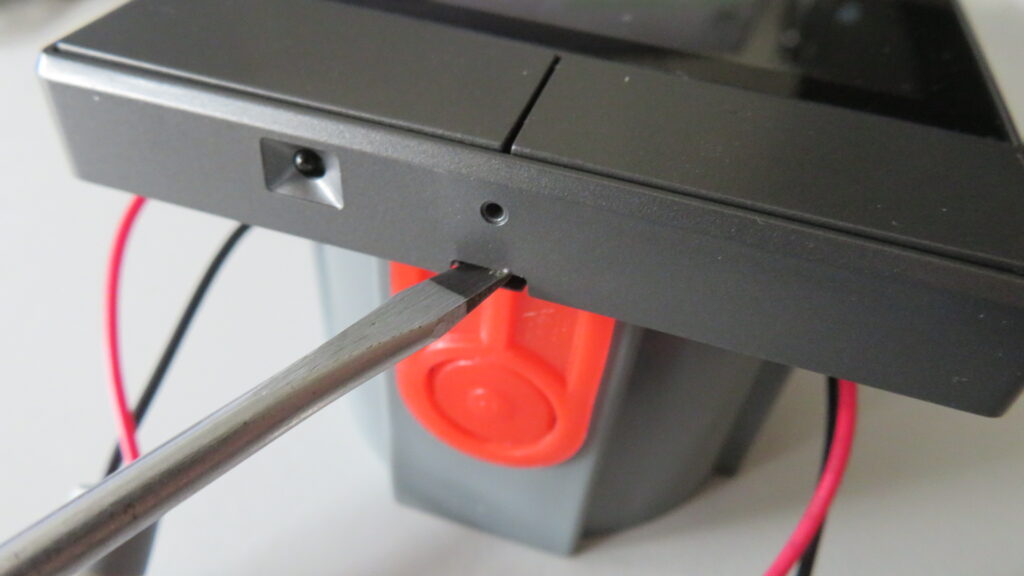
Detaching the panel 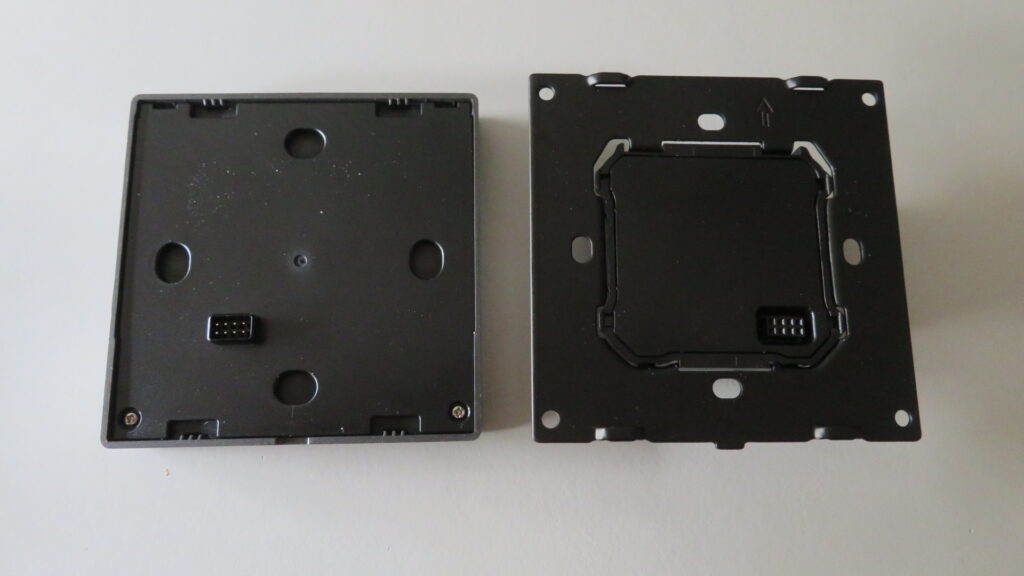
Detached panel 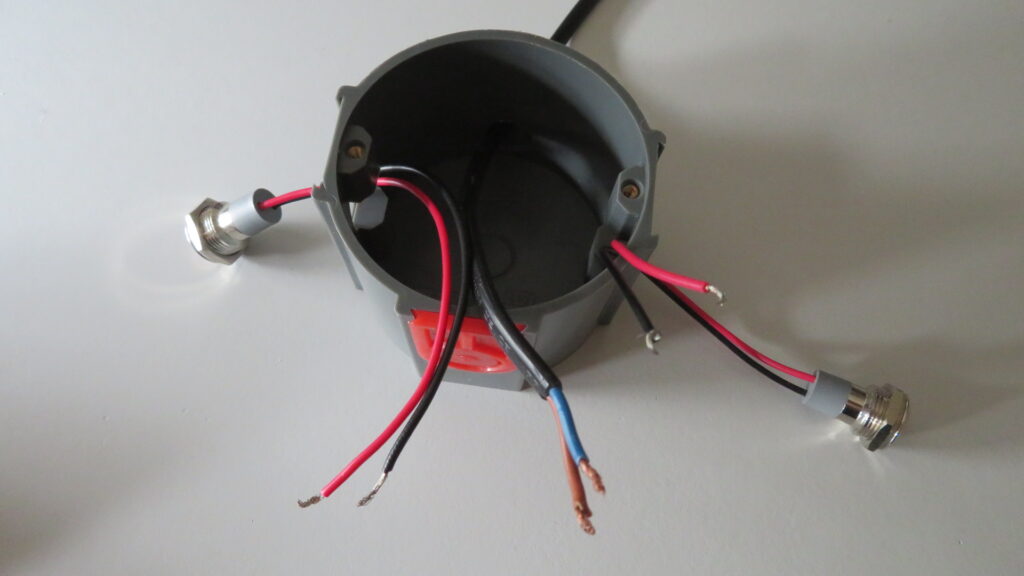
Ppreparing the wiring 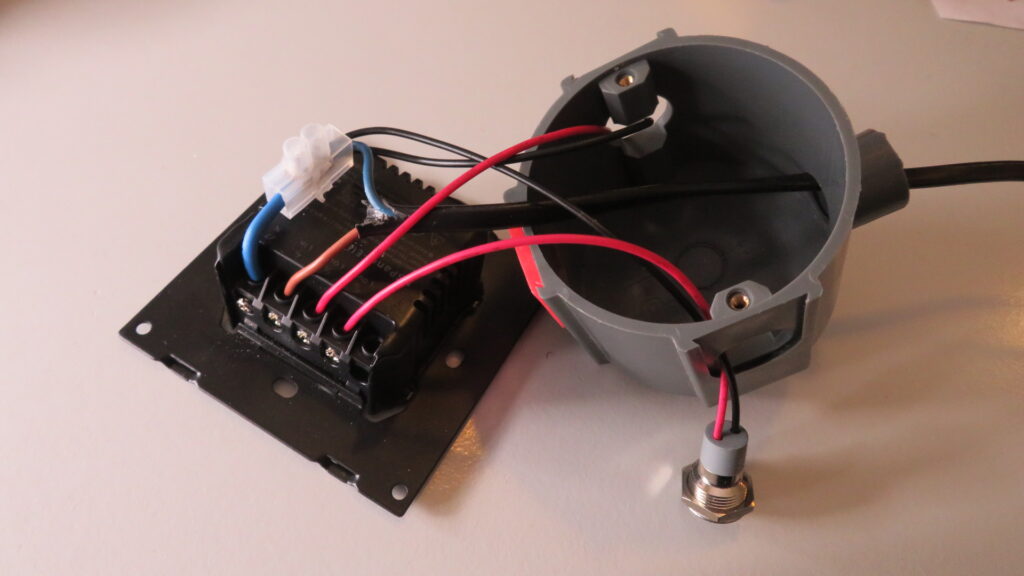
Final wiring 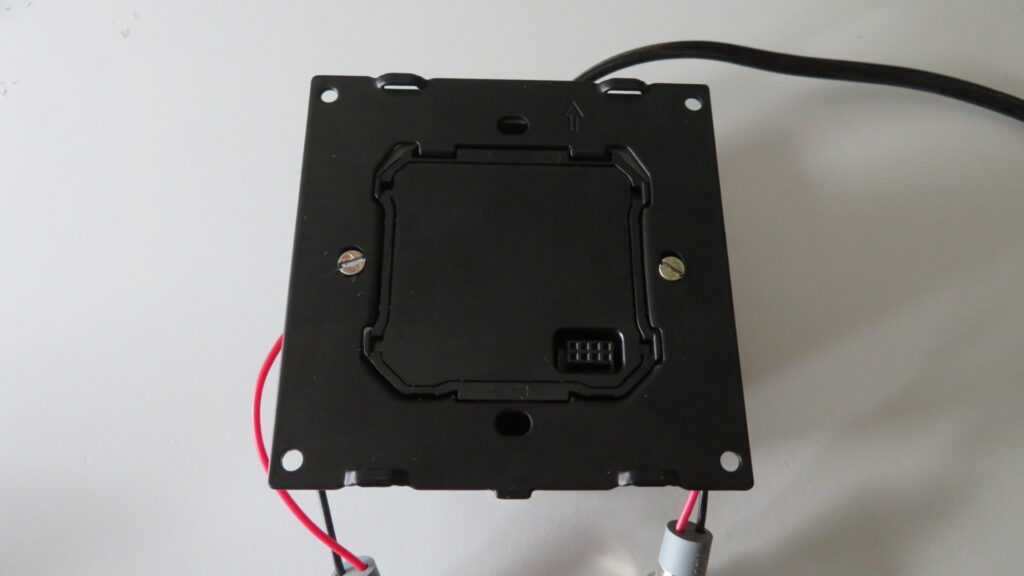
Attached relais part to junction box
The functions of almost all parts seems to be clear, but 2 parts at the bottom aren’t. I had to ask ITEAD what those parts are and what their function is:
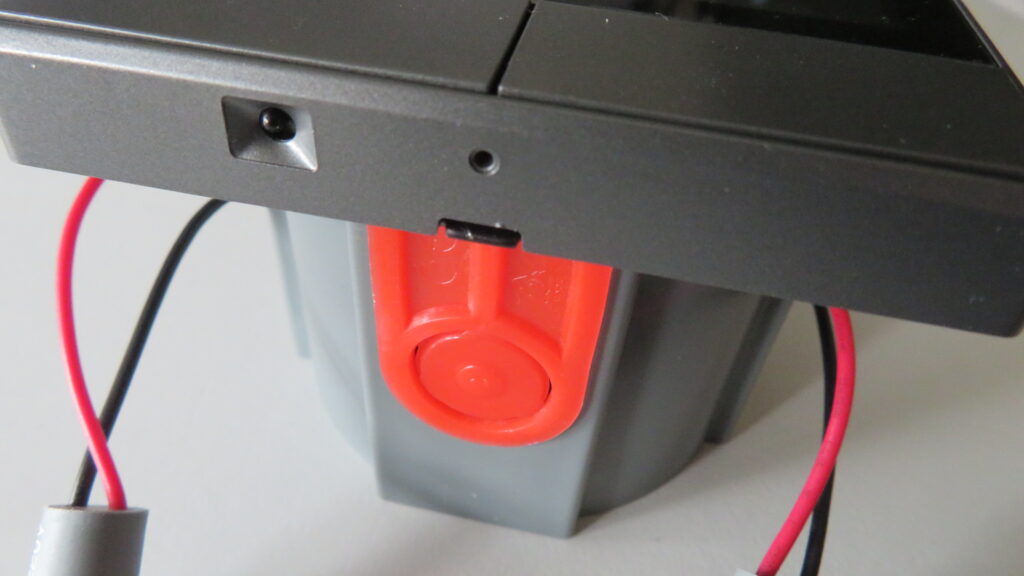
The left square to round hole is the temperature sensor. ITEAD’s official answer was “temperature & humidity sensor” but as it only displays temperature on the screen of the Sonoff NSPanel I believe it is only a temperature sensor. It indeed increases the temperature if I warm it with my finger. ITEAD told me the measurement range of the temperature sensor is -20 ~100°C, although the device operating temperature is 0 – 40 °C .
The right hole is the reset button. ITEAD didn’t explain the exact working to me but I discovered a short press on it with a bent paperclip restarts the Sonoff NSPanel. This can become handy when the Sonoff NSPanel is built into the wall and you want to avoid to shut off the mains power in order to reboot the Sonoff NSPanel.
Pairing
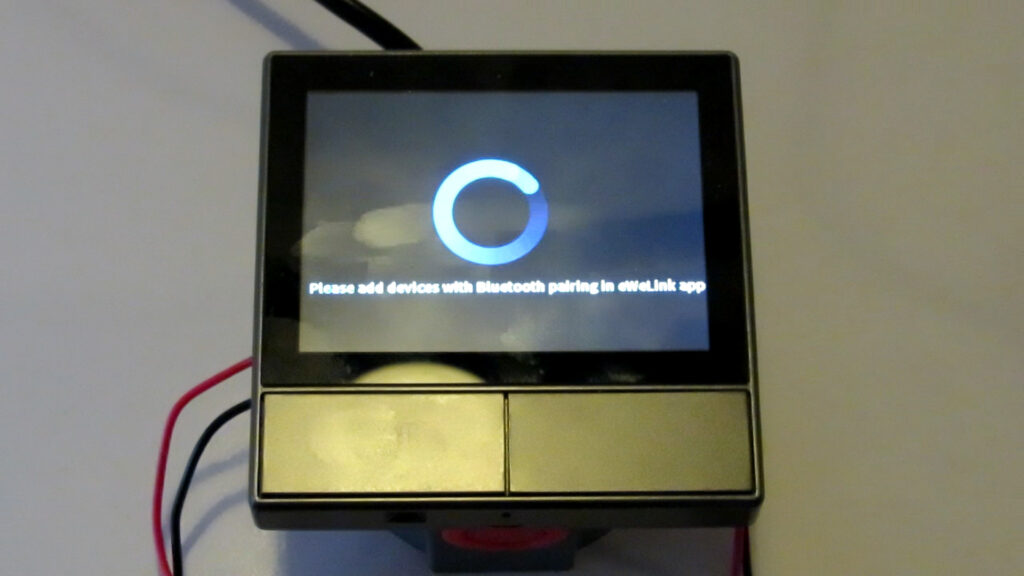
Pairing is done by Bluetooth pairing and is quite easy and straighforward. The only thing that can be improved is the message on the display of the Sonoff NSPanel during the pairing mode: it says Please add devices with Bluetooth pairing in eWeLink app. This might confuse users as they might think you first need to add other devices to the Sonoff NSpanel by using Bluetooth. What the message actually means is that you need to use Bluetooth pairing at the eWeLink app to pair the Sonoff NSPanel to the eWeLink app. So the message on the display should actually be something like Pair this device by Bluetooth... or Use Bluetooth pairing to pair to eWeLink app....