The displayed time on the image of my Sonoff GK-200MP2-B or S-CAM is incorrect
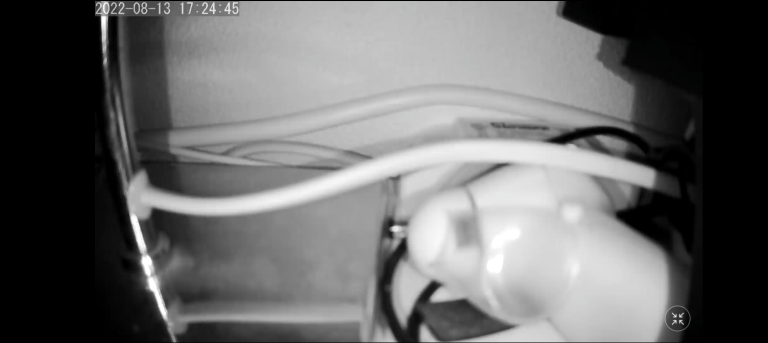
Several users reported an incorrect time being displayed on the image of their IP camera. Often the time is ahead of the actual time.

This article goes about specifically the IP cameras which have the Model name S-CAM or GK-200MP2-B at the Device settings page. This article describes how to solve the issue.
WARNING!
Check the model of the camera within the eWeLink app
Step 1
- Tap the overflow menu icon at the upper right corner of the device page.

Step 2
- Scroll to the bottom.
- Check what is displayed behind Model.
- For the provided solution the model needs to be either
S-CAMorGK-200MP2-B.

Preparing micro SD card
Step 1
- Download the ZIP file with included the required BIN file:
The file is provided by Sonoff via eWeLink. The file is tested by ourselves.
Step 2
- Unzip the file.
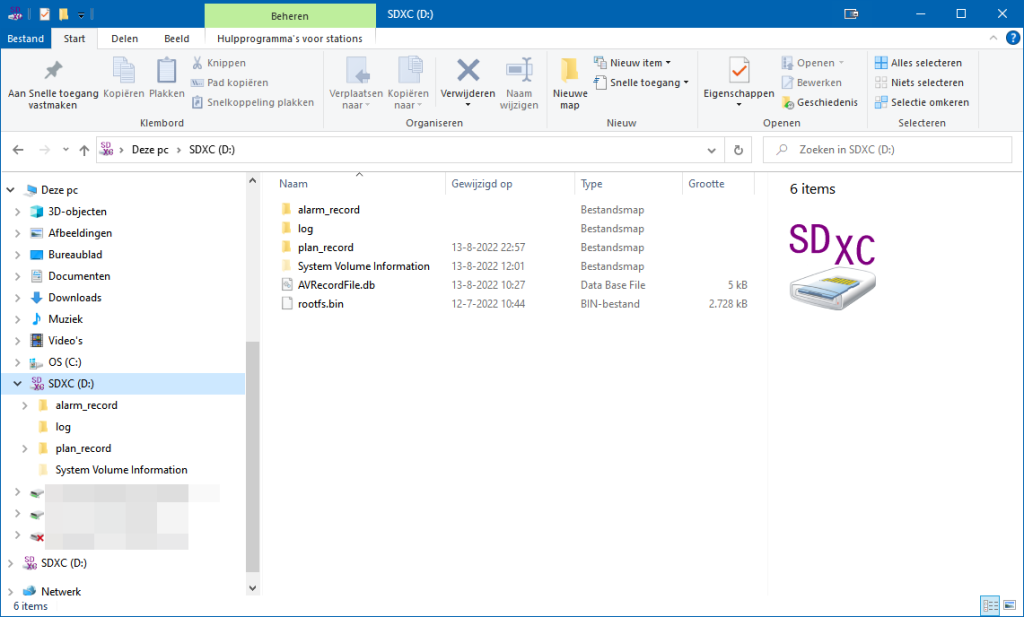
- Put the unzipped file
rootfs.binin the root of a micro SD card.
Installation of the firmware upgrade
Step 1
- Power off the camera by detaching the power cord.
Step 2
- Put the micro SD card in the micro SD card slot.
Step 3
- Power up the camera
Step 4
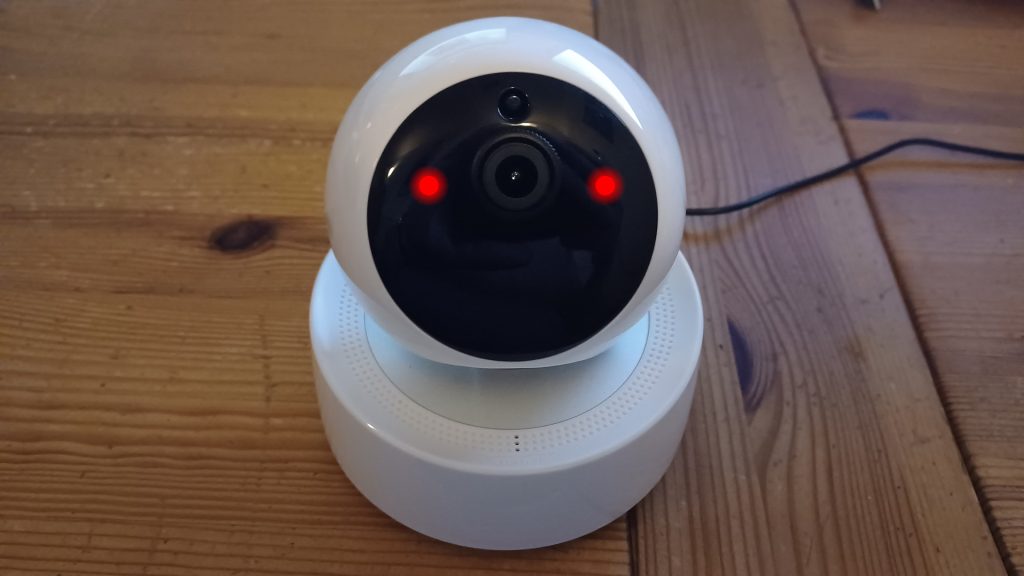
- During installation of the firmware upgrade the 2 infrared light blinks. The spots were you can see the visible range of the 2 lights are marked with red dots on the image on the right.
WARNING!
Step 5
- After installation the infrared lights stop blinking.
- The camera will startup normally and will tell when it is connected to the internet.
Step 6
- Now the correct time at the image at the device page should be displayed.
- If still not you might want to synchronize the time from your phone to the camera:
- Go to the
Device settings(3 dots overflow icon at the top right). - Tap
More settings. - Tap
Sync Time. - When the synchronization has finish a toad message
Succesis being displayed.
- Go to the

After the installation of the new firmware has been finished the firmware upgrade file gets renamed to rootfs.bin.bak.
Troubleshoot
If the firmware upgrade fails then try to format the micro SD card at the Device settings of the camera in the eWeLink app first. Then repeat above instructions.


You must be logged in to post a comment.