eWeLink Community Knowledge Base
Set Sonoff TH10/16 to different temperature-operations for different timeframes
When you have a Sonoff TH10 or Sonoff TH16 you can use this device not only to measure the temperature and humidity, but also turn on/off a device attached to it based on the measured temperature. Did you know you can drive the same attached device with seperate temperature settings per multiple timeframes?
In our example we drive a electrical heated hottub manually with the help of a TH10. Although the writer of this article doesn’t have a hottub, this example is just to make clear the possibilities of the features of the Sonoff TH10 and Sonoff TH16. Let’s say we want to have it heated to a constant temperature of 28°C starting from 18:00 untill 23:59. Outside this timeframe we want to have it a lower temperature. This tutorial only demonstrates the 28°C at 18:00 – 23:59 because the other timeframe can be setup in exactly the same way or just use only 1 timeframe.
WARNING!
Quick jump to: Configuring an Auto schedule, Checking existing Auto schedules or disable, Auto mode How to see whether Auto mode is active?
Product information
Sonoff TH10
- Monitor temperature and humidity in real-time.
- Turn a device on or off based on temperature and/or humidity in the auto mode.
- Create scenes with temperature and humidity as triggers to switch other devices.
- Supports up to 10A, 2200W.
- The sensors are not included in the default package and must be purchased separately!
Sonoff TH16
- Monitor temperature and humidity in real-time.
- Turn a device on or off based on temperature and/or humidity in the auto mode.
- Create scenes with temperature and humidity as triggers to switch other devices.
- Supports up to 15A, 3500W.
- The sensors are not included in the default package and must be purchased separately!
Configuring an Auto schedule
Step 1
- Go to the
Homescreen.
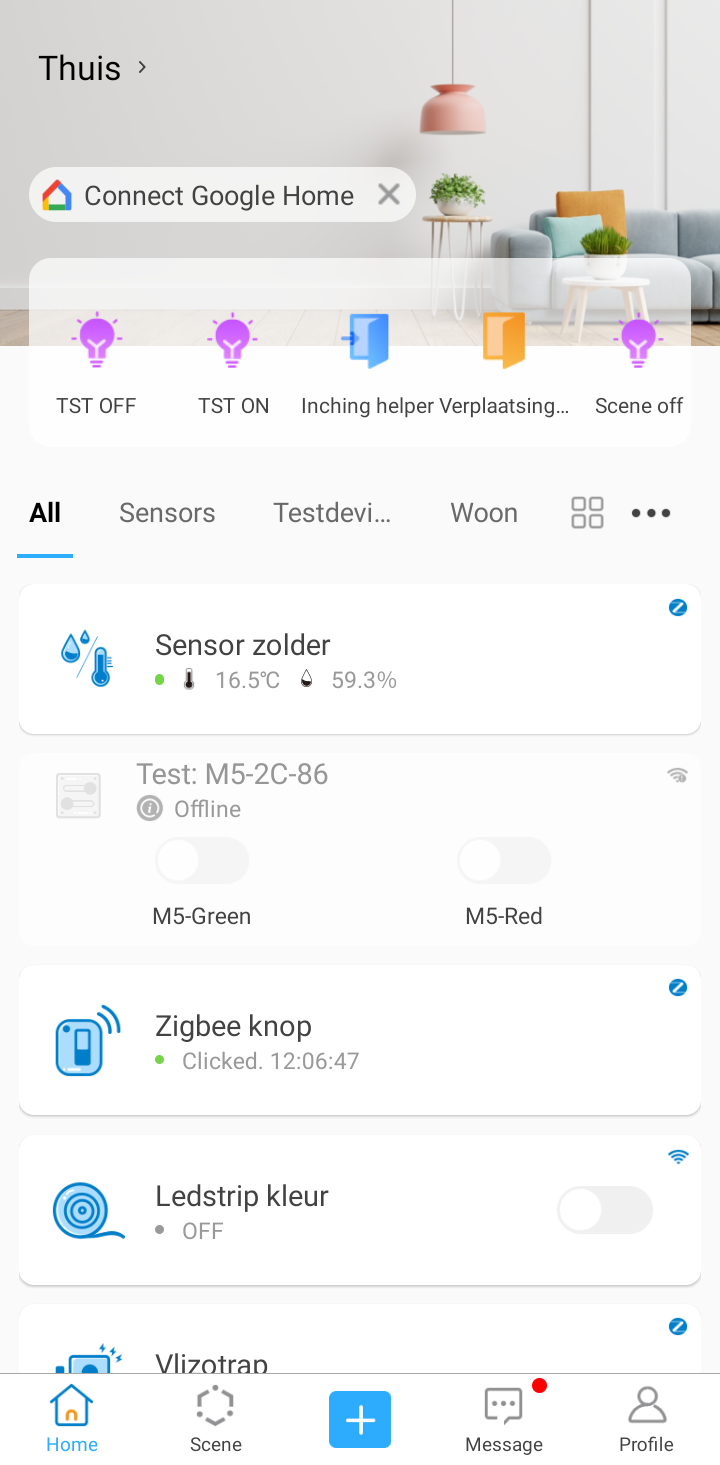
Step 2
- Scroll a bit to the bottom untill you see your Sonoff TH10 or Sonoff TH16 listed.
- Tap the device. In our example case it is the
Sonoff TH10.
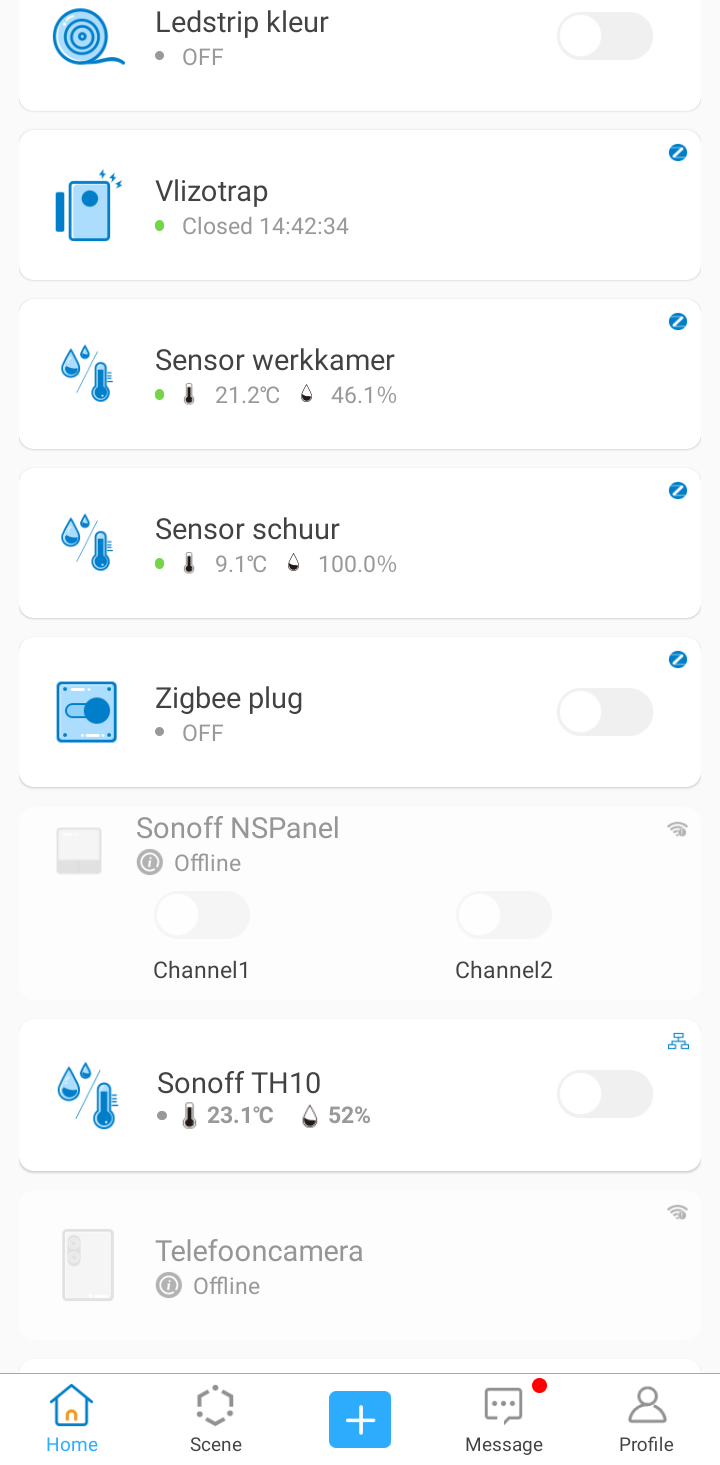
Step 3
- Tap
Auto.
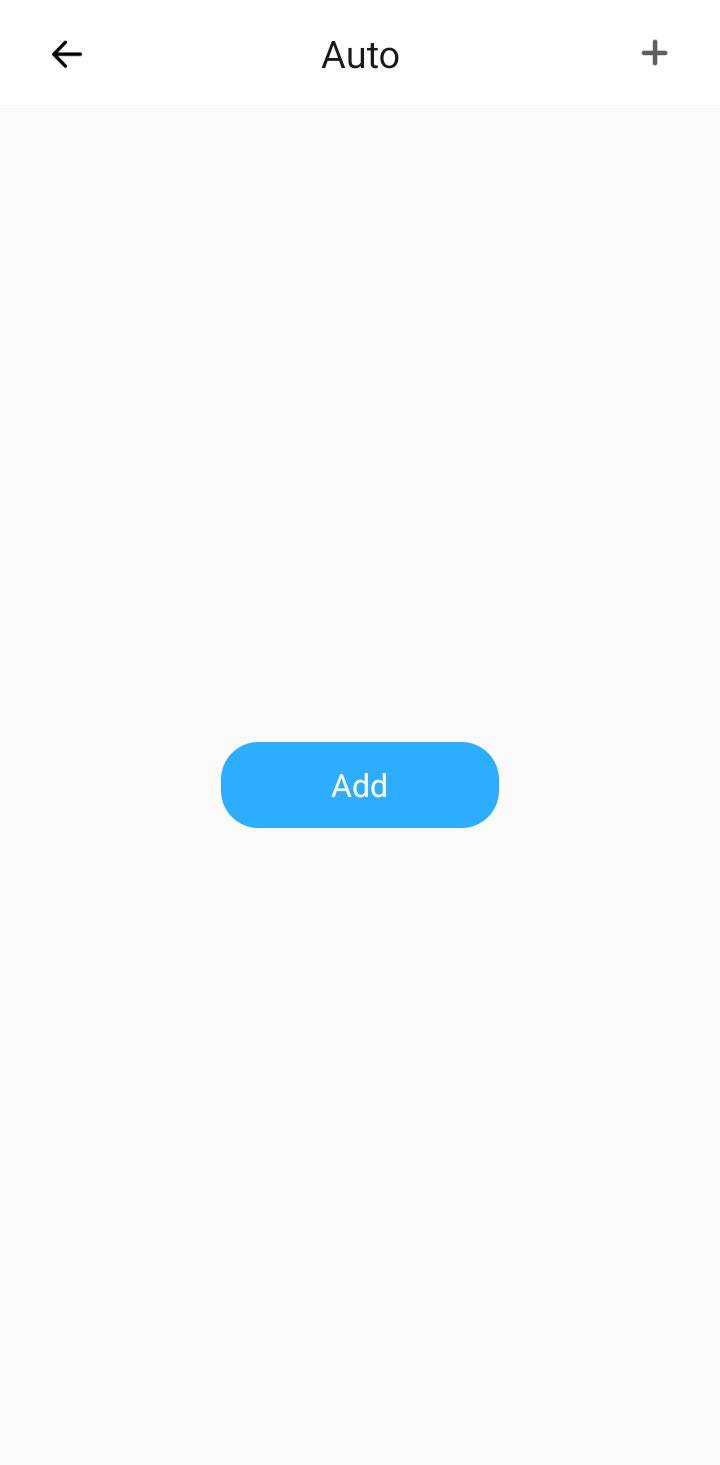
Step 4
- On the
Autoschedules screen you can tap the+in the upper right corner to add a schedule. - When there is no Auto schedule setup yet you can tap
Addinstead if you want.
Step 5
- Tap
Control by.
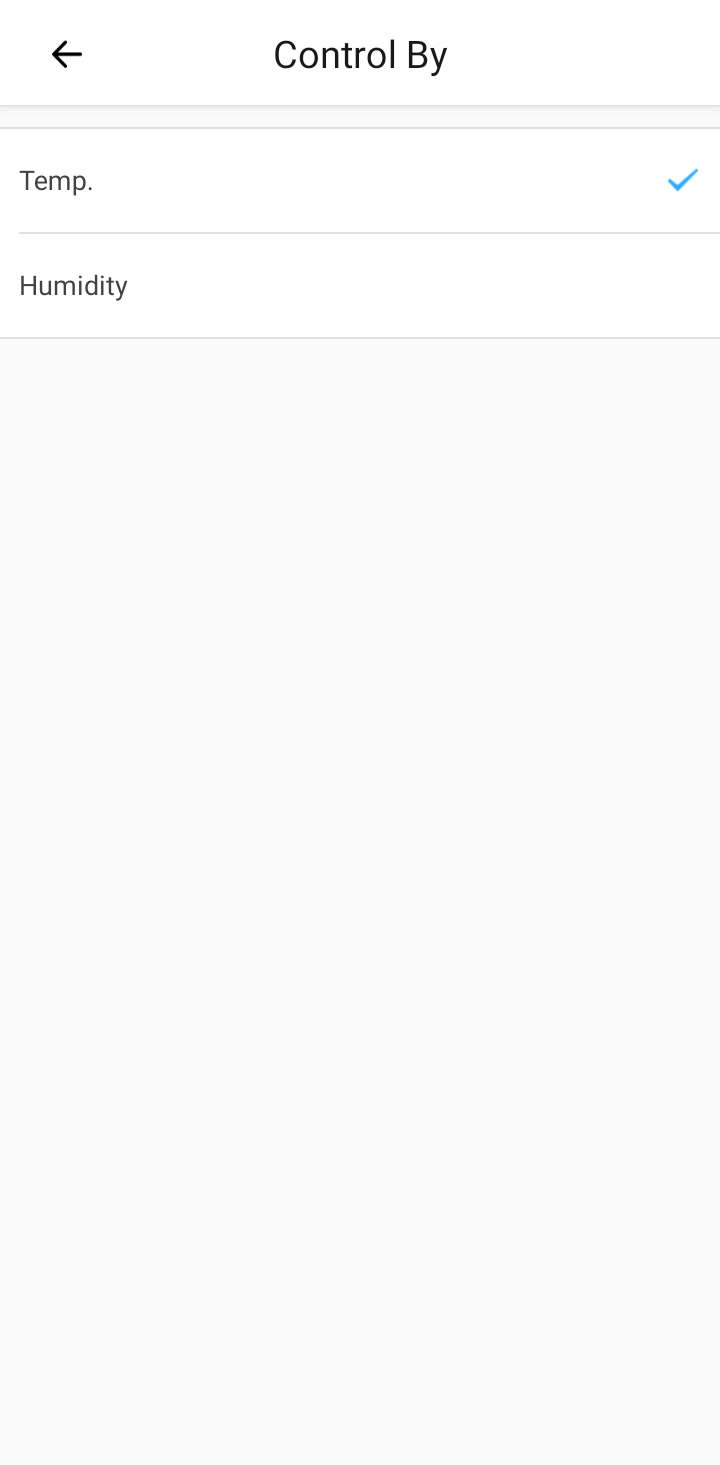
Step 6
- Tap
Temp.. A will appear at the end of the line. - You will get automatically to the previous screen. Otherwise tap the back arrow at the upper left corner to go back.
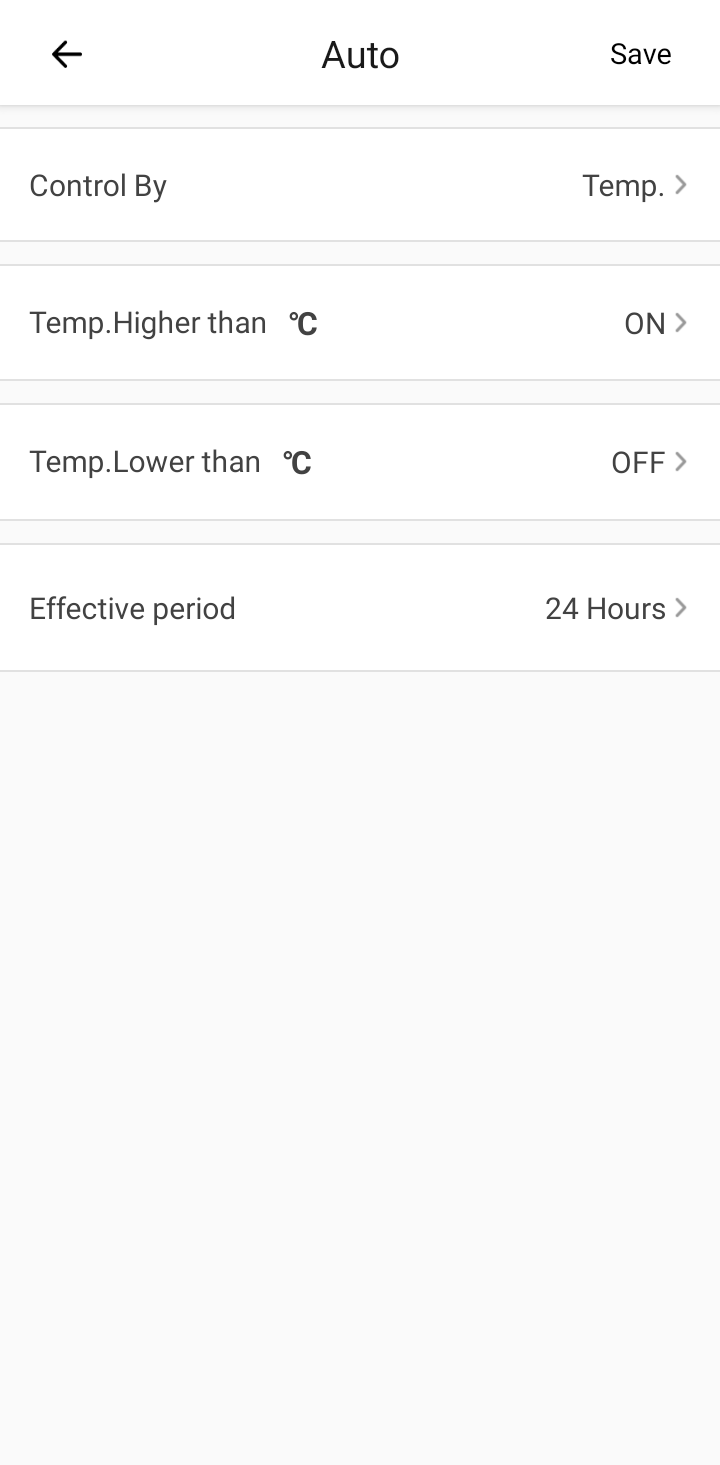
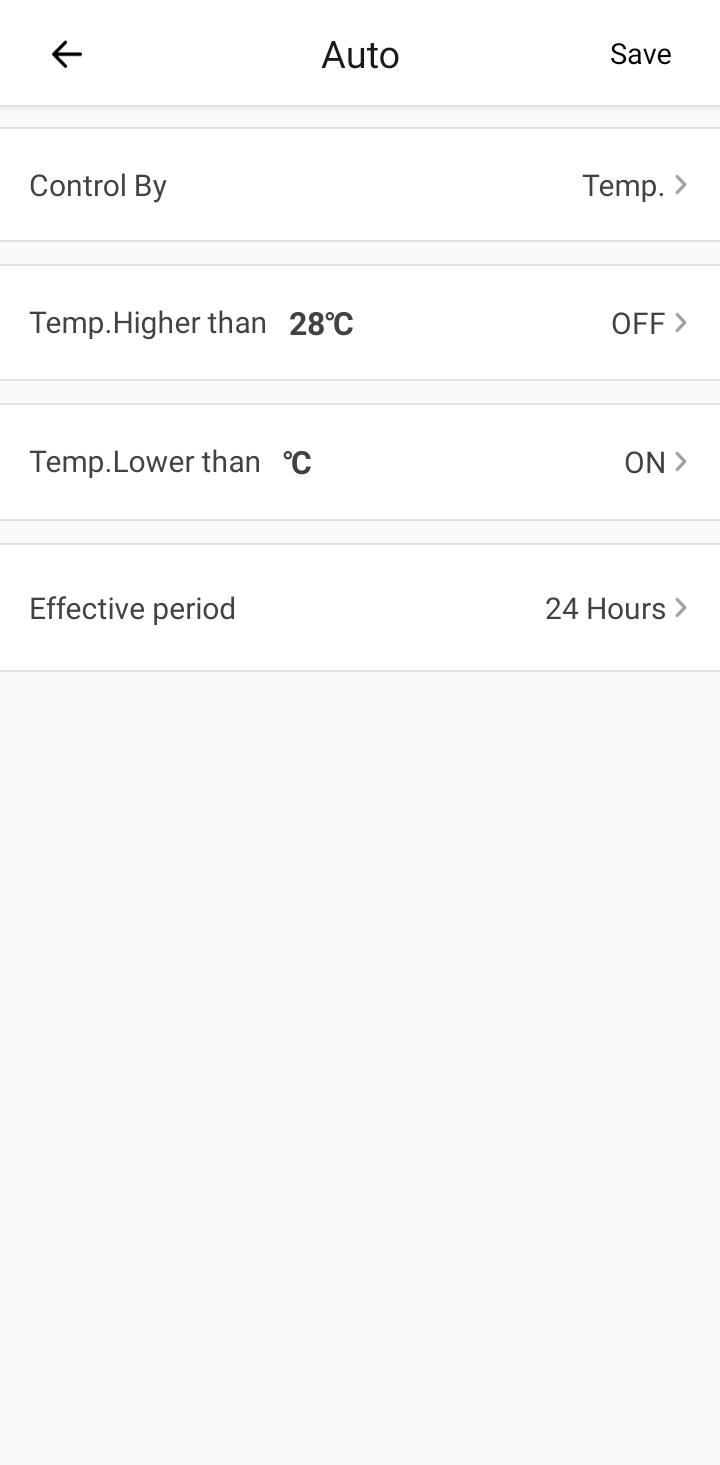
Step 7
- Now tap
Temp.Higher than.
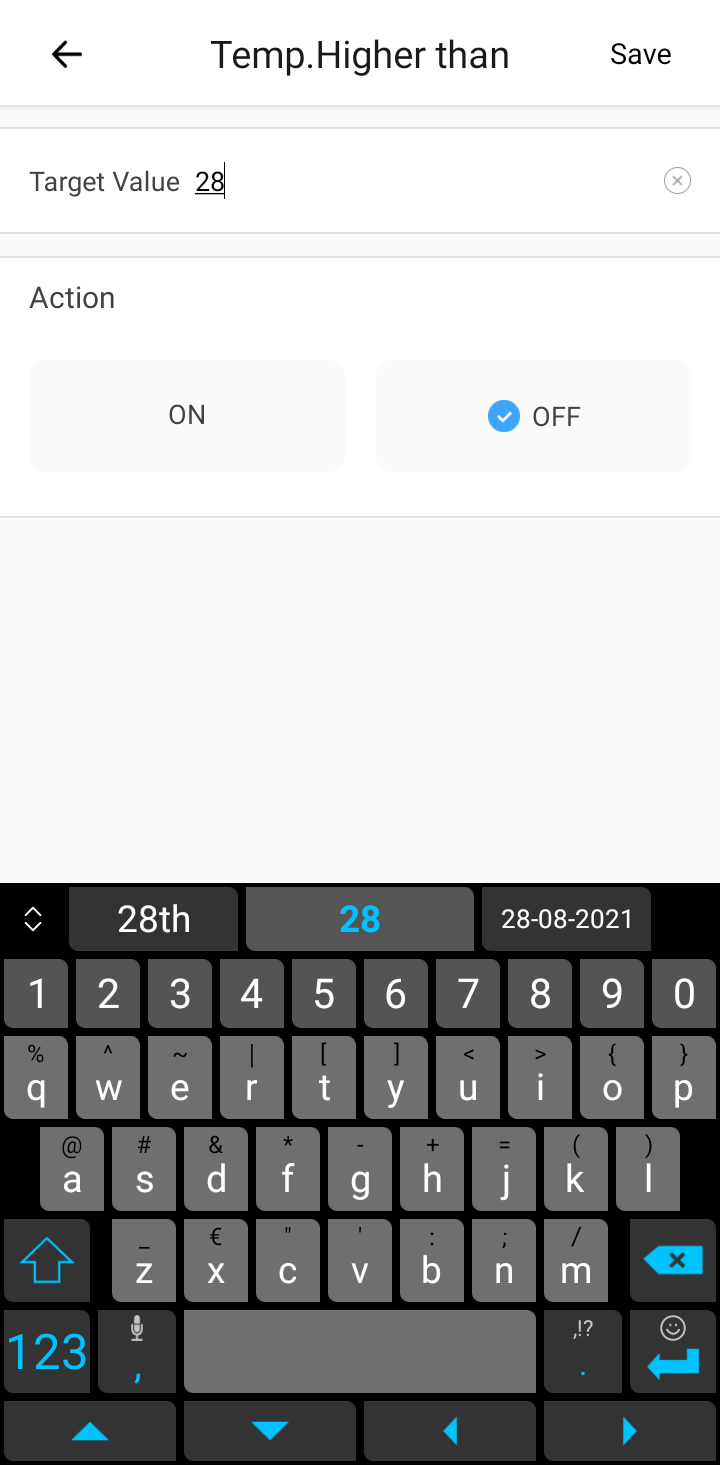
Step 8
- At
Target Valueenter the desired temperature when the hottub should not be heated anymore. You can enter an integer or a number with 1 decimal place. The decimal character is a dot:. - Tap the desired action. In our example case we want to turn the heating of the hottub off when it reached 28°C. So we tap
OFFhere. A will appear in front of it. - Tap
Savewhen done.
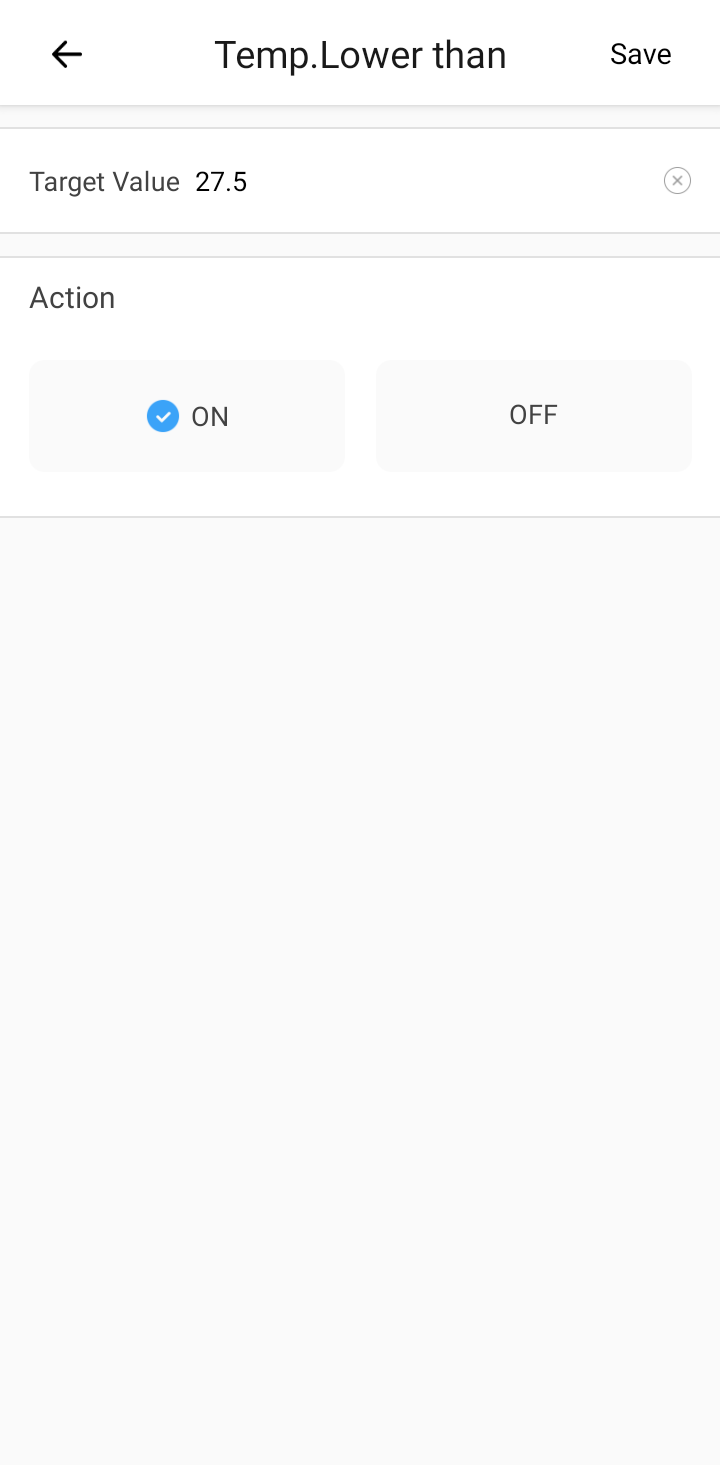
Step 9
- Tap
Temp.Lower than.
Step 10
- At
Target Valueenter the desired temperature below which the hottub should heat up. You can enter an integer or a number with 1 decimal place. The decimal character is a dot:. - Tap the desired action. In our example case we want to turn the heating of the hottub on when the measured temperature is below 27.5°C. So we tap
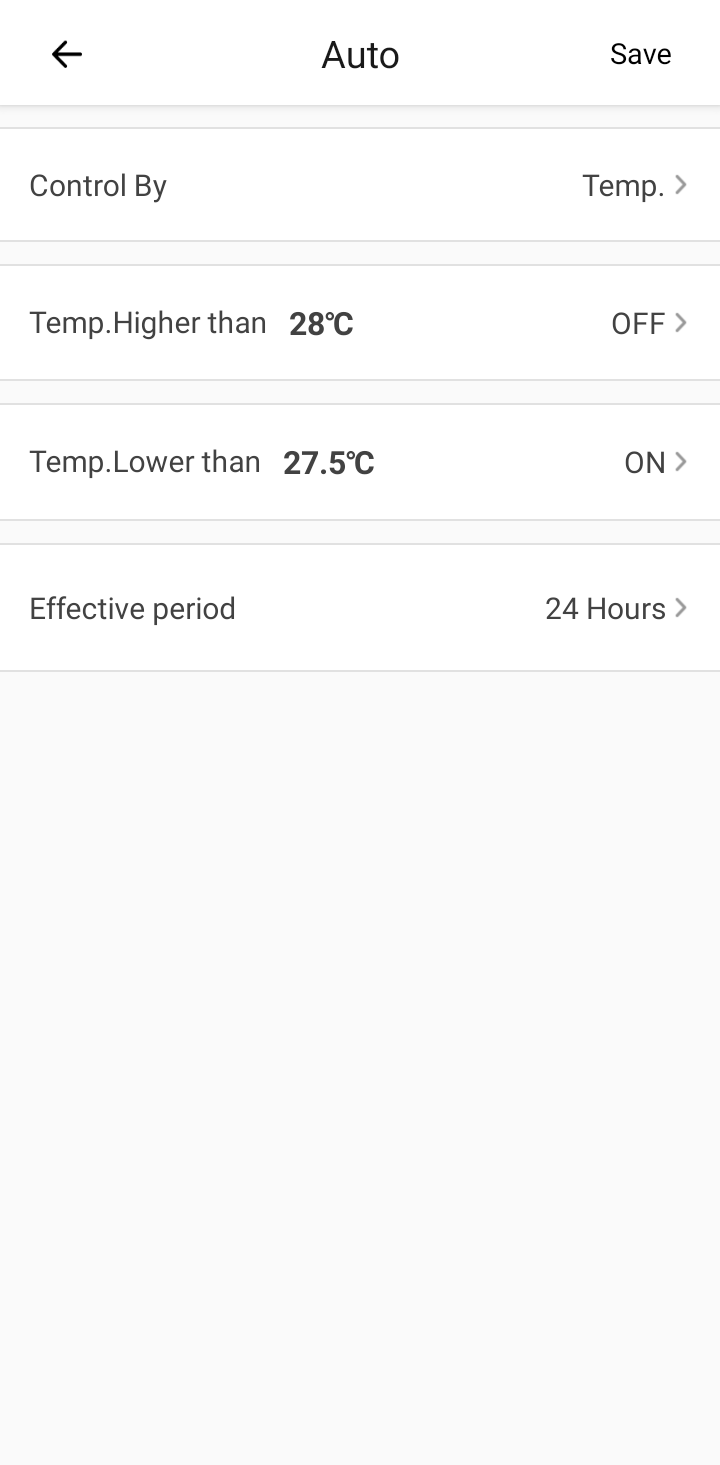
ONhere. A will appear in front of it. - Tap
Savewhen done.
Step 11
- Tap
Effective period.
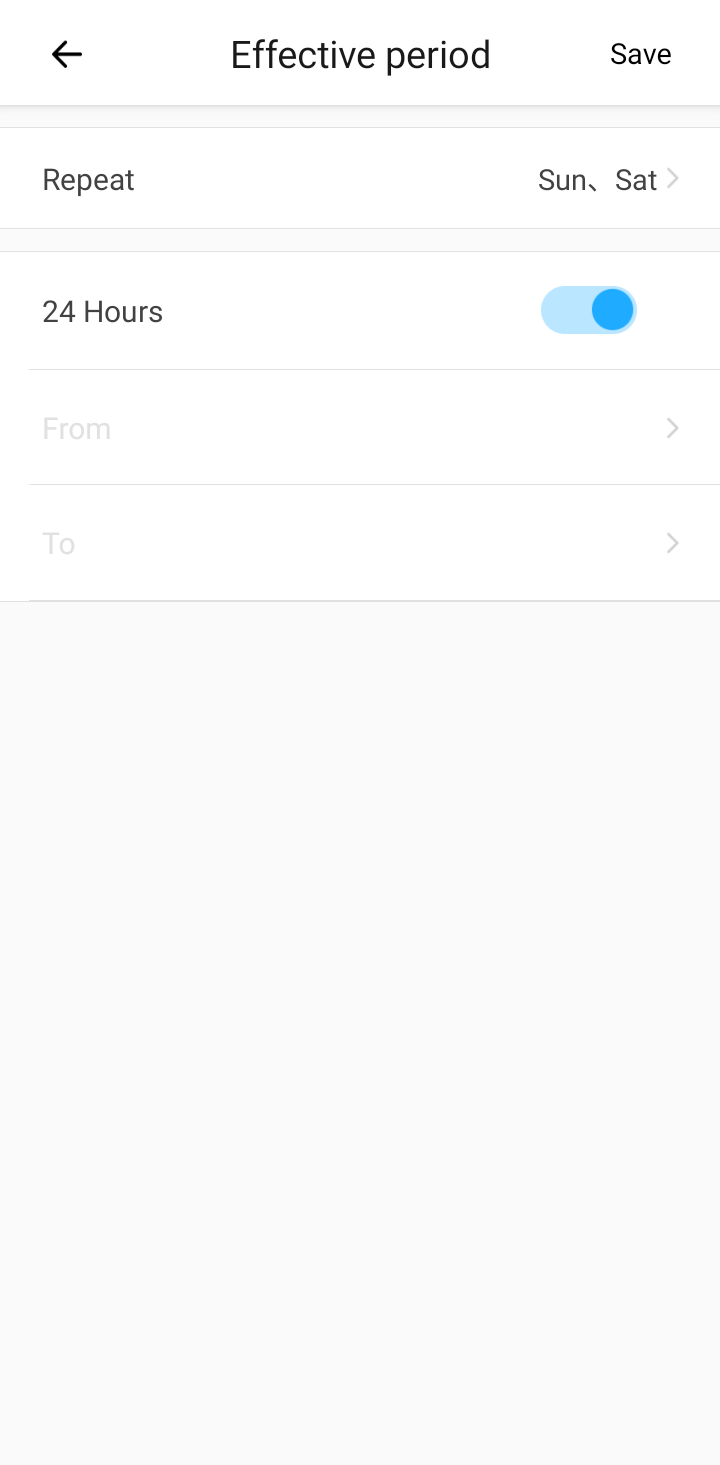
Step 12
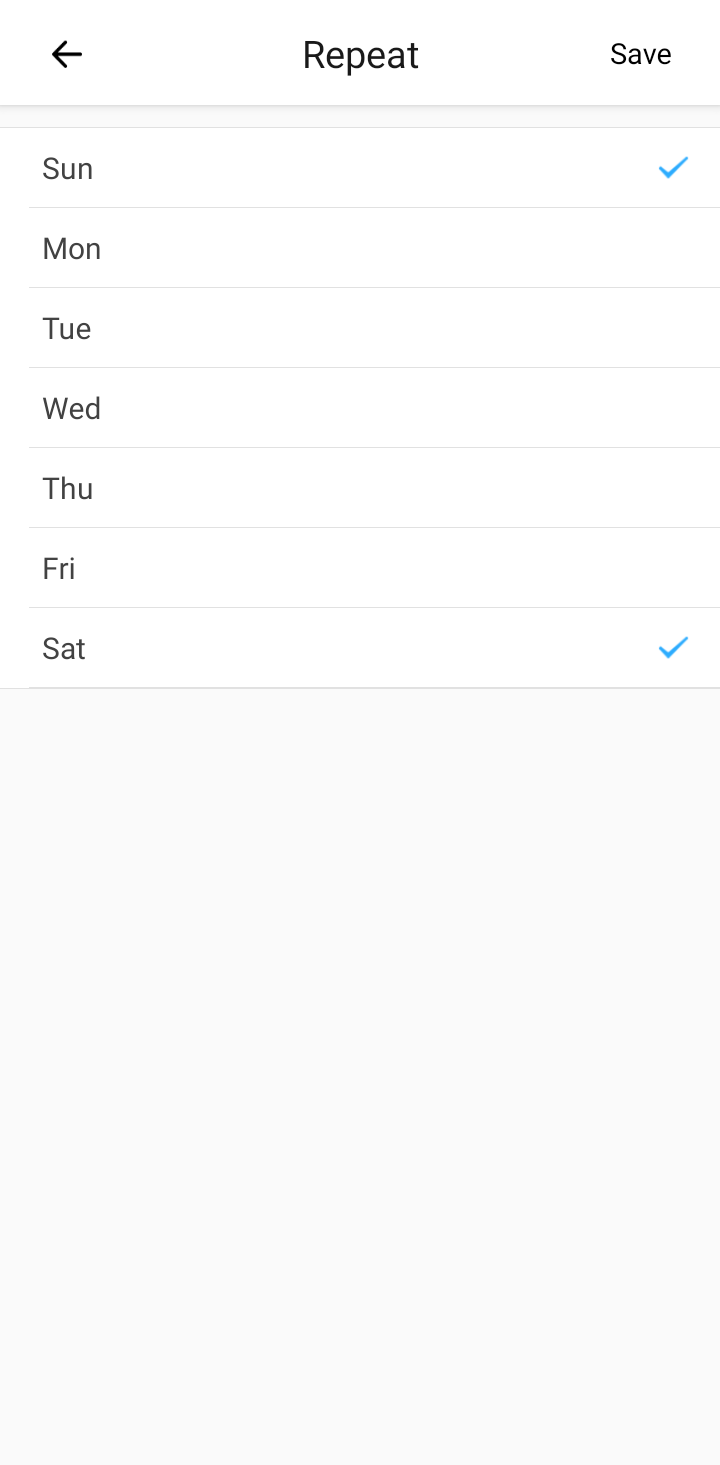
- Tap
Repeat.

Step 13
- Tap the days of the week on which you want the temperature setting to be active. A will appear at the end of the line. In our example case we selected the weekend, so Sunday (
Sun) and Saturday (Sat). - Tap
Savewhen done.
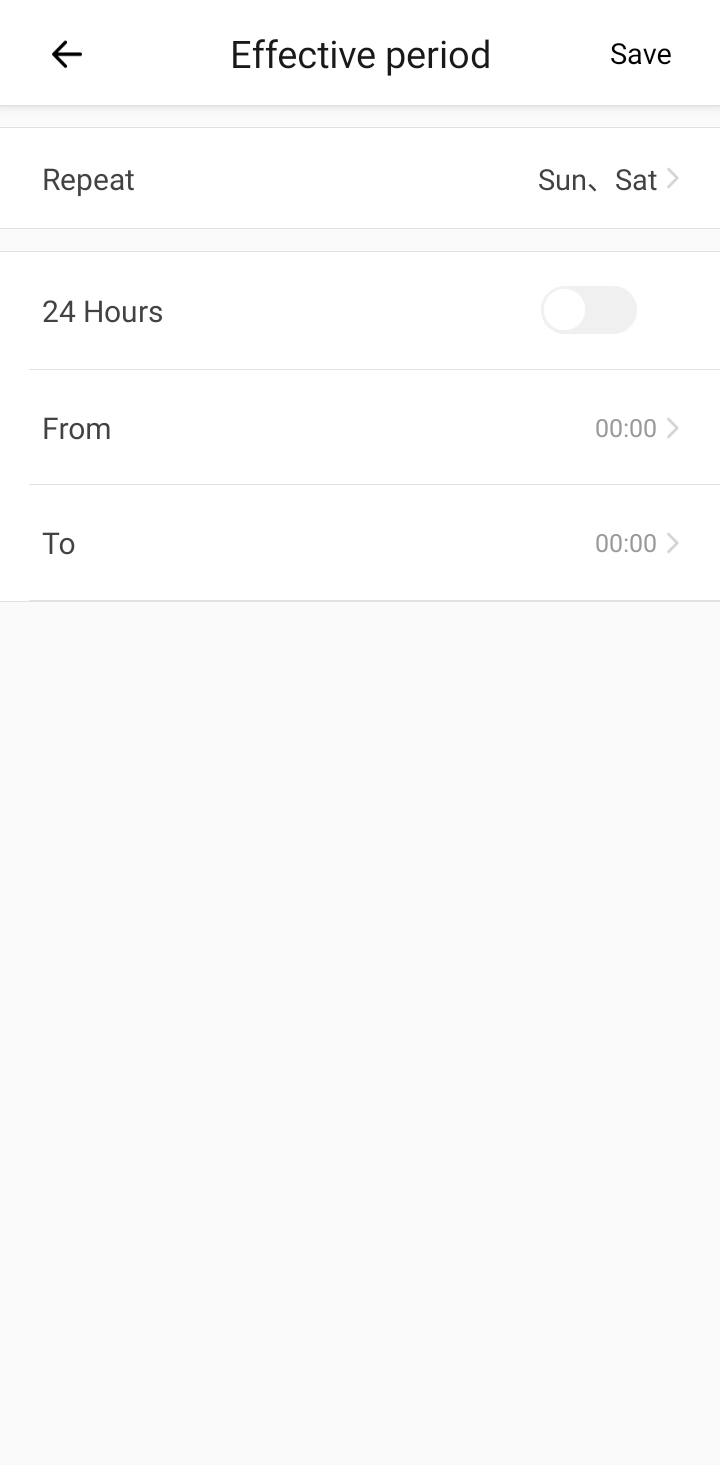
Step 14
- By default the Auto schedule setting will be active the whole selected days. We want to have it active only in the evening. Tap the switch after
24 Hoursto enable the time selectors below.
Step 15
- Tap
From.
Step 16
- Scroll the hour selector (left wheel) up or down to select the hour. In our example case we want to have the heating setting active starting from 18:00 so we select
18 h. - Scroll the minute selector (right wheel) up or down to select the minutes. In our example case we want to have the heating setting active starting from 18:00 so we select
00 min. - Tap
Savewhen done.

Step 17
- Tap
To.

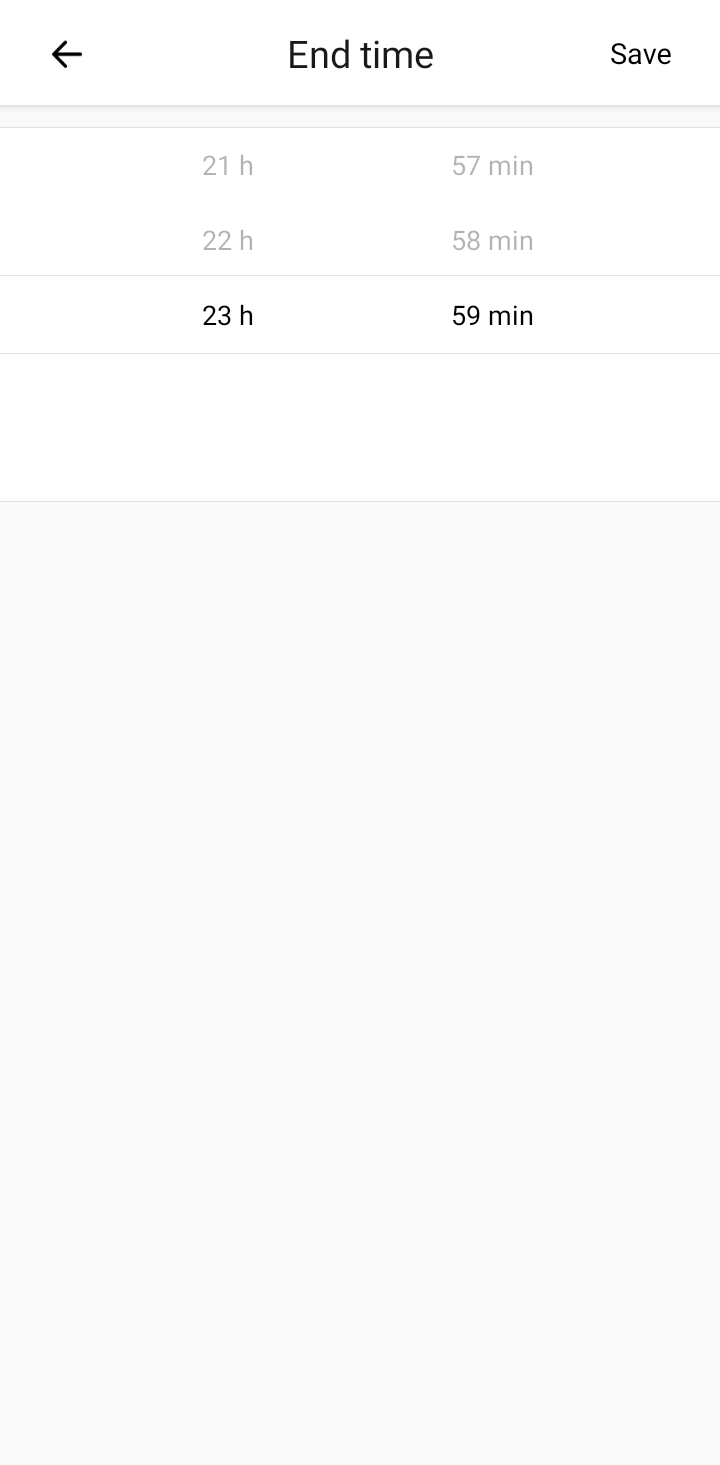
Step 18
- Scroll the hour selector (left wheel) up or down to select the hour. In our example case we want to have the heating setting to stop at 23:59 and so we select
23 h. - Scroll the minute selector (right wheel) up or down to select the minutes. In our example case we want to have the heating setting to stop at 23:59 and so we select
59 min. - Tap
Savewhen done.
Step 19
- Tap
Save.

Step 20
- You have now setup the Sonoff TH10 to go on between 18:00 and 23:59 at saturdays and sundays when the temperature gets below 27.5°C.

Information
REPEATED WARNING!
Checking existing Auto schedules or disable Auto mode
Step 1
- On the device screen of the Sonoff TH10/16 tap Auto.
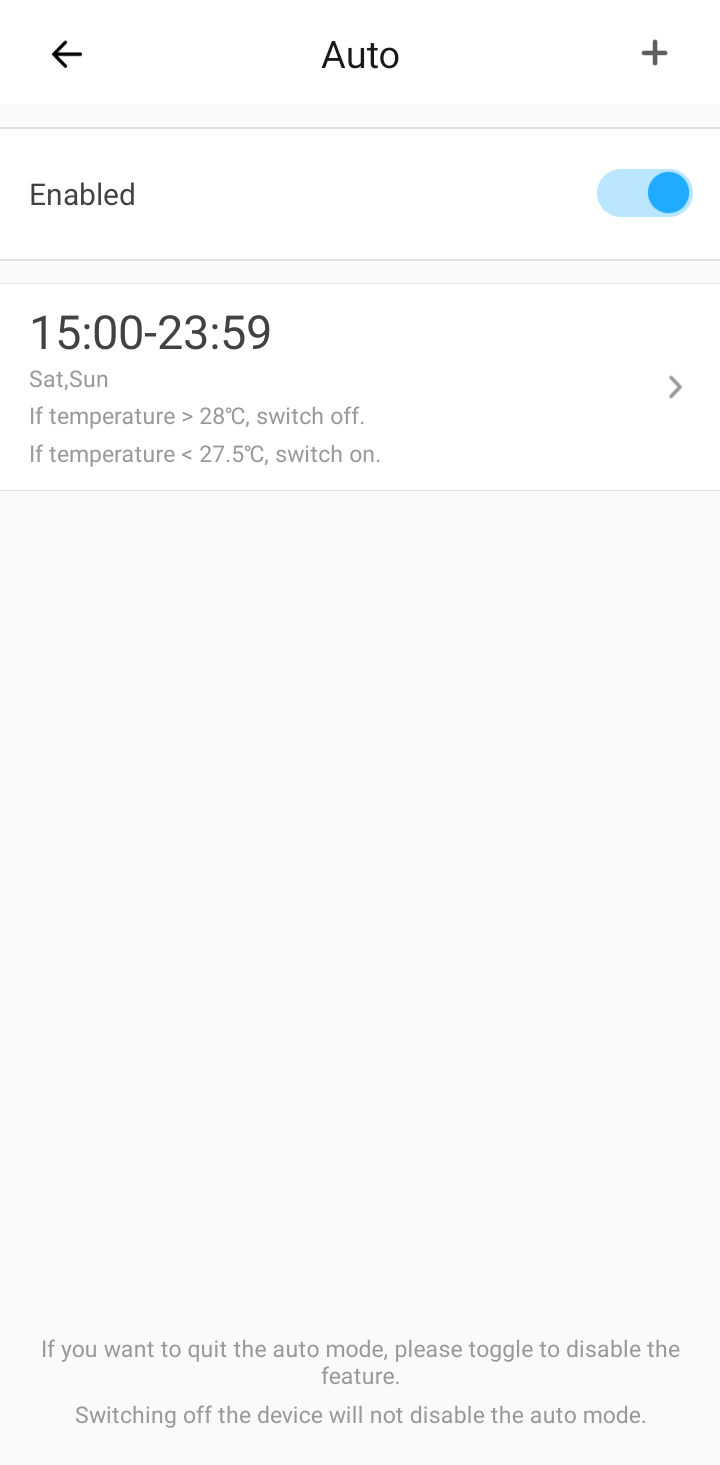
Step 2
- In the list you can see all configured Auto schedules. In our example case we only see
15:00-23:59with all its settings in a smaller font underneath. Tap it to go to its settings. - Tap the switch after
Enabledto disable Auto mode completely. - Tap
+at the upper right corner to add a new Auto schedule.
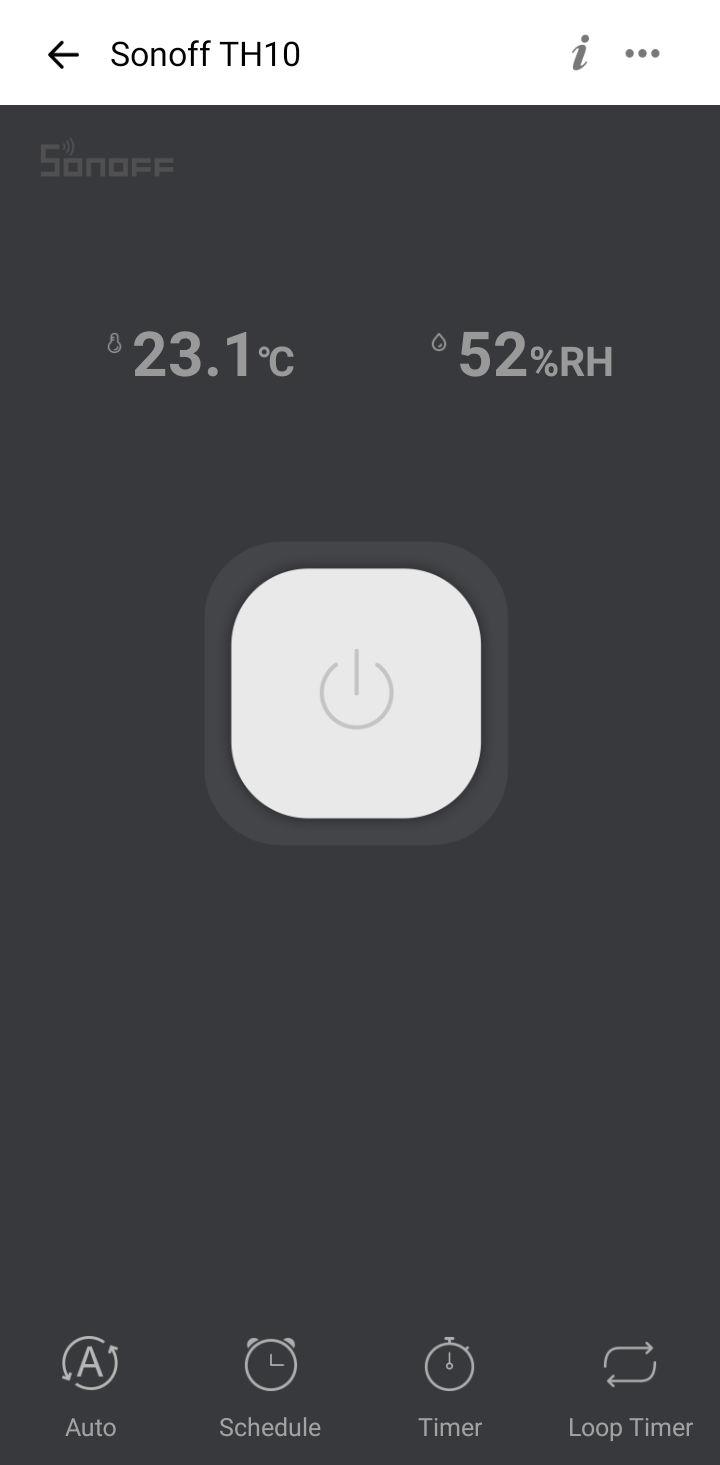
How to see whether Auto mode is active?
Auto mode disabled
- On the device screen you will see an
ONorOFFbutton you can manually press.
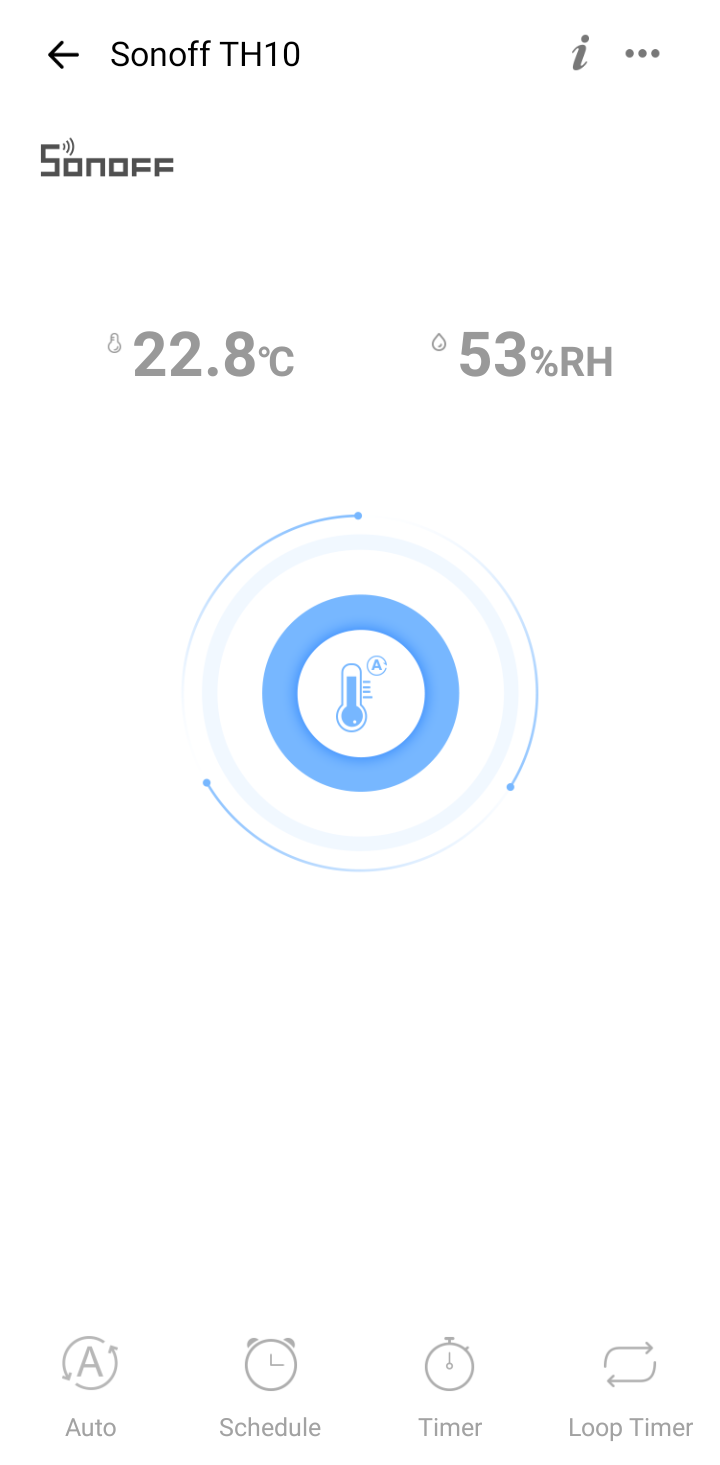
Auto mode enabled
- On the device screen you will see a thermometer icon with a swirl around it instead of an
ONorOFFbutton you can manually press.
You must be logged in to post a comment.