eWeLink Community Knowledge Base
How to add eWeLink devices to Samsung SmartThings?
INFORMATION
This article was made possible by Rafael. We thank him for sending us the screenshots and instructions.
Adding your eWeLink devices to SmartThings is based on device types. You add devices of the same type all at once. Once you added the devices of a specific type you might need to add other types of devices too if needed. At the moment of this writing (December 20th, 2020) not all types of eWeLink supported devices are supported yet. To discover which kind of eWeLink supported devices are usable within SmartThings you will have to try it out.
Step 1: Open SmartThings and press the “+” button
- Open the SmartThings app.
- Tap the
+sign.
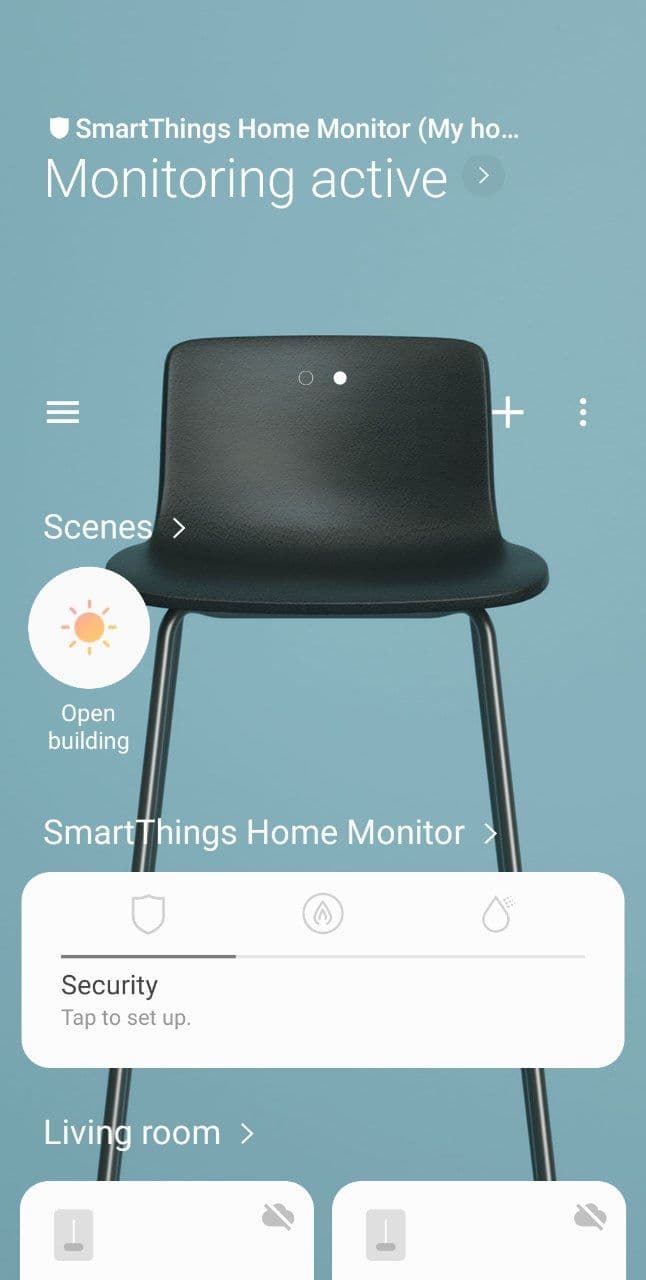
Tap the “+” sign
Step 2: Choose “Device”
- Choose
Device.
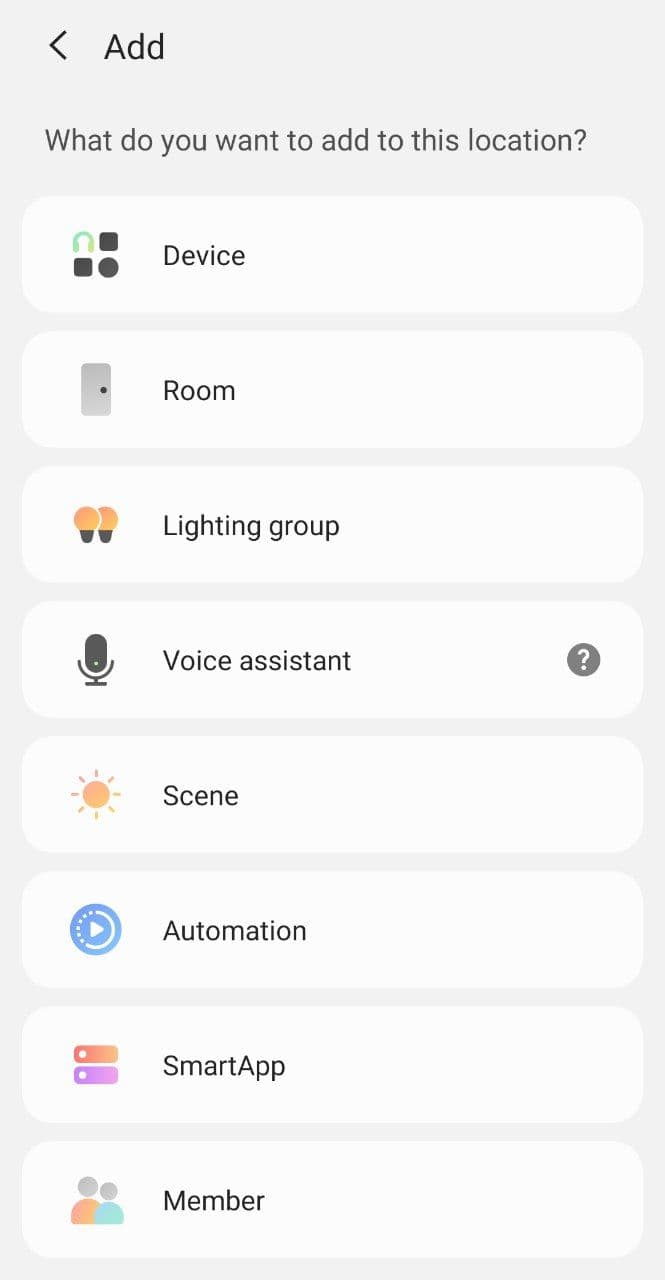
Choose “Device”
Step 3: Select a way how to add a devices
There are 2 ways to link devices of eWeLink to SmartThings: by brand or by device type. Choose in which way you want to proceed:
Step 3a: add devices by brand
Step 3a 1: choose brand
- Tap
By brand. - Tap
eWeLink.
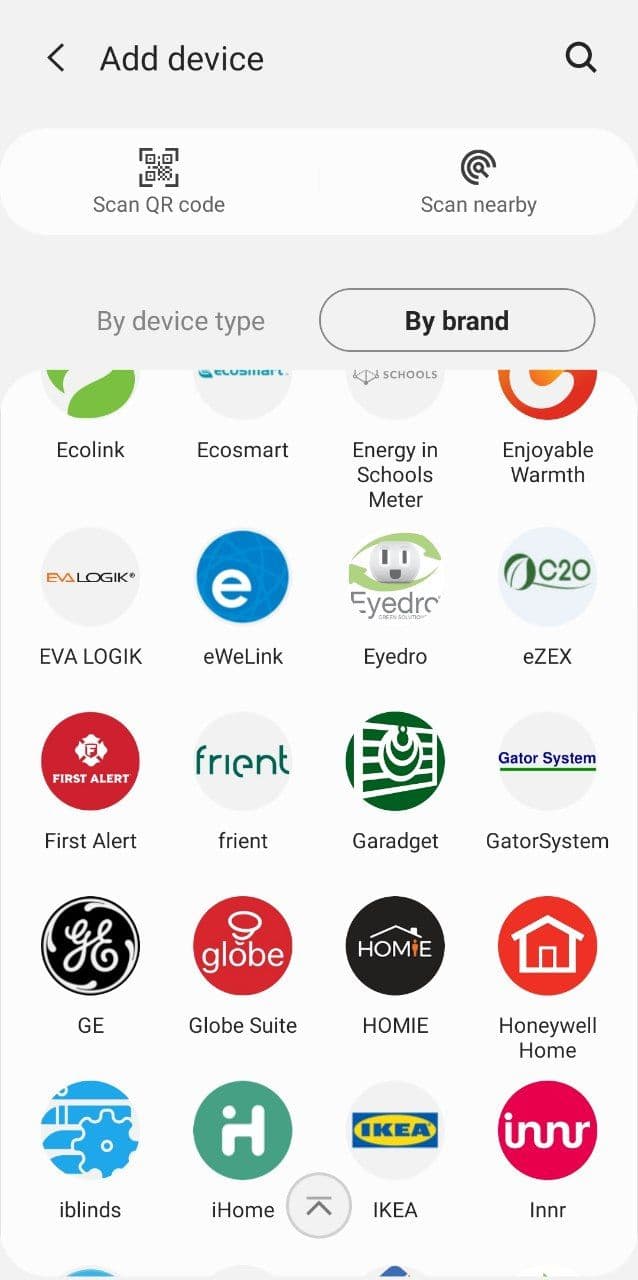
Tap “eWeLink”
Tap “By brand”
Step 3a 2: choose a device type
- Although it maybe seems to be a bit unlogical you can just tap
Switch/dimmerhere. In the end it is only about linking your eWeLink account to SmartThings. All eWeLink compatible devices on your eWeLink account and supported by SmartThings will show up at SmartThings. - Proceed to step 4.
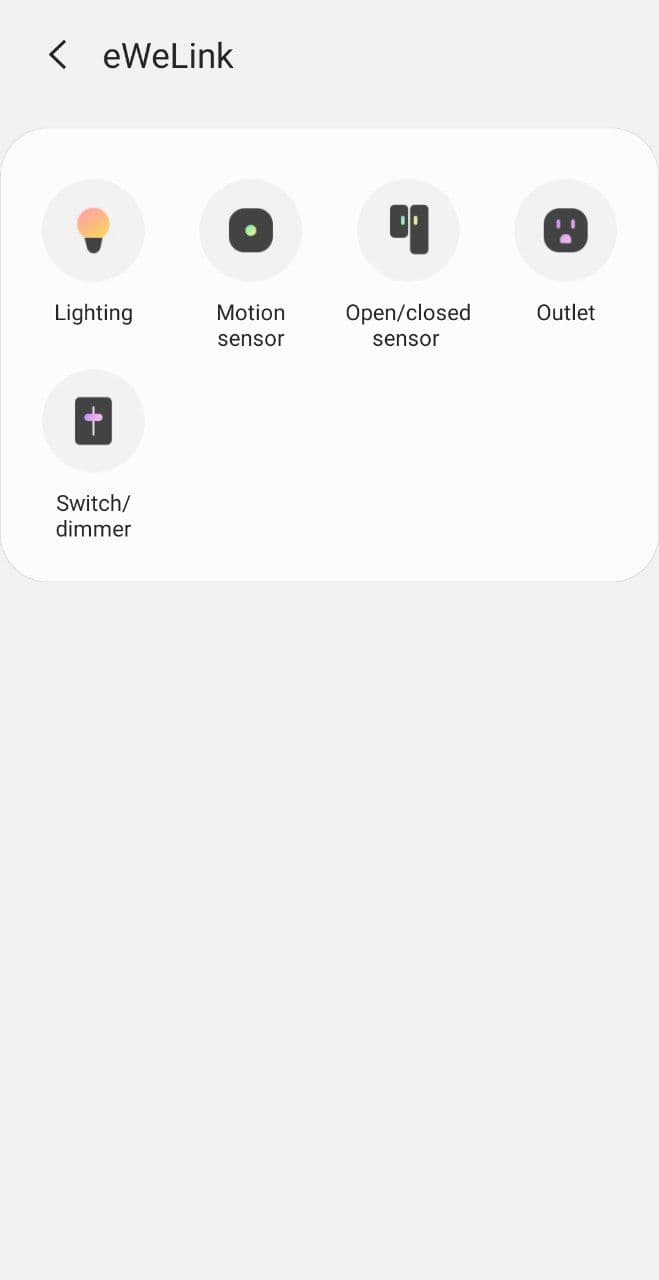
Choose a device type
Step 3b: add devices by device type
Step 3b 1: choose a device type
- Tap
By device type. - Although it maybe seems to be a bit unlogical you can just tap
Switch/dimmerhere. In the end it is only about linking your eWeLink account to SmartThings. All eWeLink compatible devices on your eWeLink account and supported by SmartThings will show up at SmartThings.
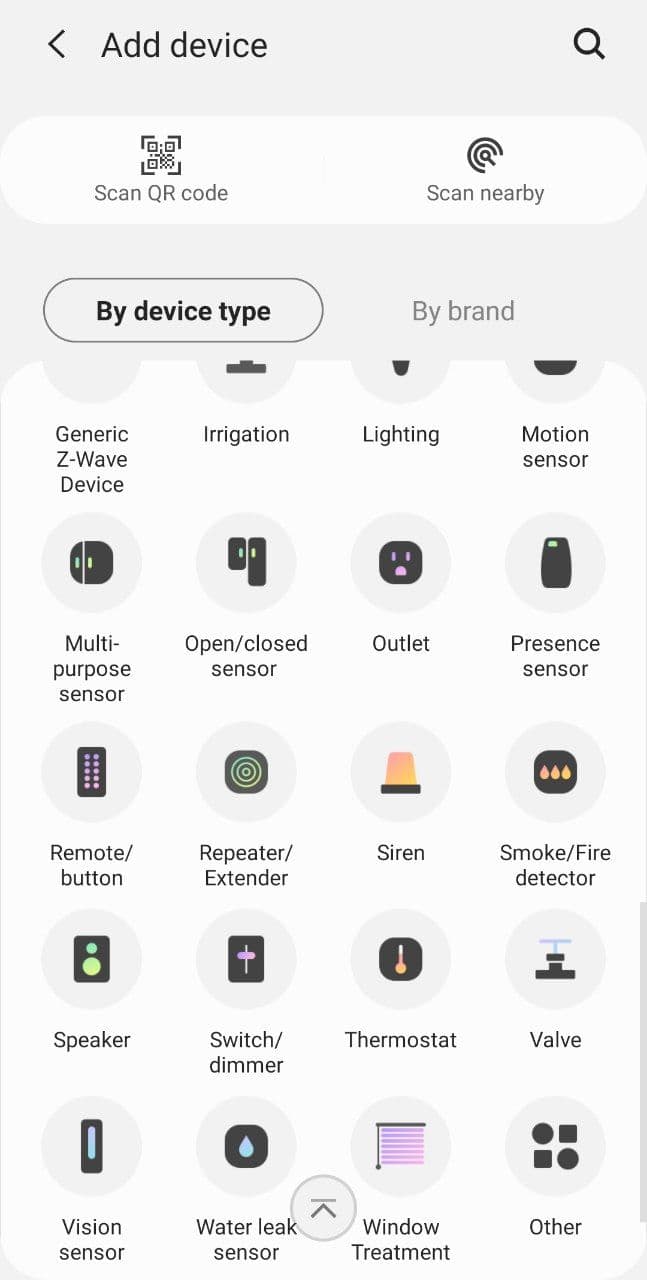
Tap a device type
Tap “By device type”
Step 3b 2: choose brand
- Choose
eWeLink.
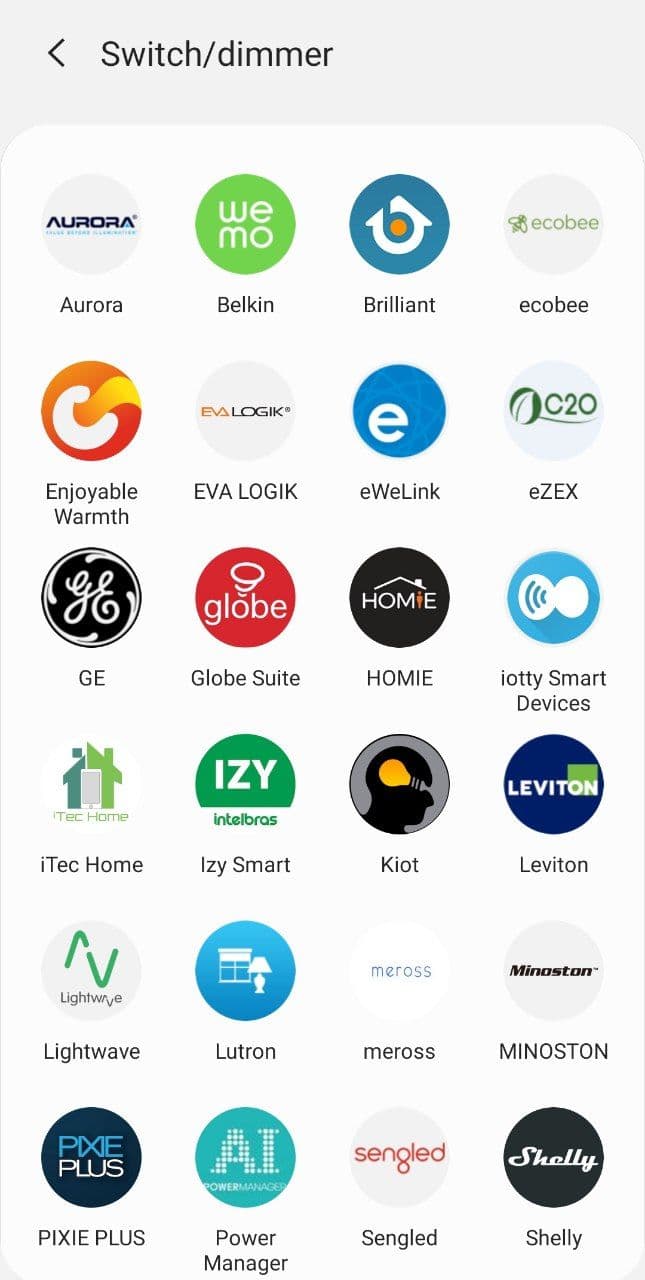
Choose “eWeLink”
Step 3b 3: choose correct driver
- For all eWeLink compatible devices connected to your eWeLink account you can choose
eWeLink Smart Home. For all other kind of devices choose the correct driver. In our example we will useeWeLink Smart Homefor WiFi-only switches.
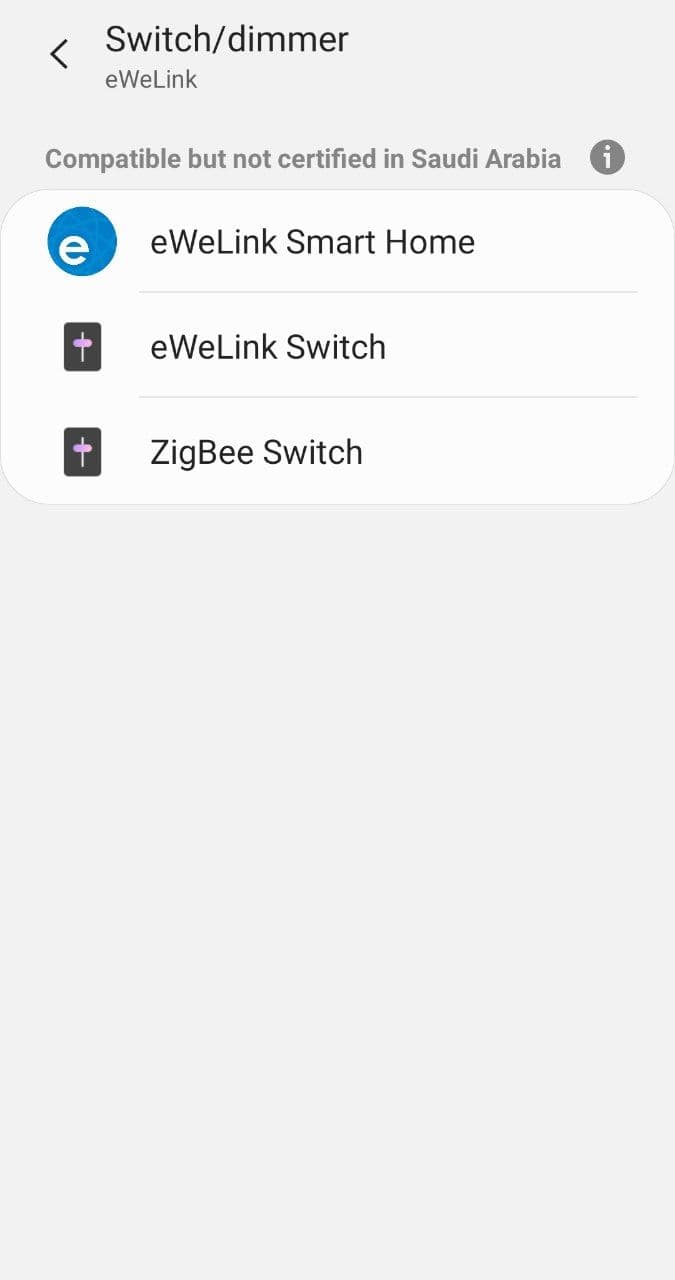
Choose “eWeLink Smart Home”
Step 4: select location and room
- Select the location where you want to add the devices.
- Select the room of the chosen location where you want to add the devices.
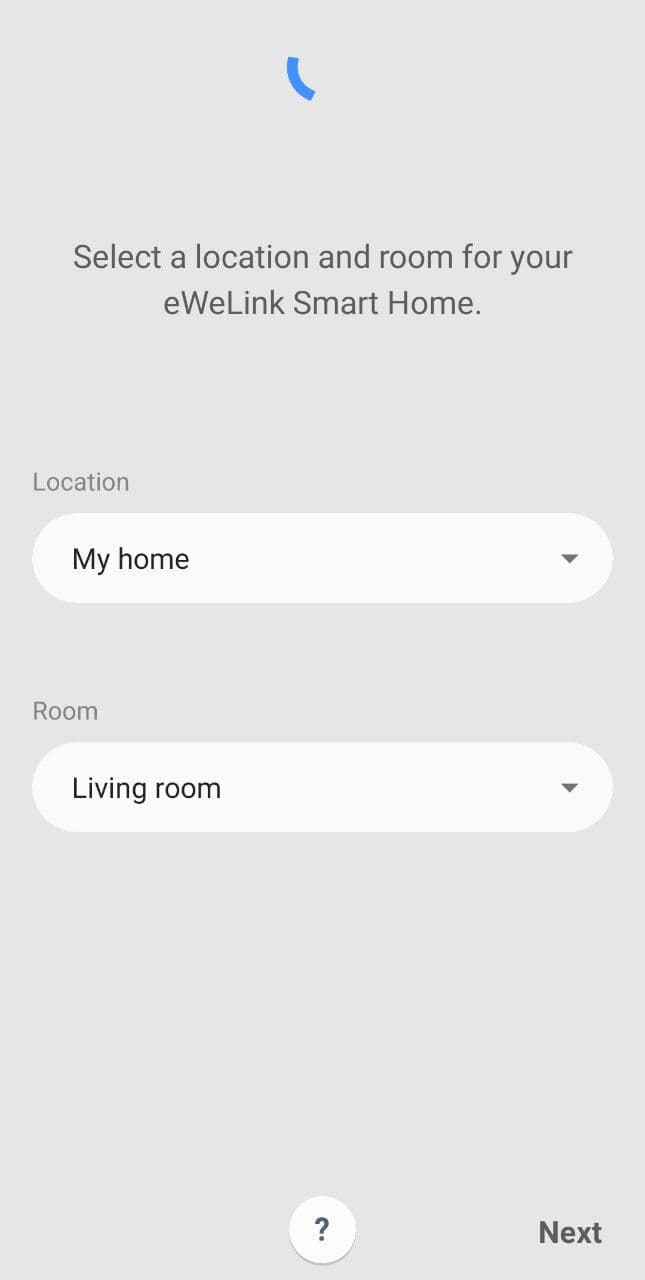
Select location
Select room
INFORMATION
If you already linked your eWeLink account to Samsung SmartThings before you will directly see the screen as shown at step 7 and thus you can skip step 5 and 6.
Step 5: login to your eWeLink account
- Choose the
Country/regionyou chosed at signing up your eWeLink account. - At
Accountyou fill in your eWeLink account name. - At
Passwordyou fill in your eWeLink password. - Tap
Log Inwhen you finished filling in all fields of the form.
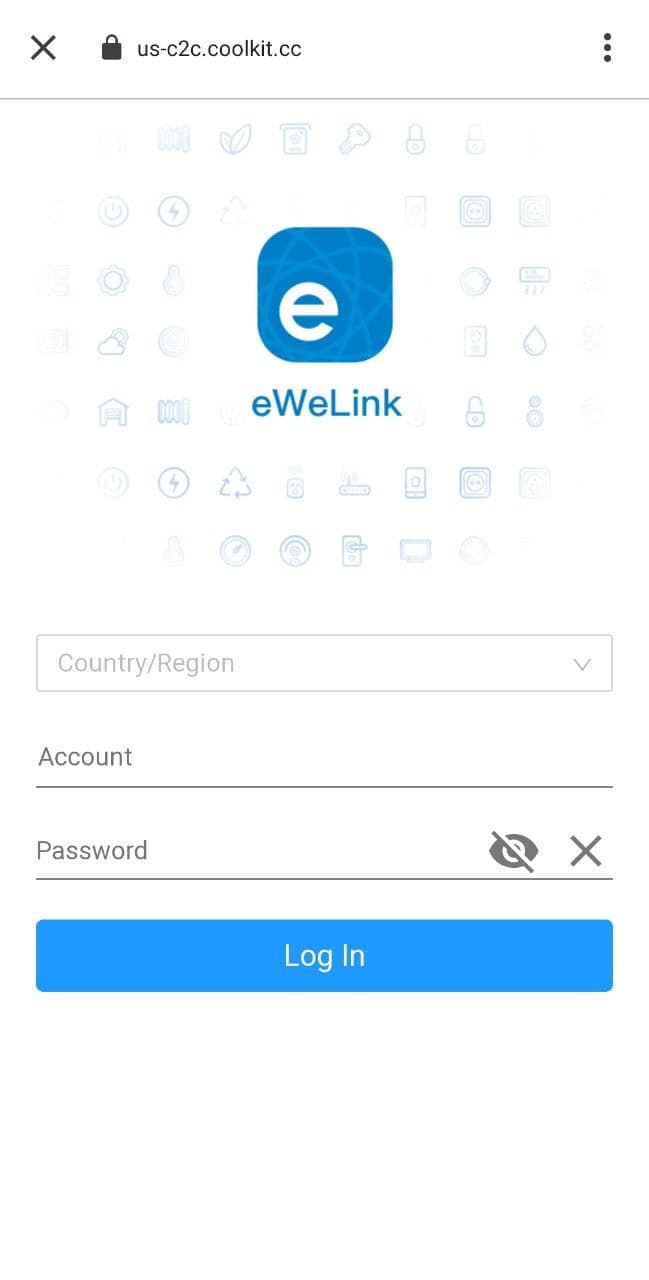
Country/region
Account
Password
Log in
Step 6: close the linking confirmation
- Tap the
Xat the upper left corner.
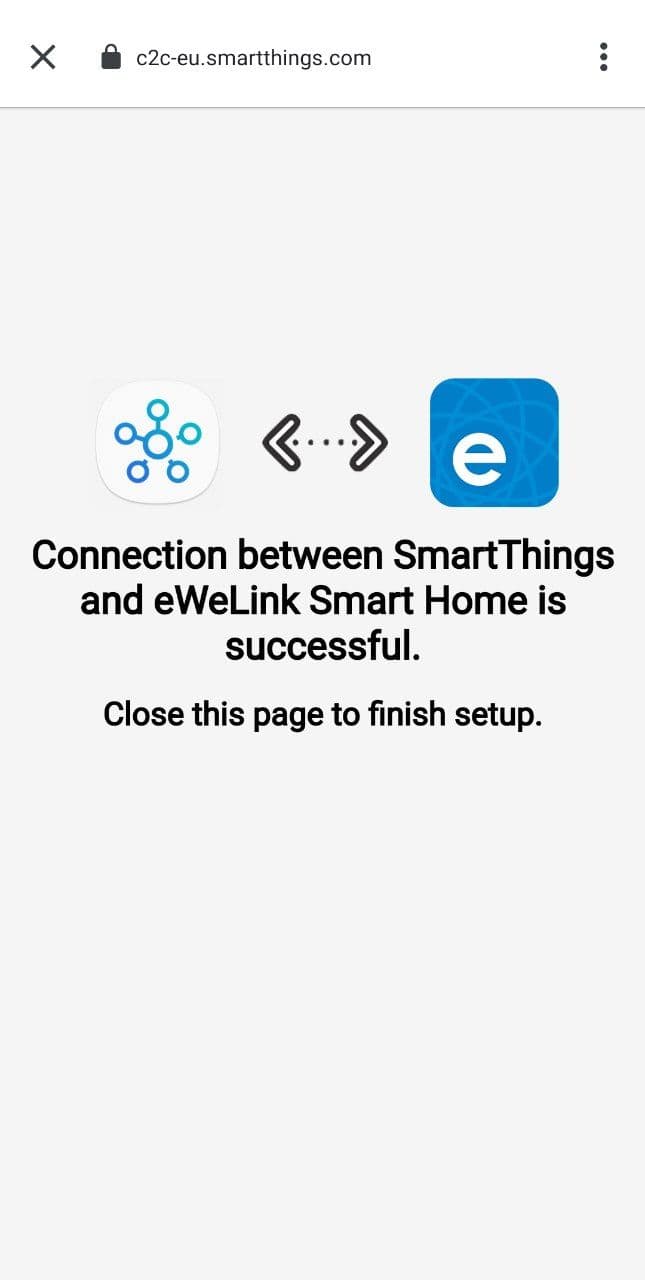
Tap the “X” at the upper left corner.
Step 7: close devices added confirmation
- You now see a confirmation of the devices that are added to your SmartThings account.
- Tap
Done.
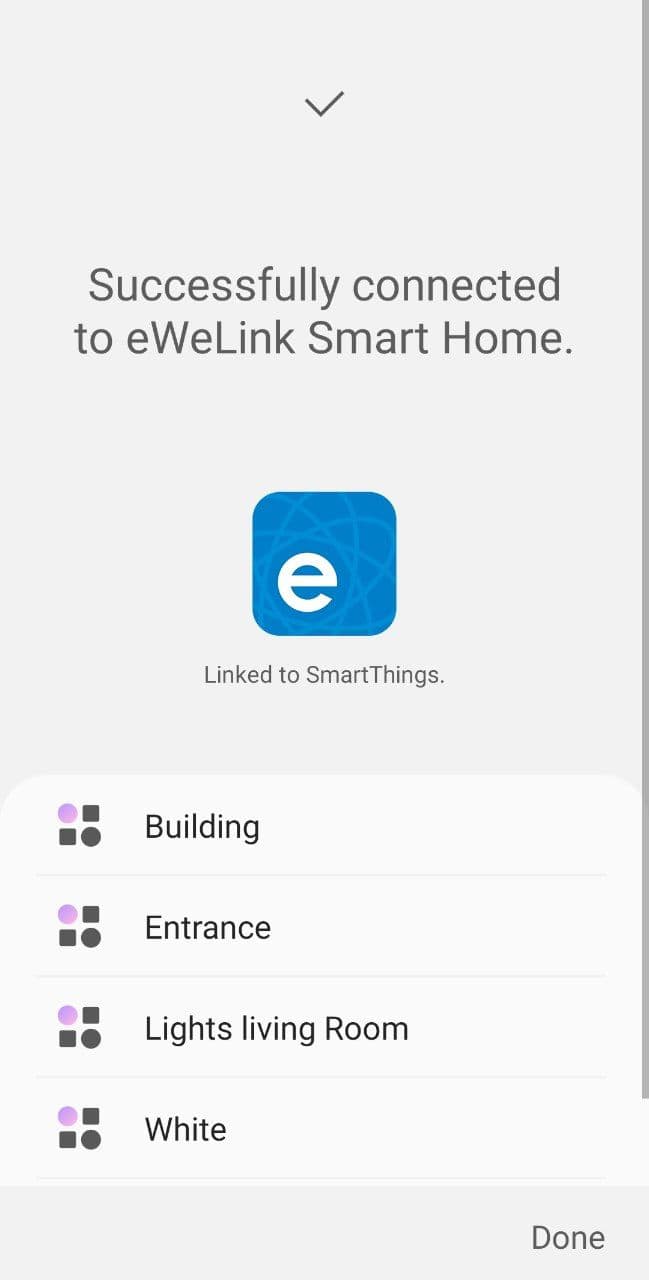
Tap “Done”
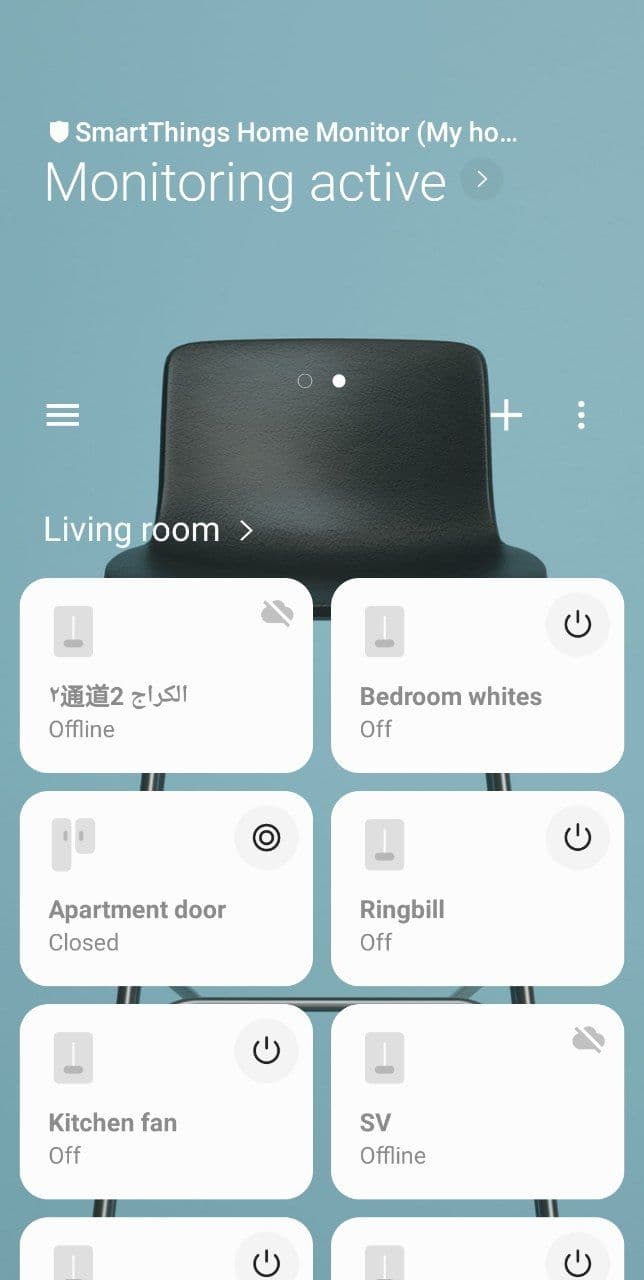
Step 8: completed
- The devices of the device type you have chosen will show up between the other devices on the main screen of the SmartThings app.
You must be logged in to post a comment.