eWeLink Community Knowledge Base
How to add a RF 433 MHz remote control button to a RF bridge to control eWeLink supported devices?
You may have an old RF 433 MHz remote control laying around in your house which was needed back in the time to operate one of your first home automation RF plugs. It allowed you to be lazy and control your devices from the comfort of your chair.
Nowadays you discovered the advantages of the Internet of Tings (IoT) and eWeLink. You have replaced all old RF plugs by eWeLink supported devices to operate them all from your home and even outside of your home. Both the RF plugs and the RF remote control are still usable in co-operation with a RF bridge.
This article describes how to add a RF remote control to your RF bridge in order to operate eWeLink supported devices with it. This article asumes you already paired a RF bridge (e.g. the Sonoff RF bridge or the Eachen RF Bridge Dual RF (RM-DC34)) to your eWeLink account and app.
Adding the RF remote control button to the RF bridge
First we will add the old RF remote control button to the RF bridge.
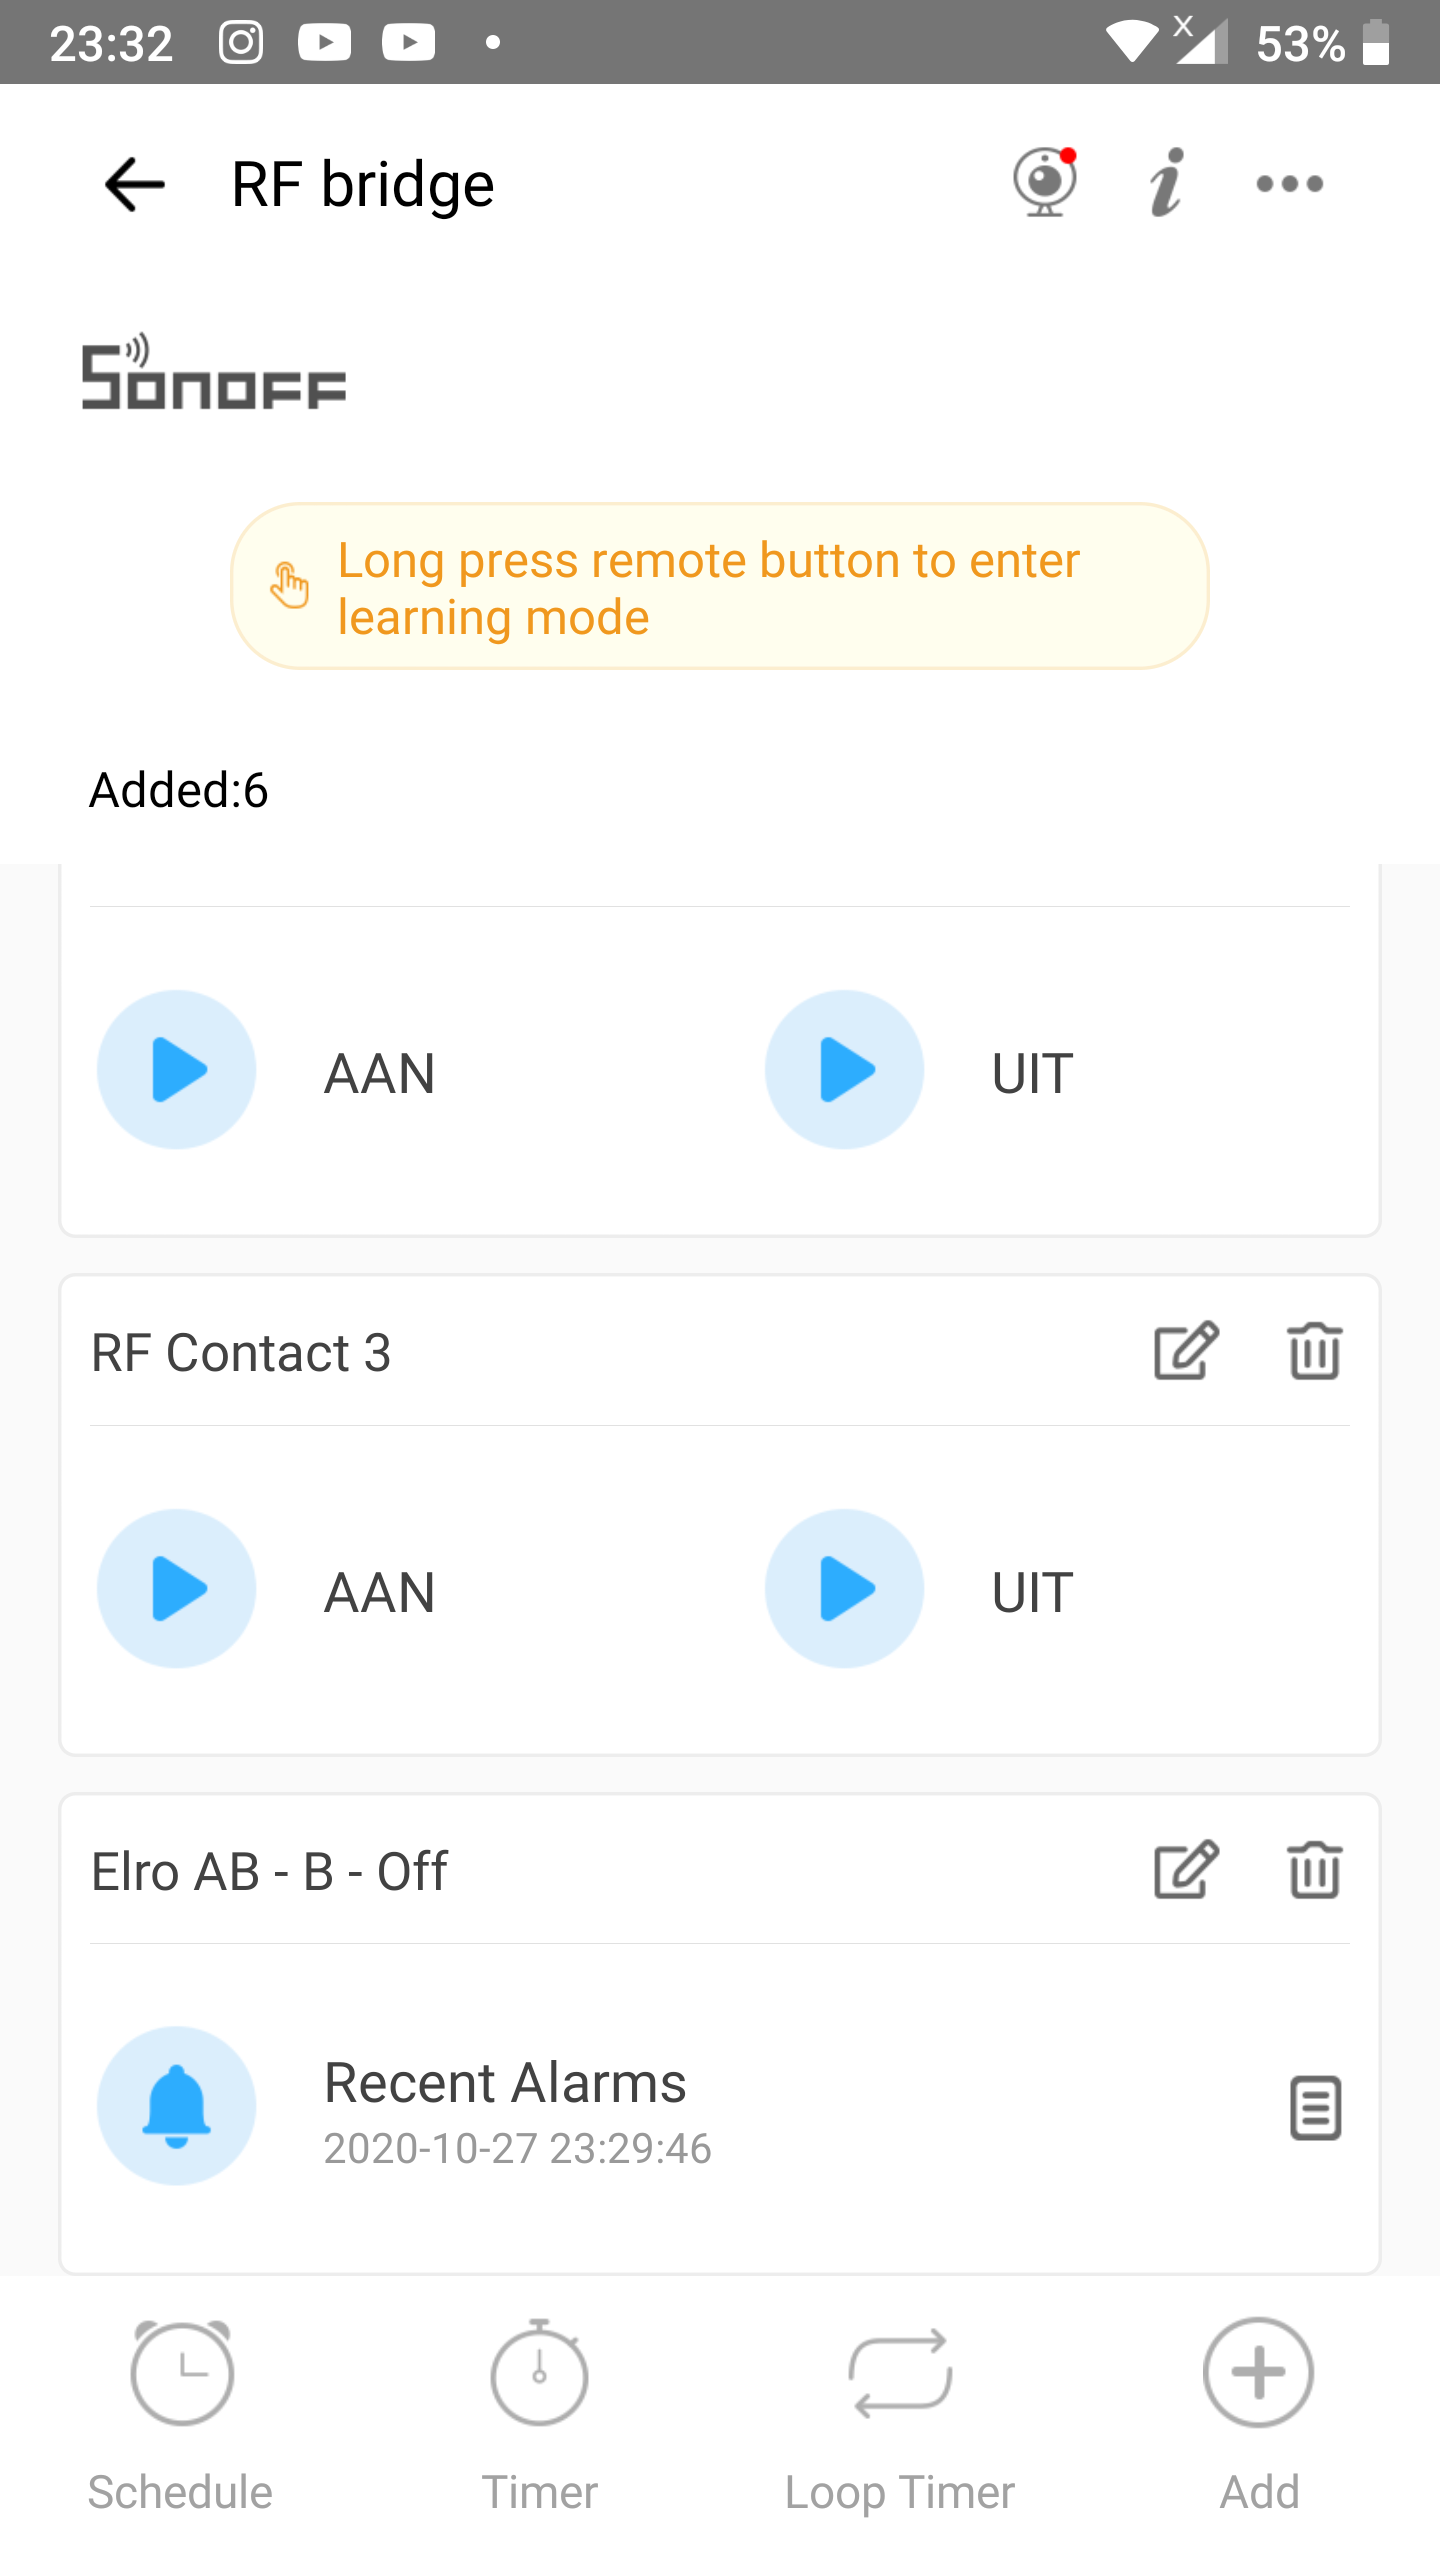
Step 1: Initiate the learning process
- In the eWeLink app go to your RF bridge. Press the
Addbutton on the bottom right with the+icon.
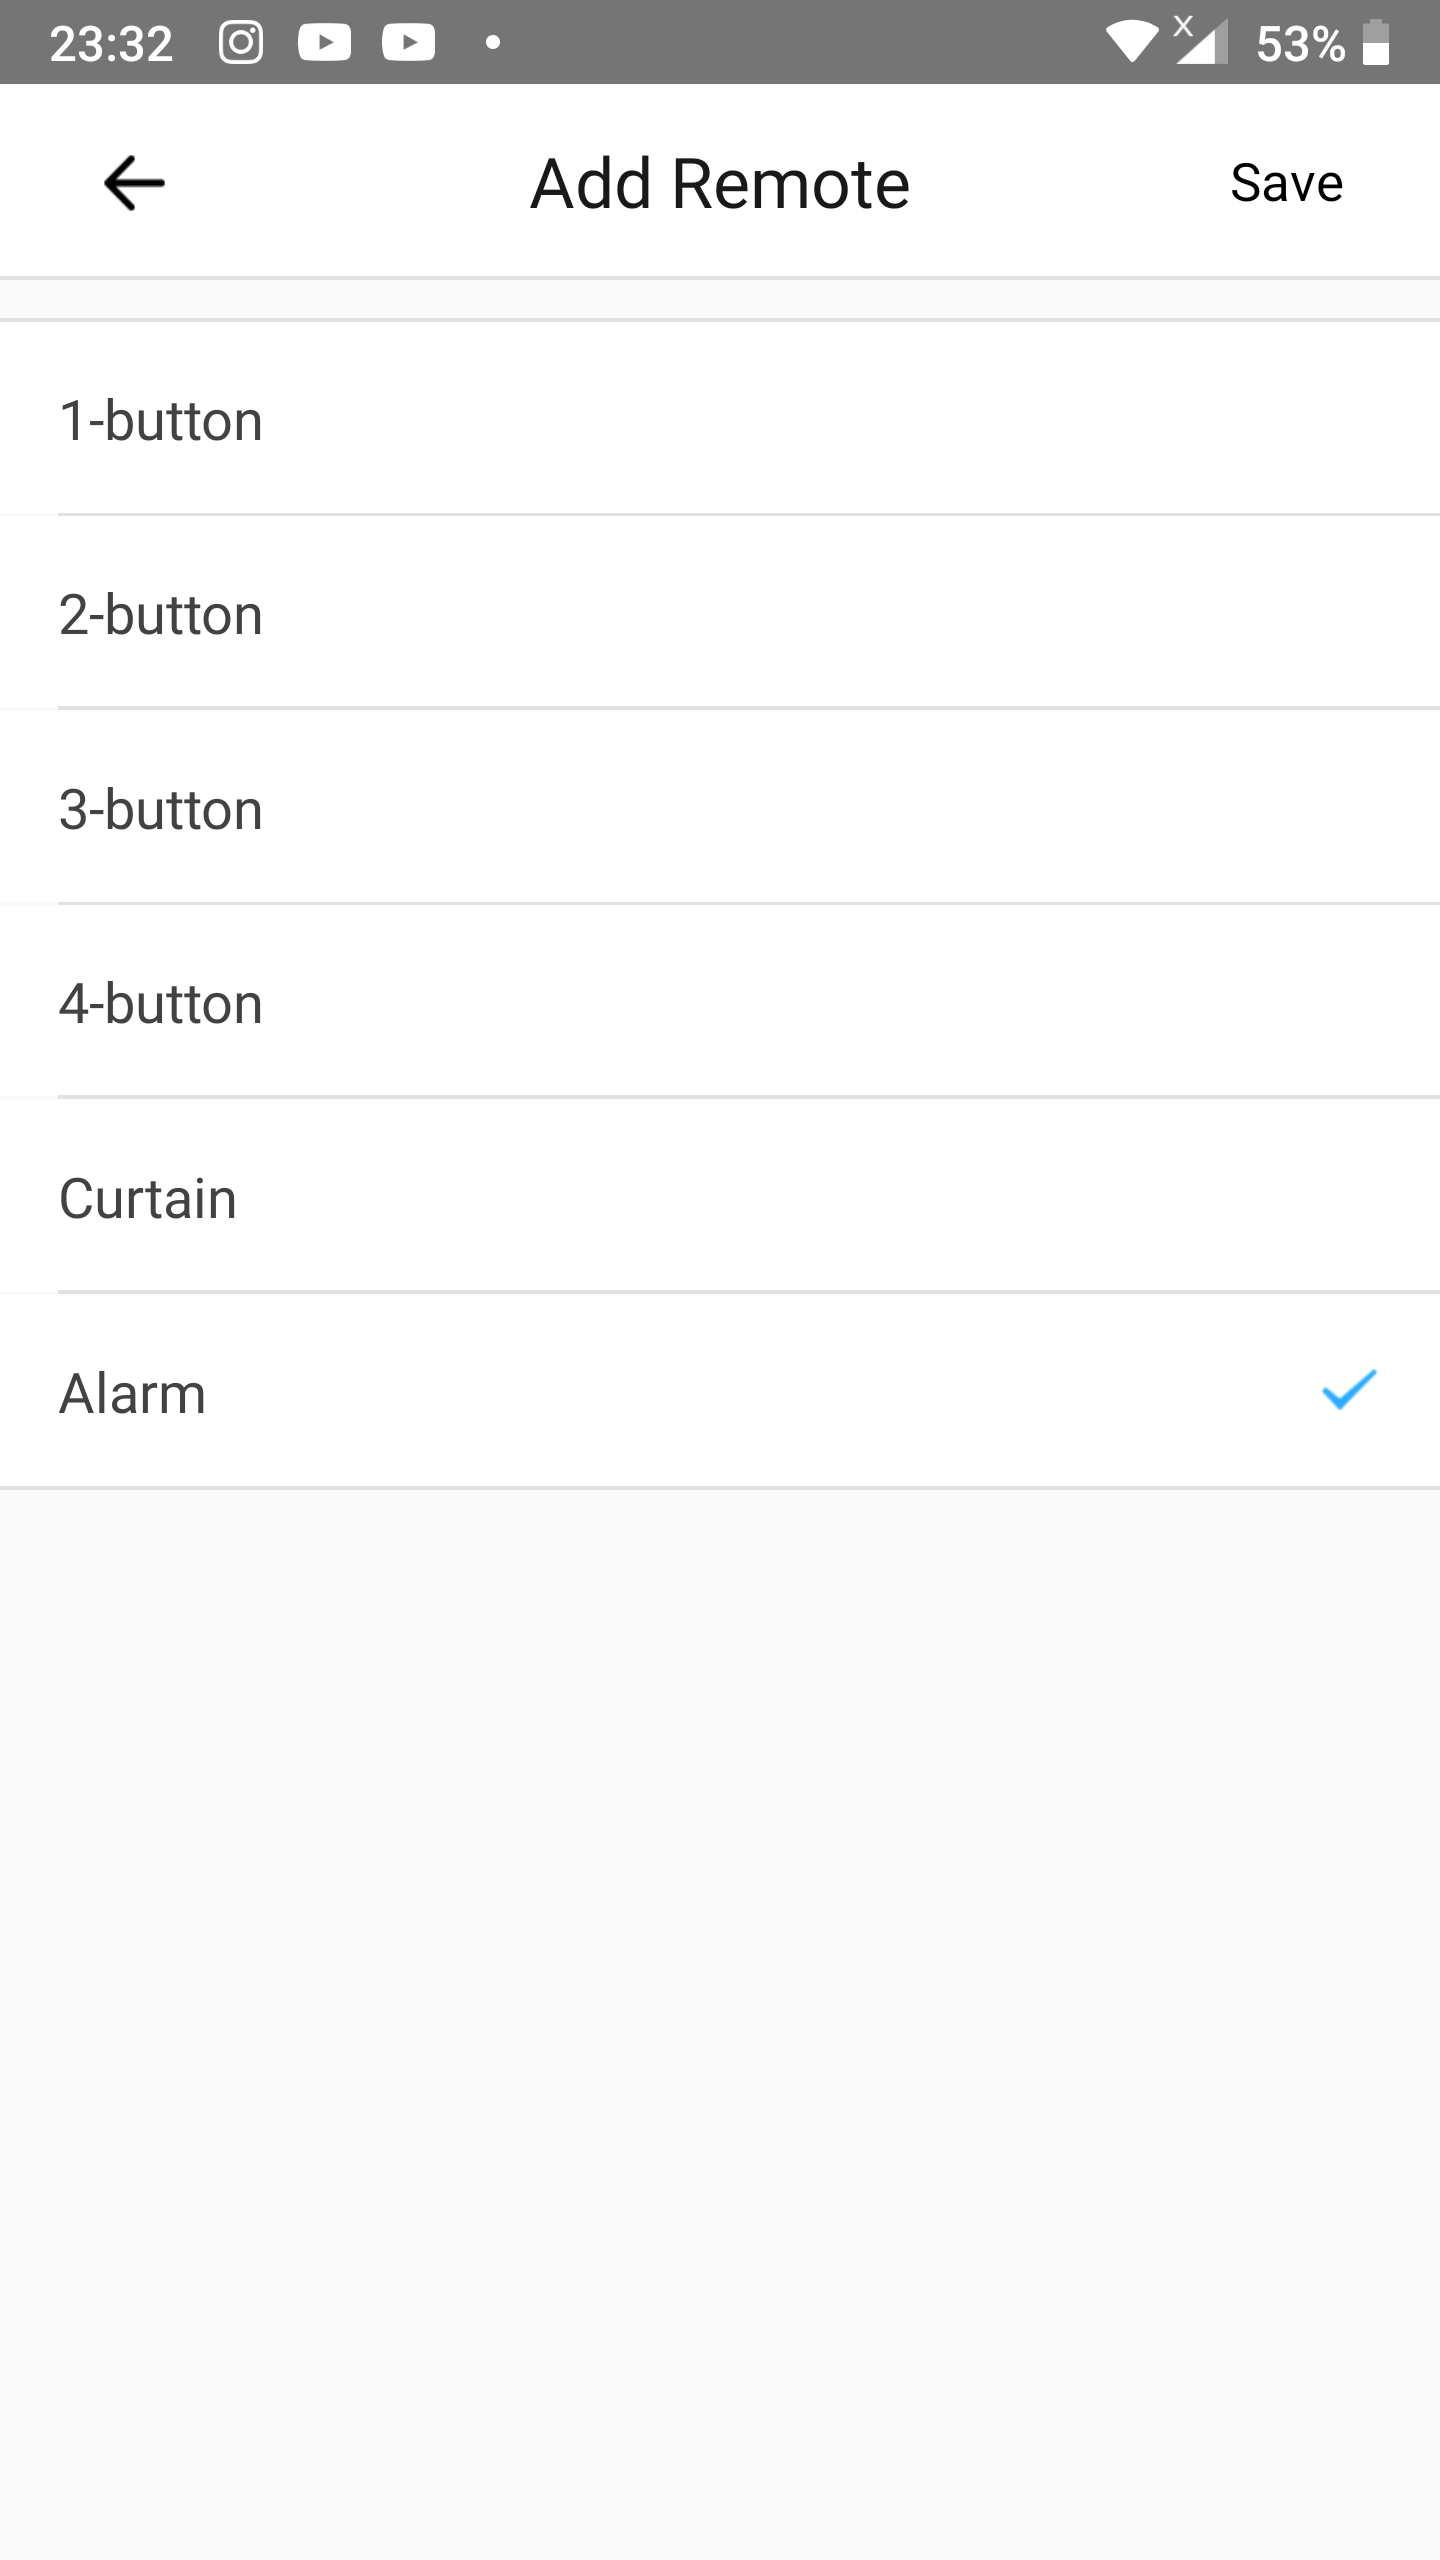
Step 2: Choose the type of remote you want to add
- Choose
Alarm(a tick will be shown at the right of it when it is choosen). - Then press
Savein the upper right corner
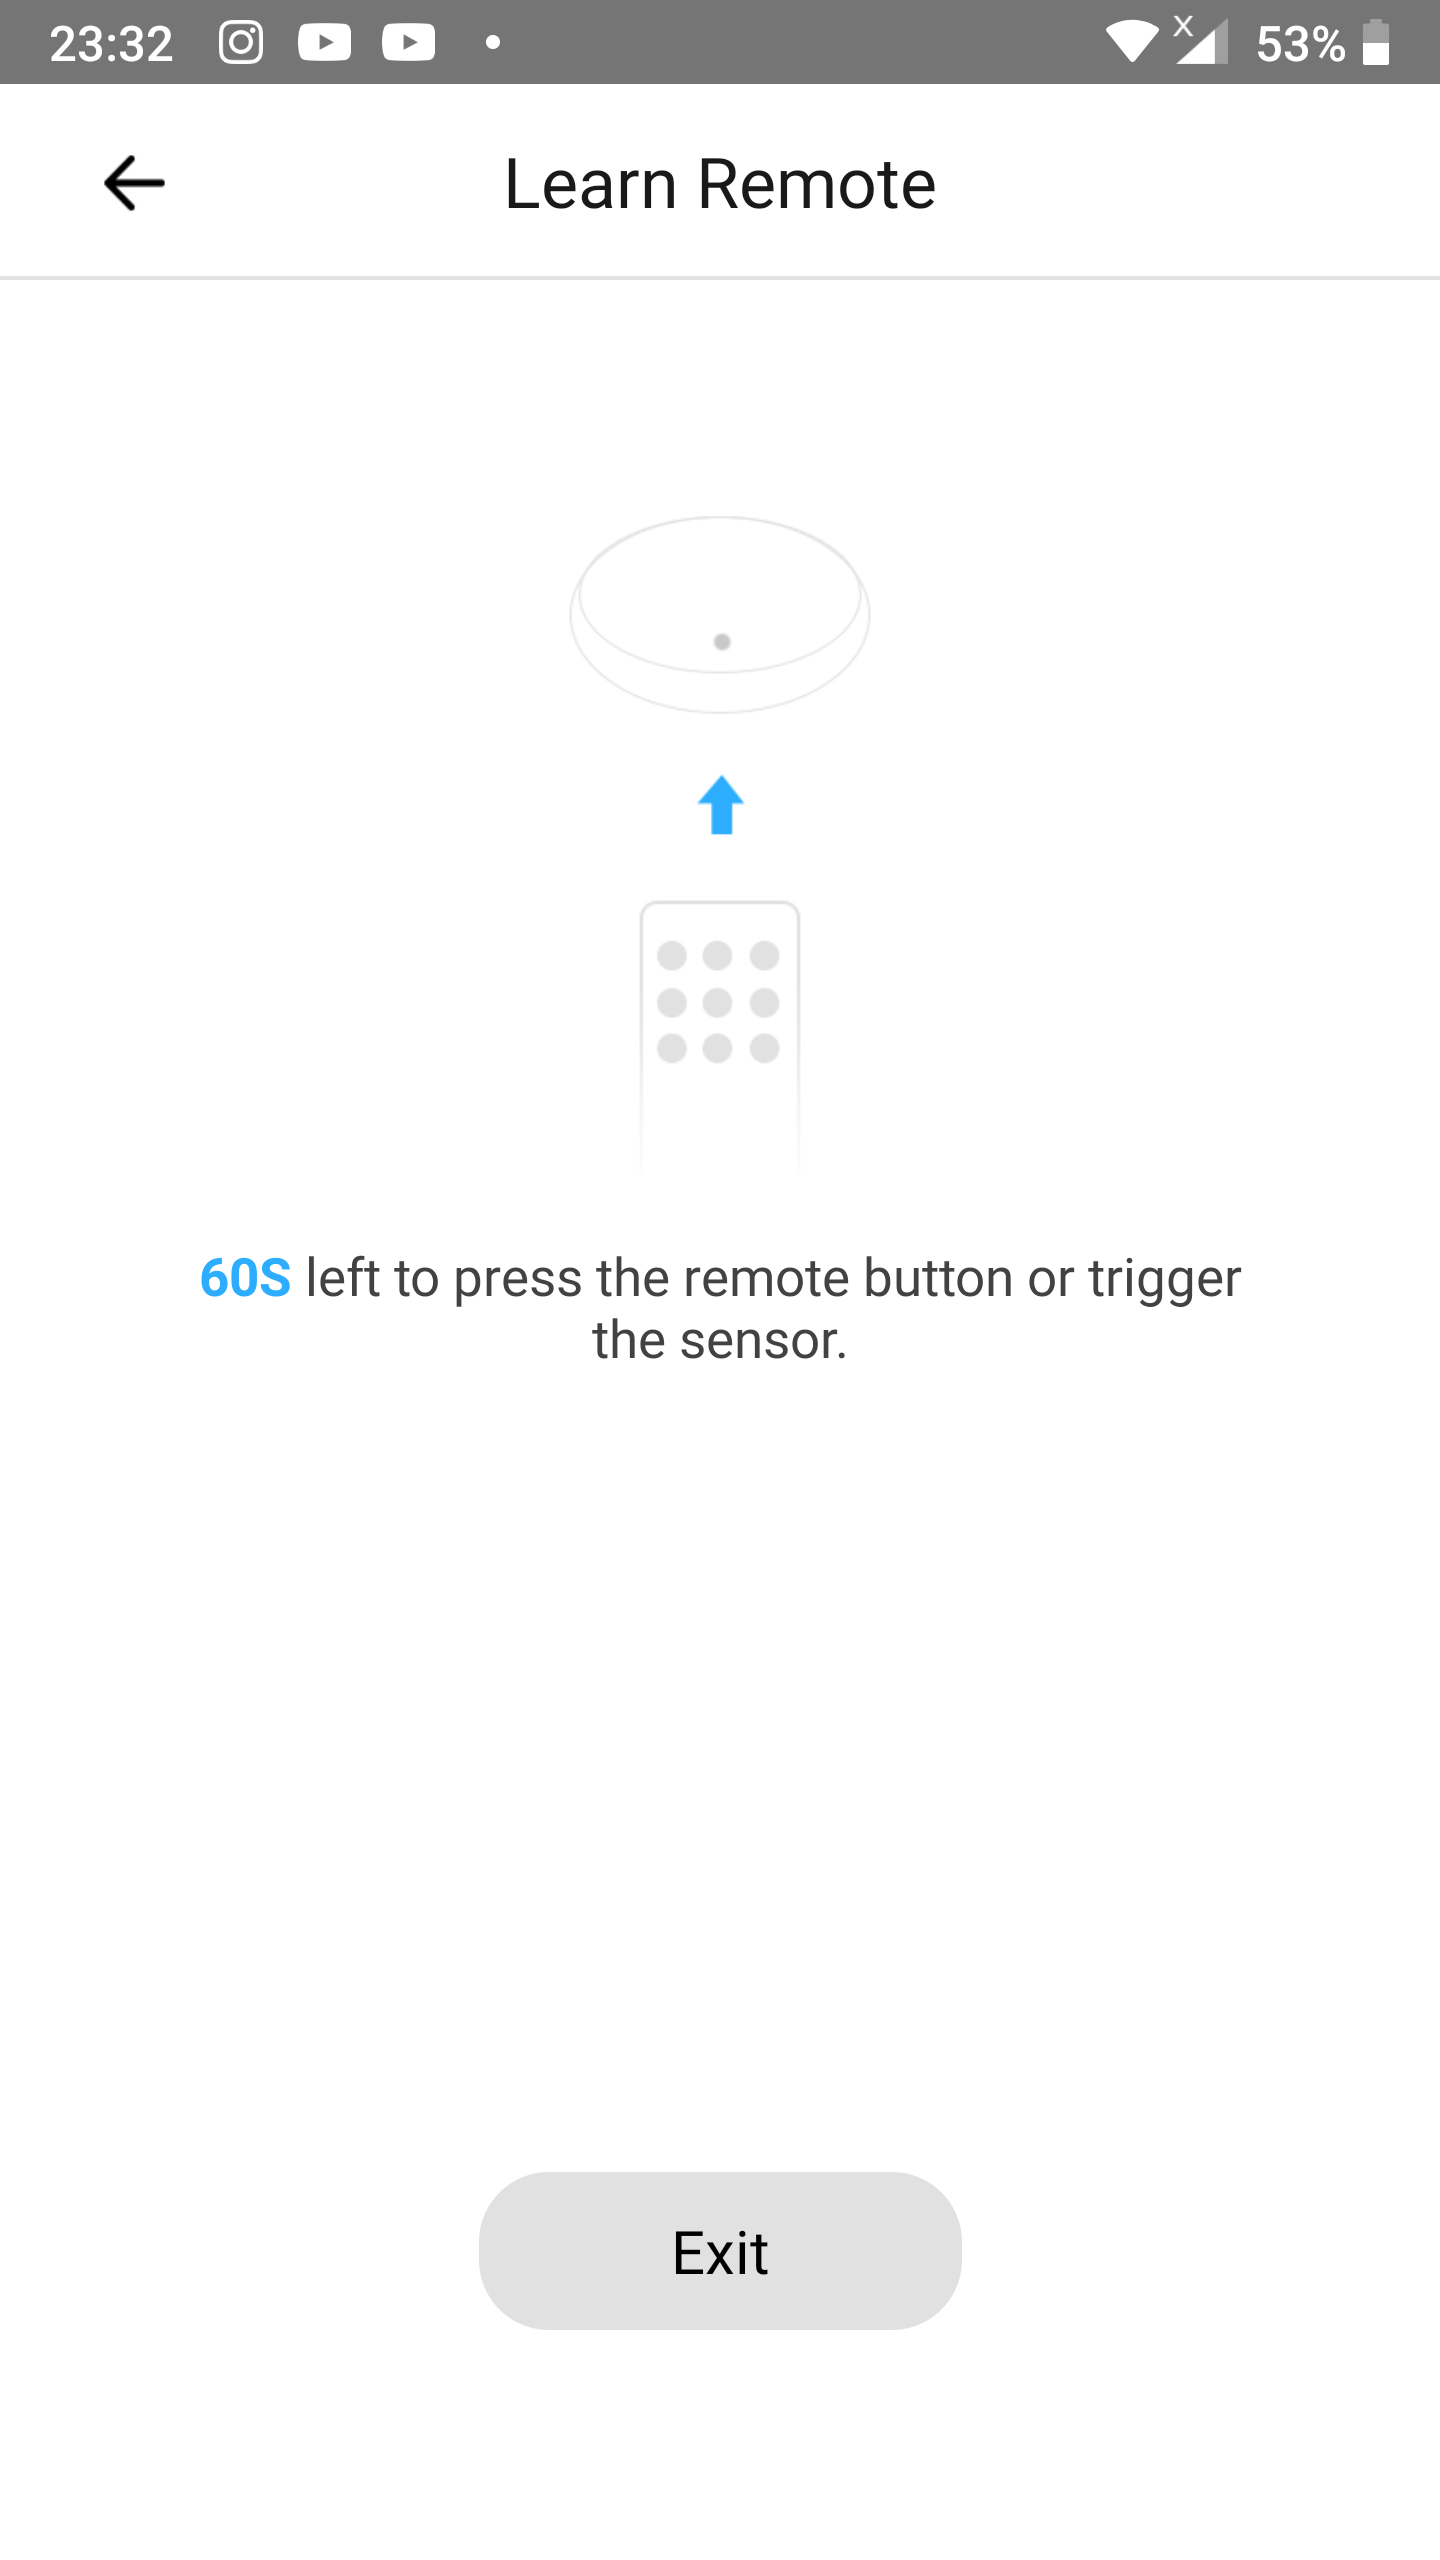
Step 3: Learn the RF signal for the RF remote button
- After you have tapped Save in the previous step the screen here on the right will be shown and your RF bridge will emit a single beep.
- Now press and hold the button on your old RF remote control you want to use in further automation. Hold it untill the RF bridge emits 2 short beeps.
- The app will automatically proceed to the next screen (see step 4 below). If the RF bridge failed to learn the RF remote control button or when you want to cancel you can tap the
Exitbutton.
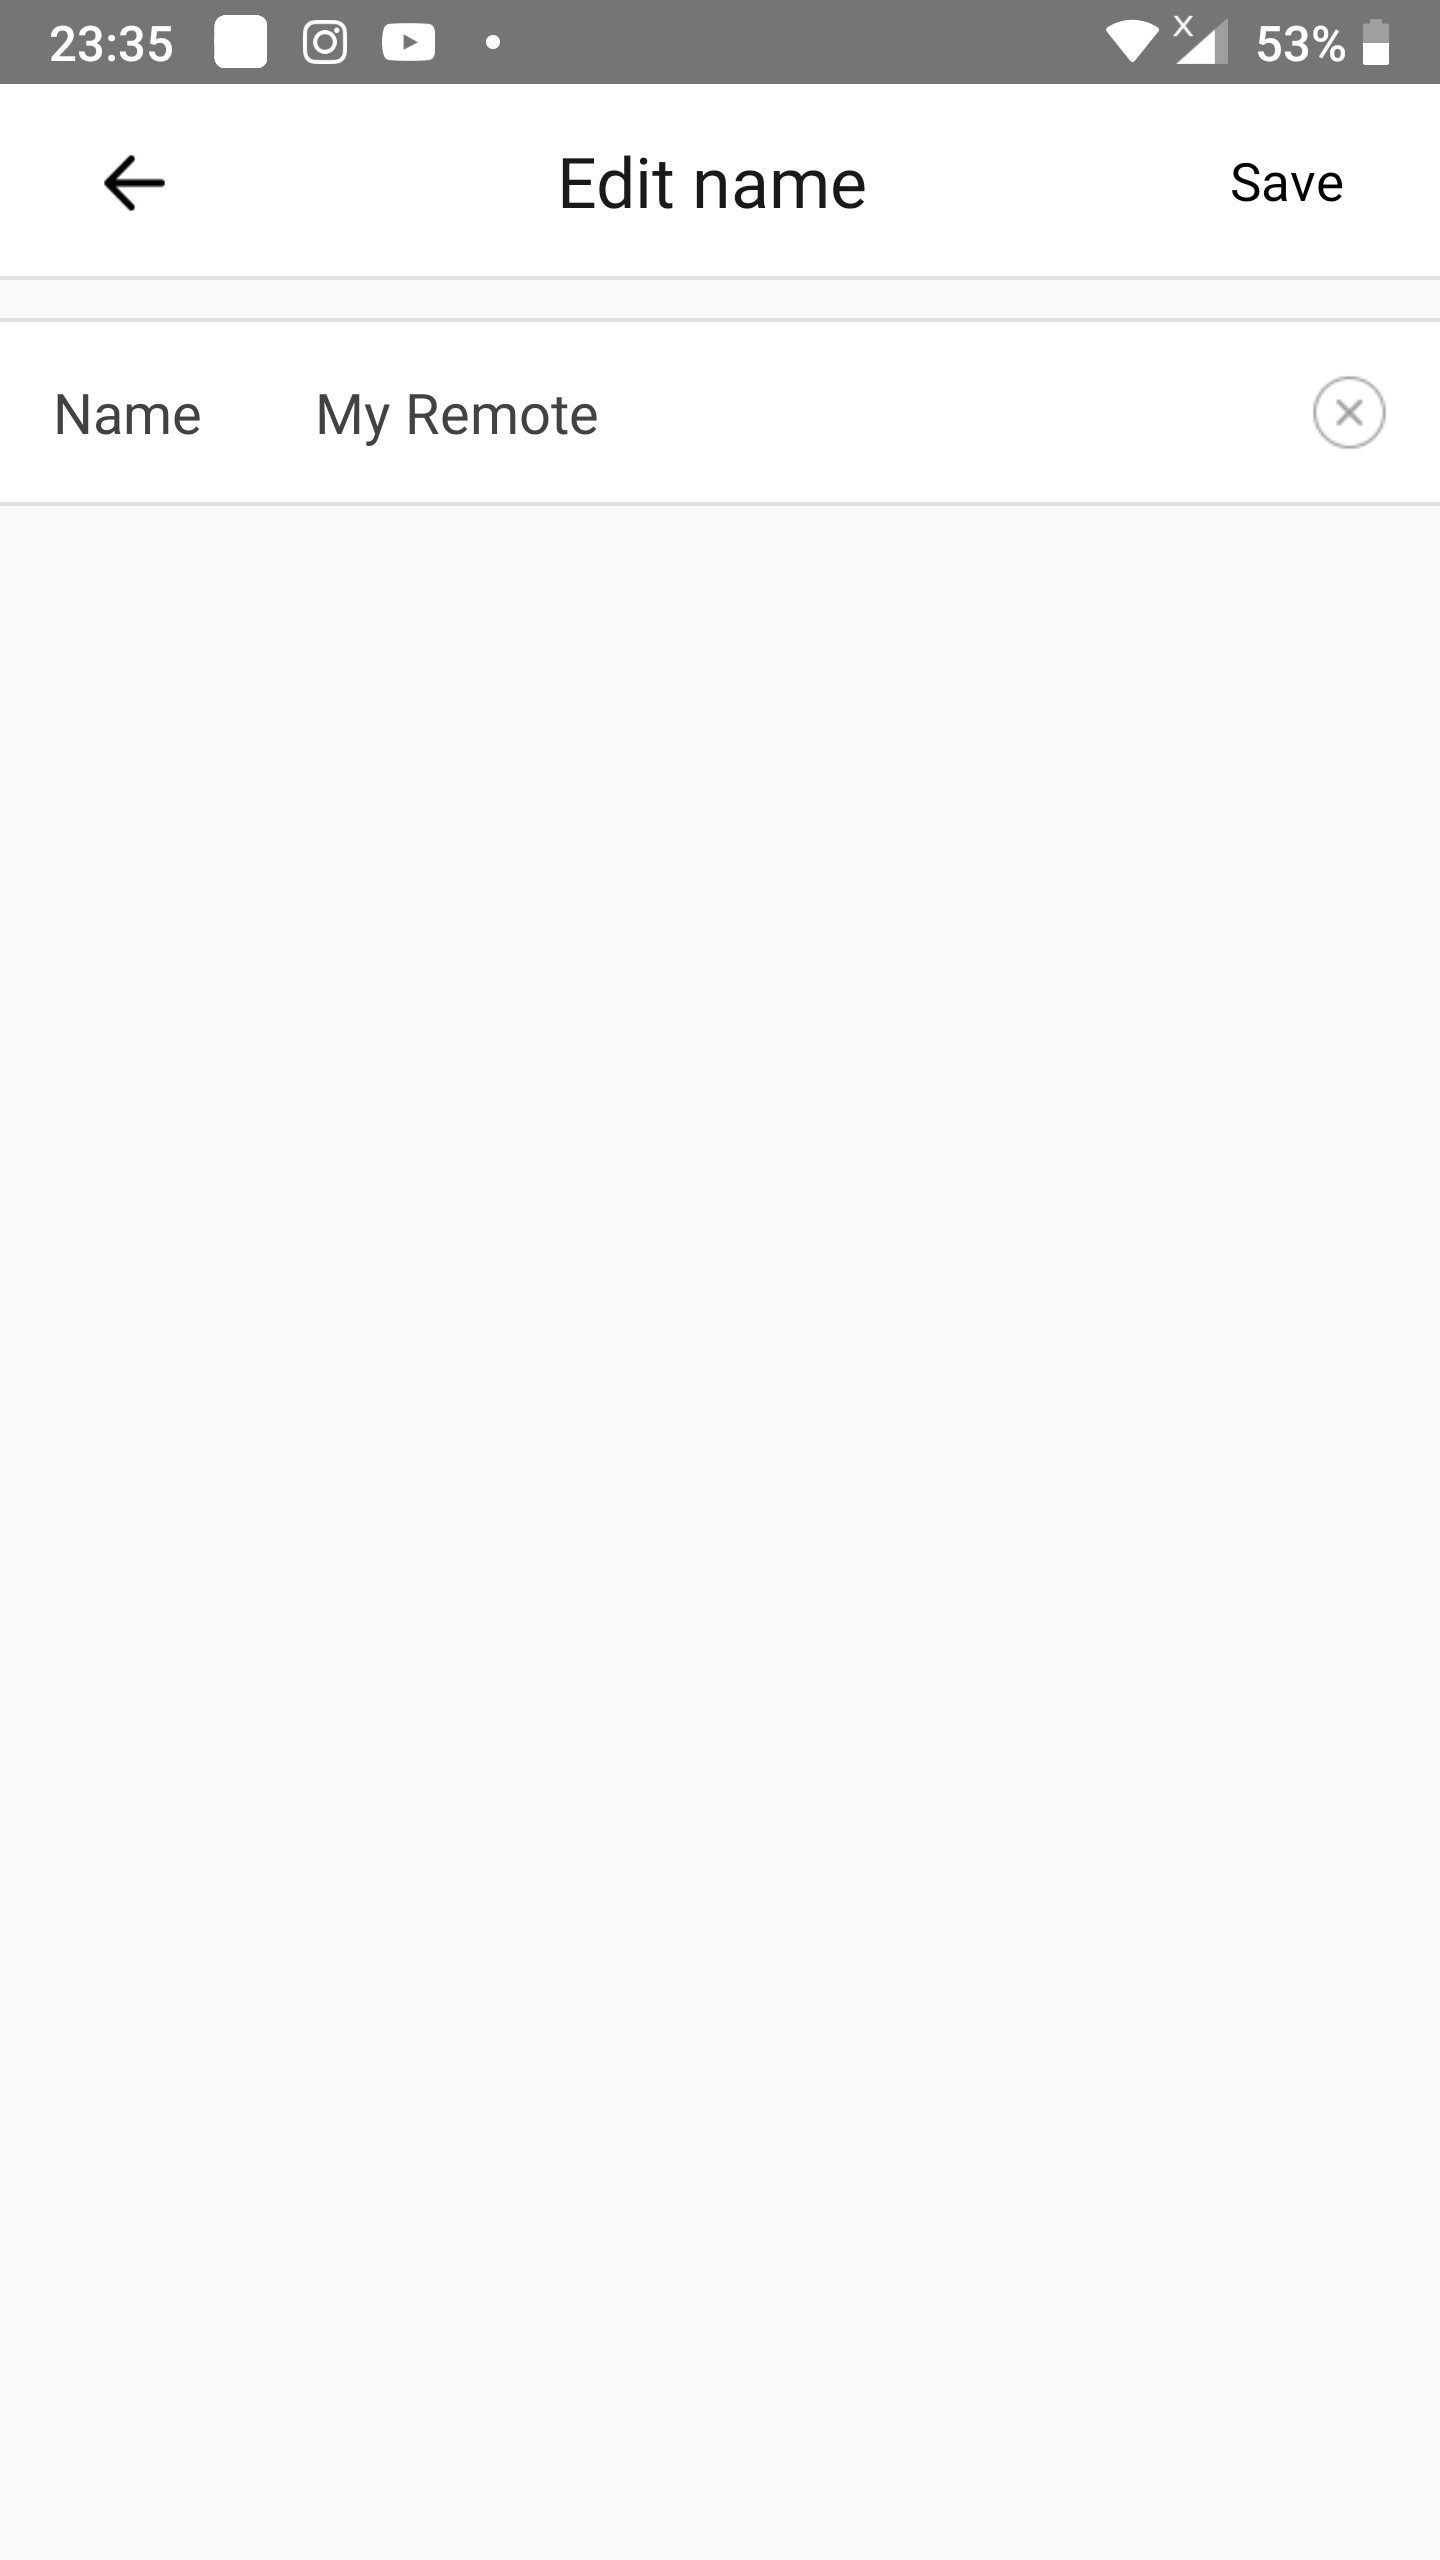
Step 4: Give the RF remote control button a name
- Give the RF remote control button that just have been learned a name. In the example on the right the default name
My remoteis being displayed. - Tap
Save.
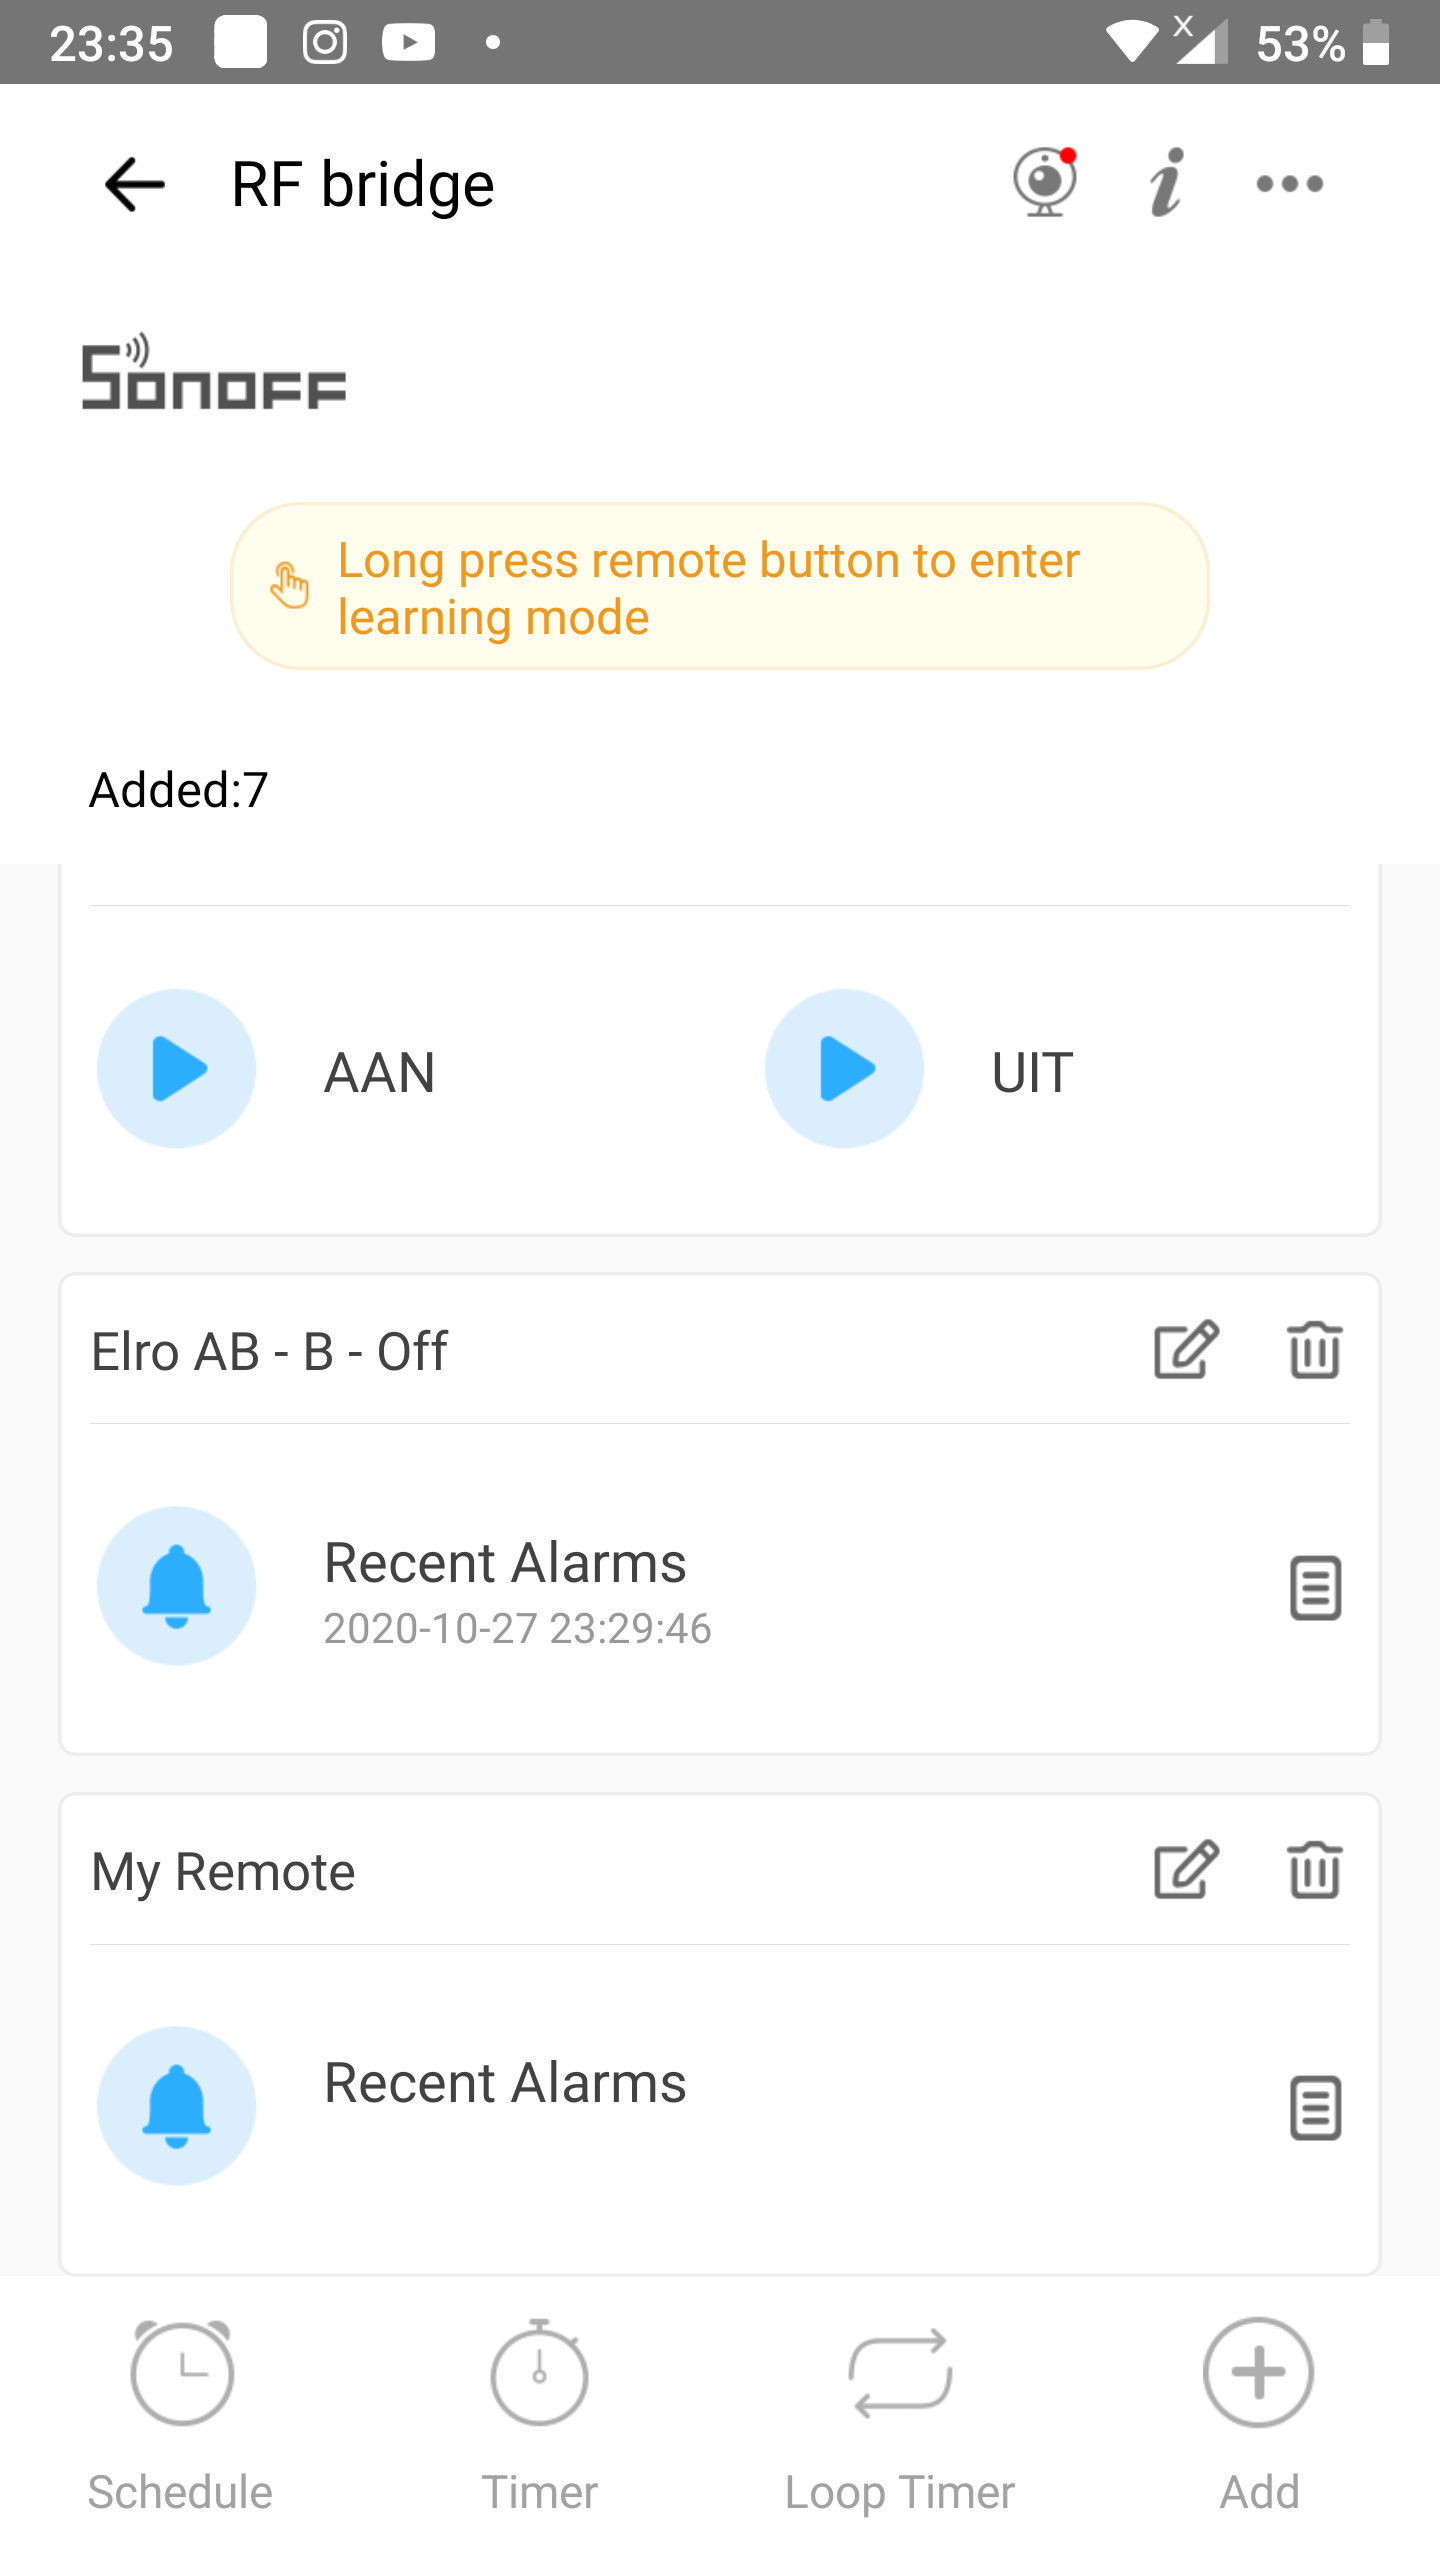
Step 5: RF remote button is added
- The RF remote button the RF bridge just learned is now added as
My Remoteto the RF bridge learned devices list.
Creating a scene to operate a device with the RF remote control
Now that you added a button of your old RF remote control you need to create a scene in the eWeLink app to actually let it operate a eWeLink supported device.
Step 1: Go to the Scenes screen of the eWeLink app
- Go to the
Scenescreen of the eWeLink app (second icon in the icon bar at the bottom of the app). - Tap on the
+sign in the upper right corner (do not get confused with the+sign in the middle of the bottom button bar) to create a new Scene.
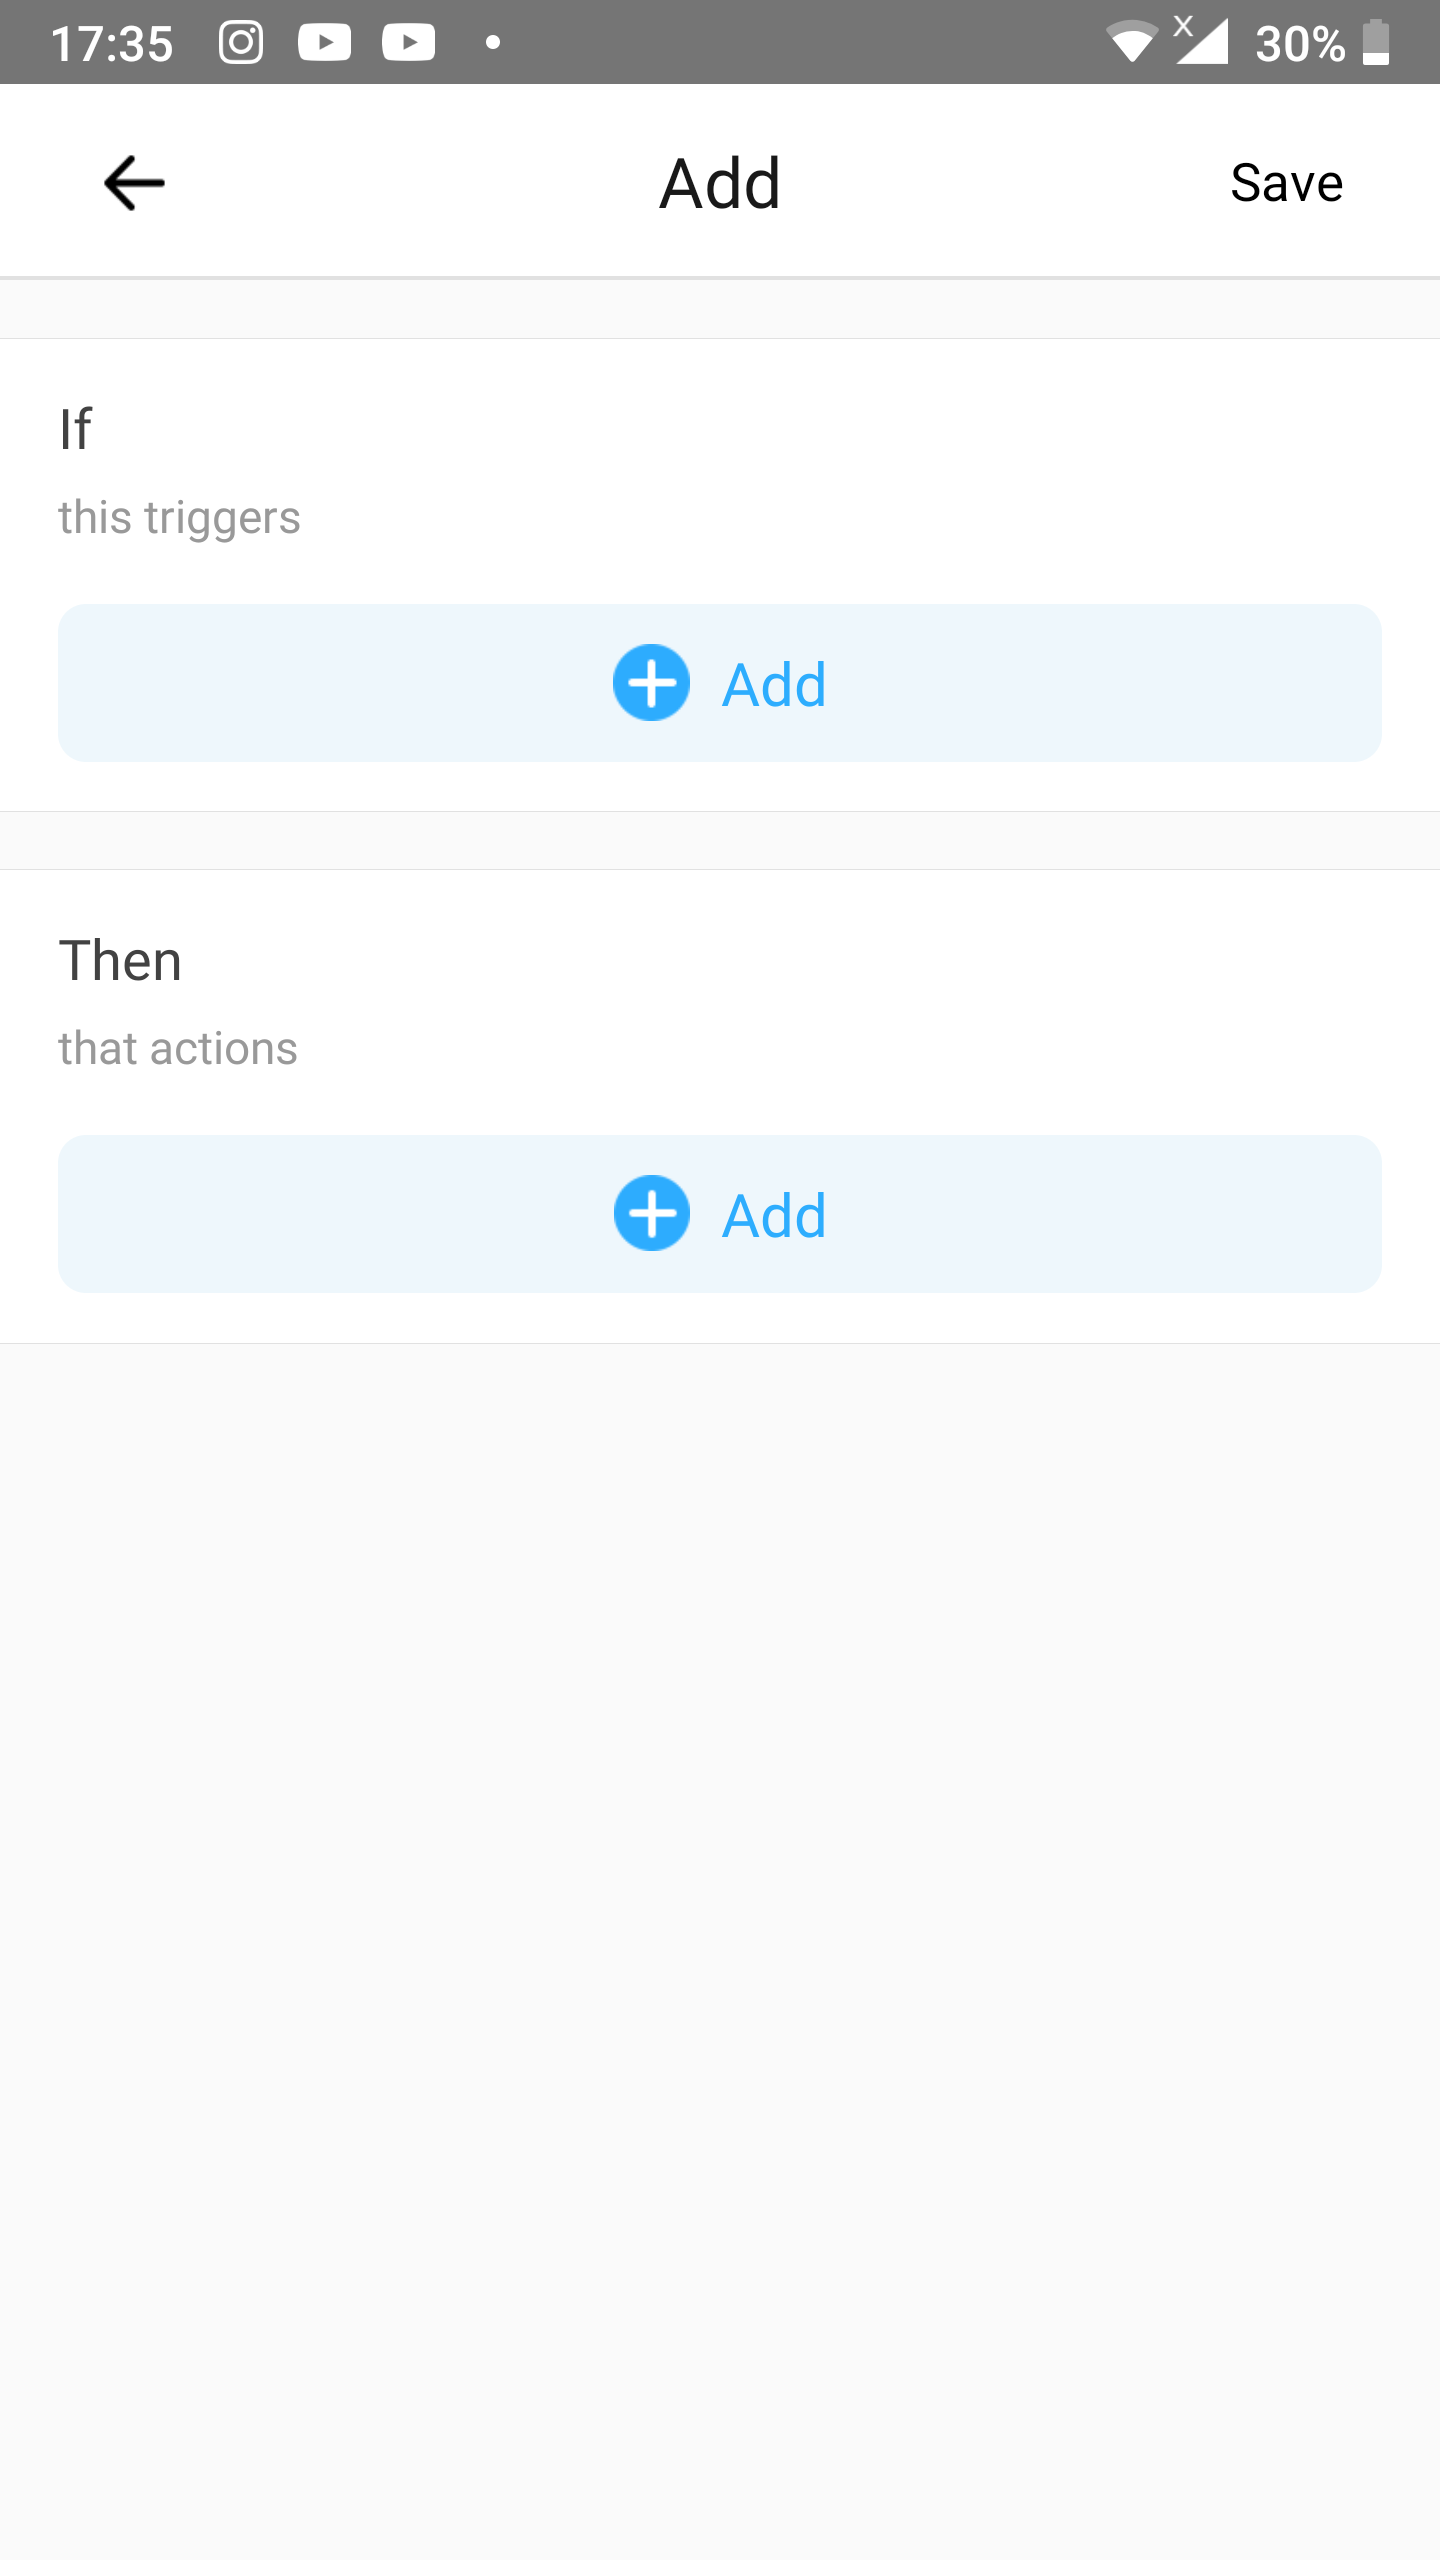
Step 2: Add a trigger
- Tap the
Addbutton right below the chapter nameIf.
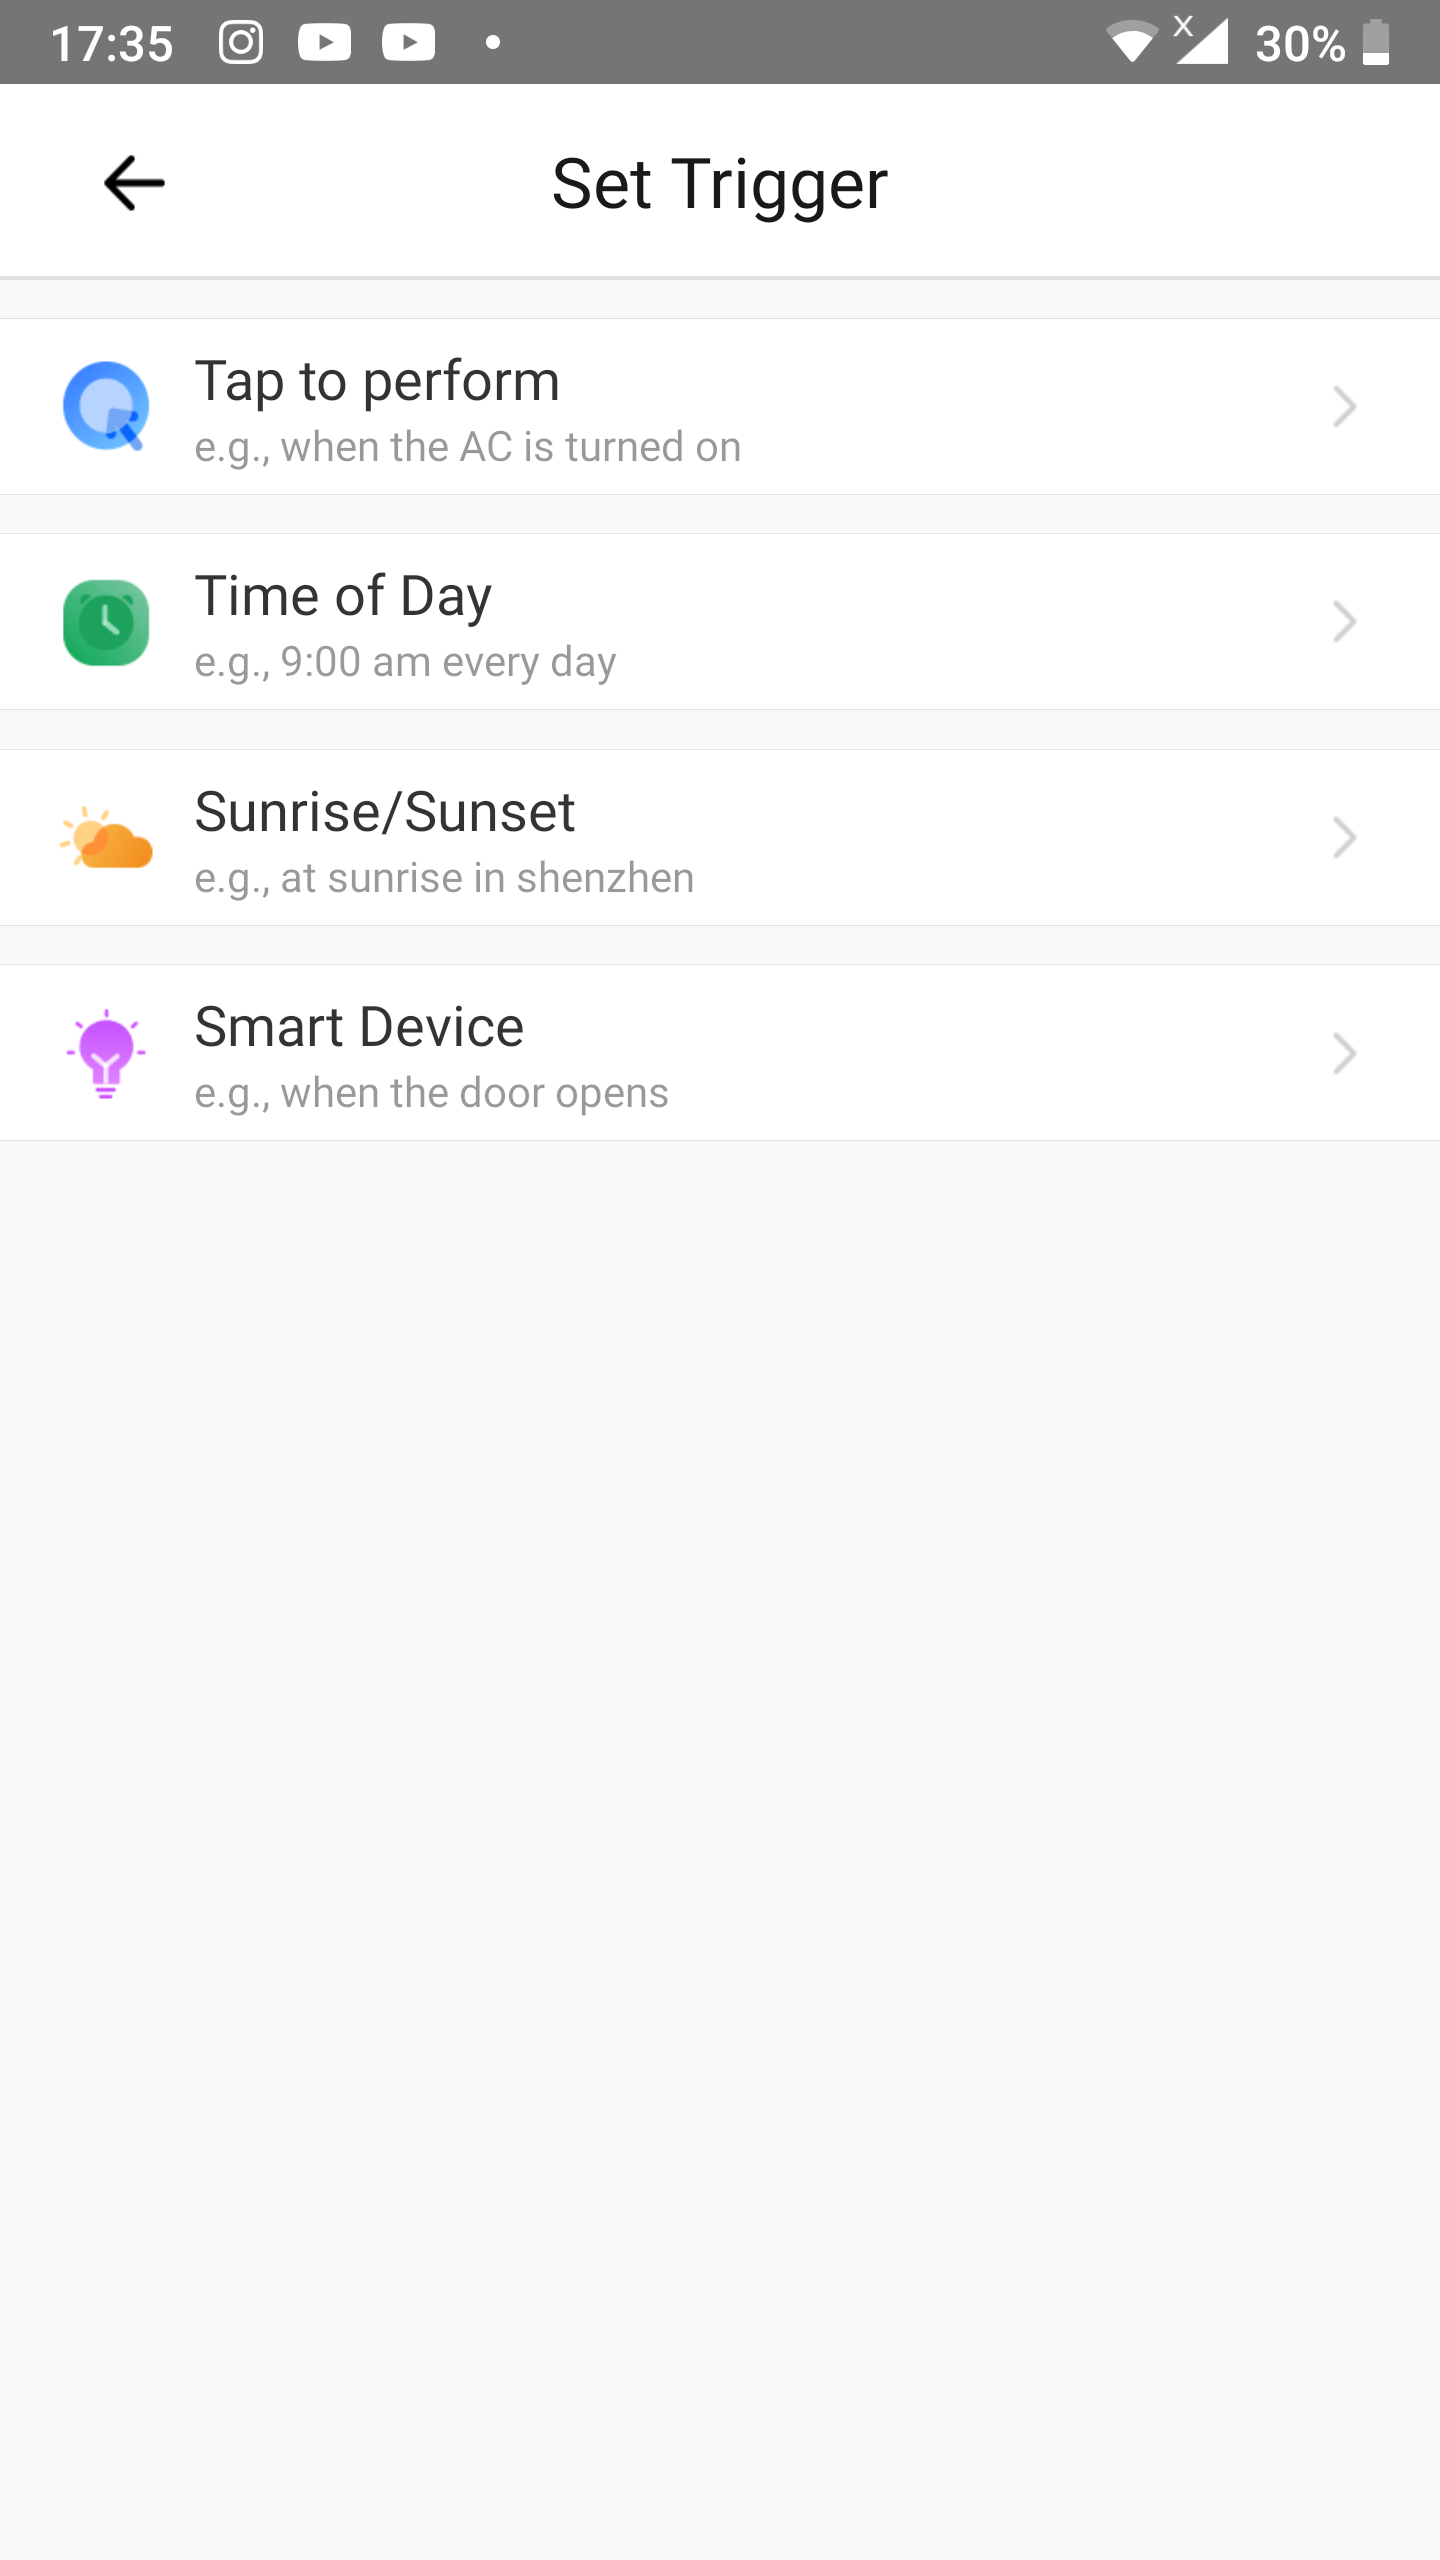
Step 3: Choose the correct trigger type
- On the screen
Set TriggertapSmart Device.
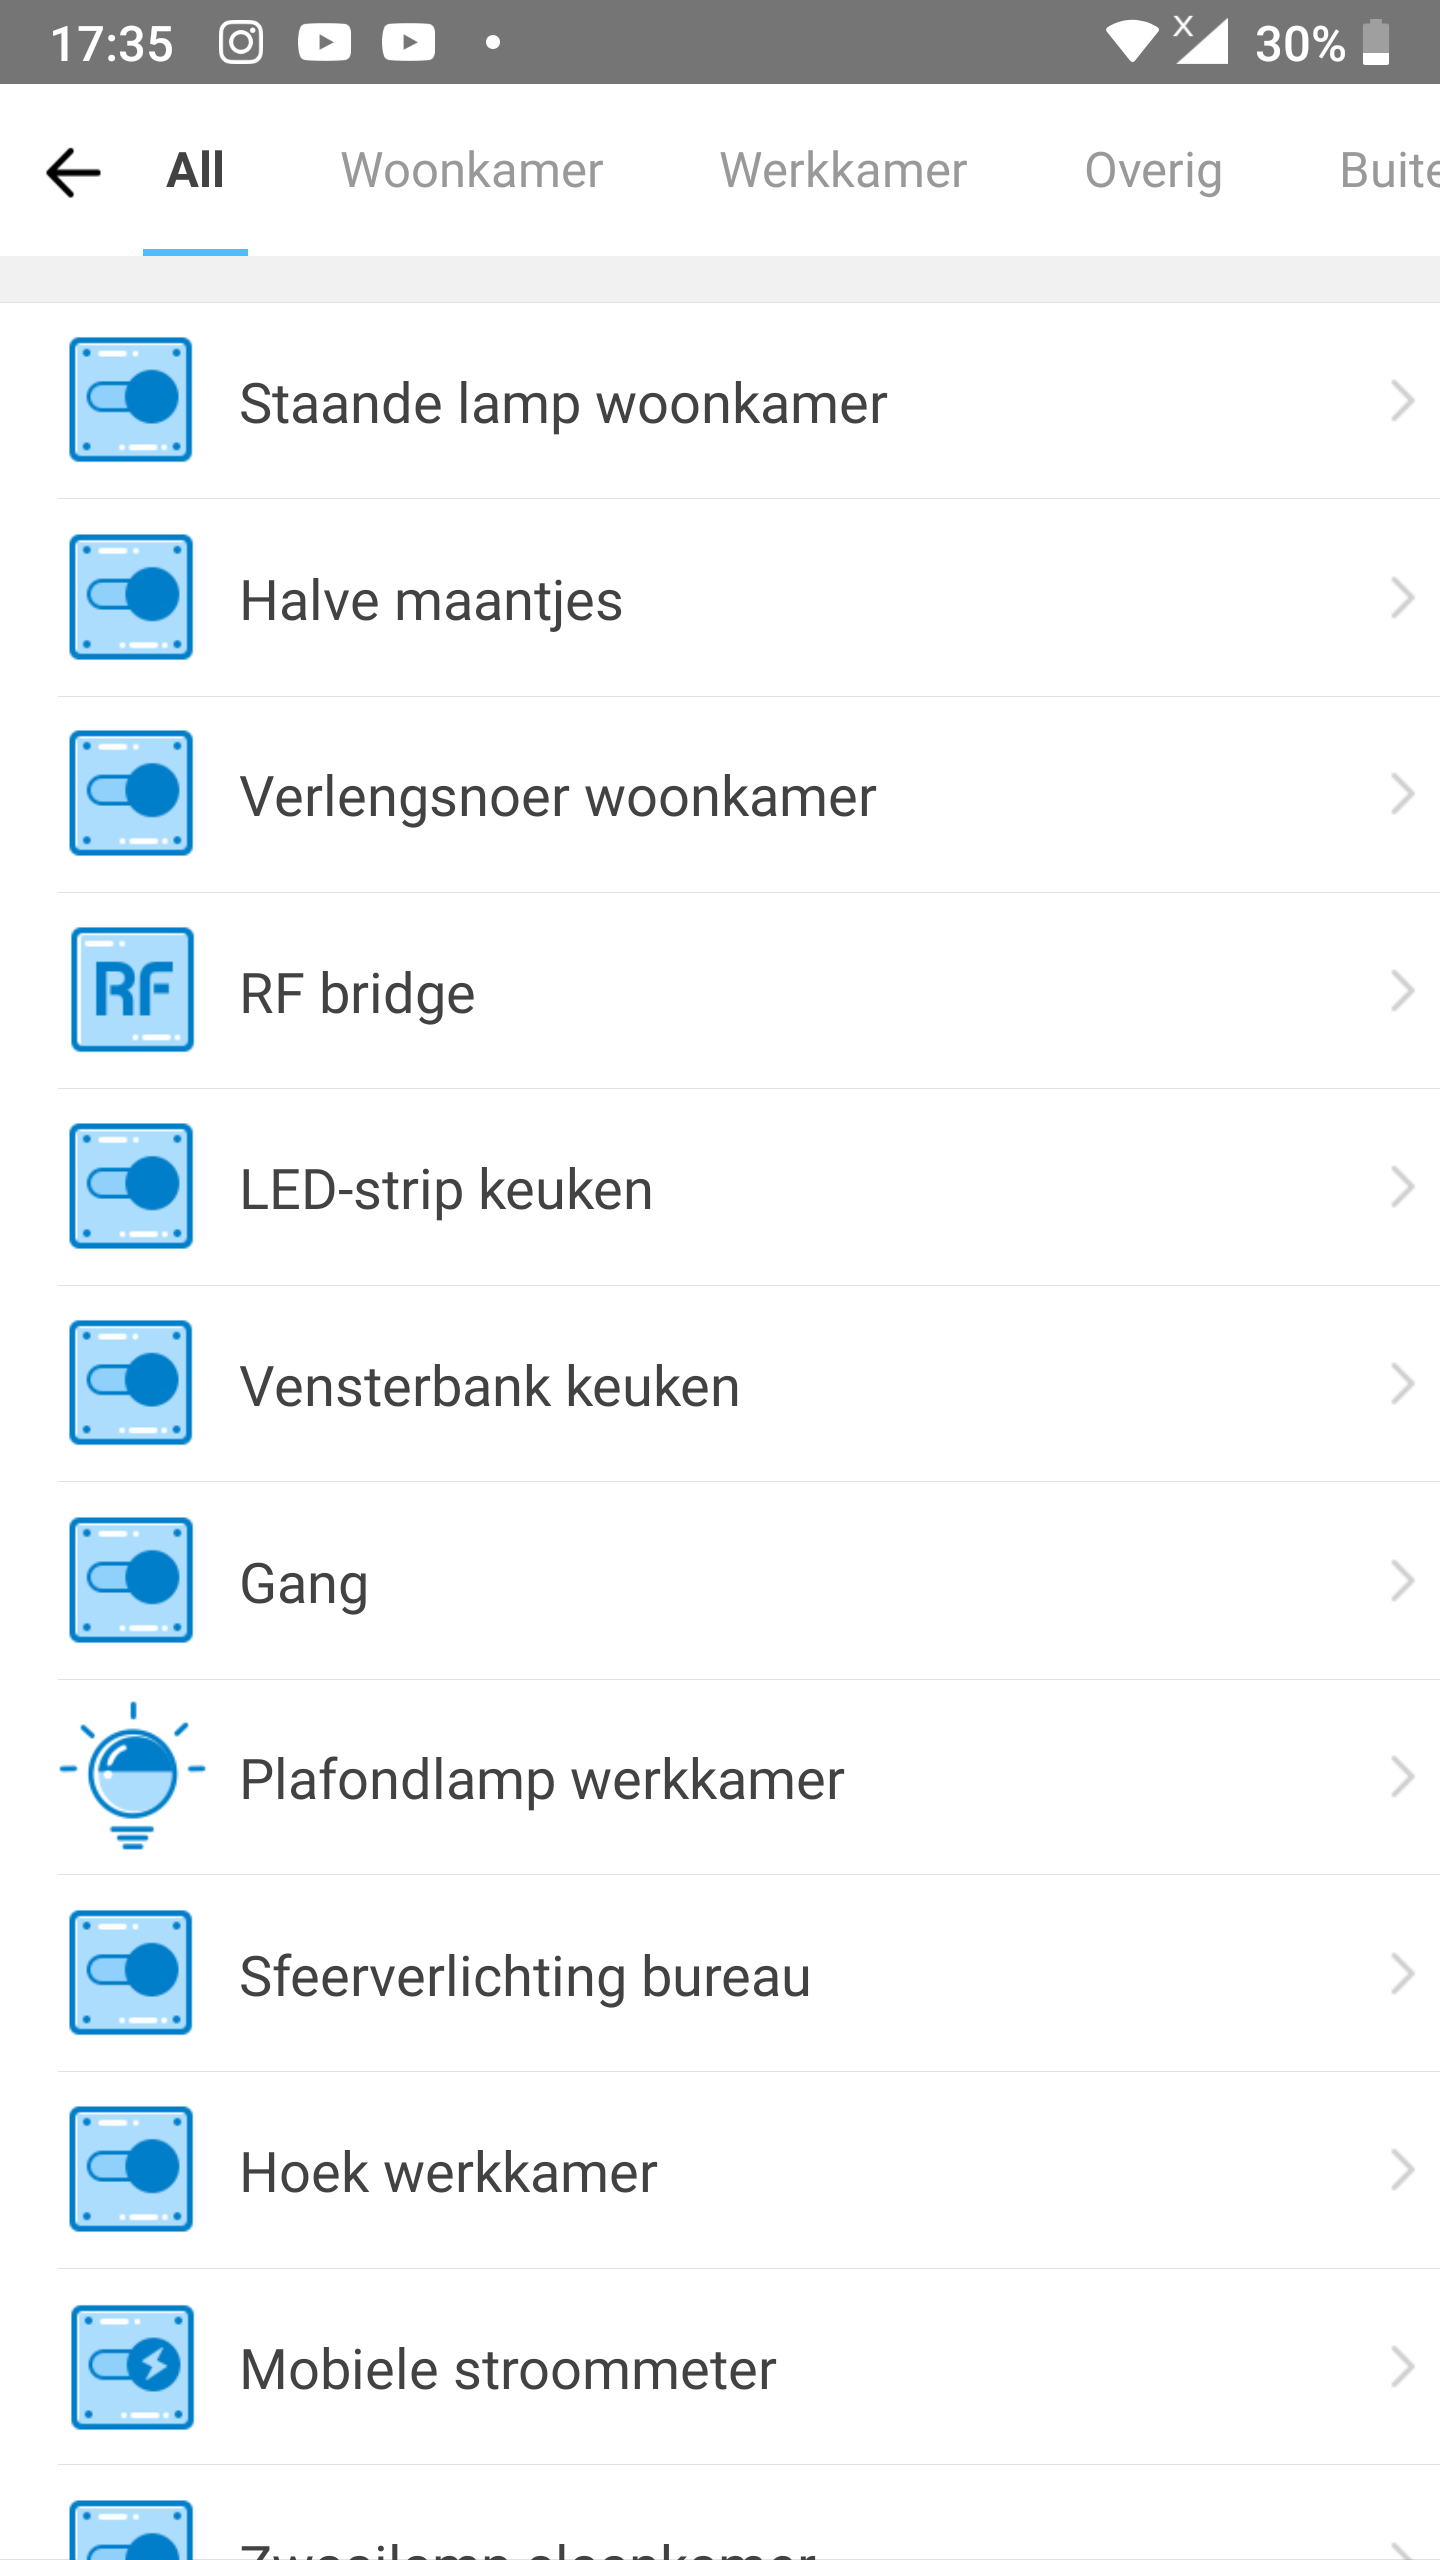
Step 4: Select the RF bridge
- Select the RF bridge to which you linked the old RF remote control button. In this example it is simply called
RF bridge.
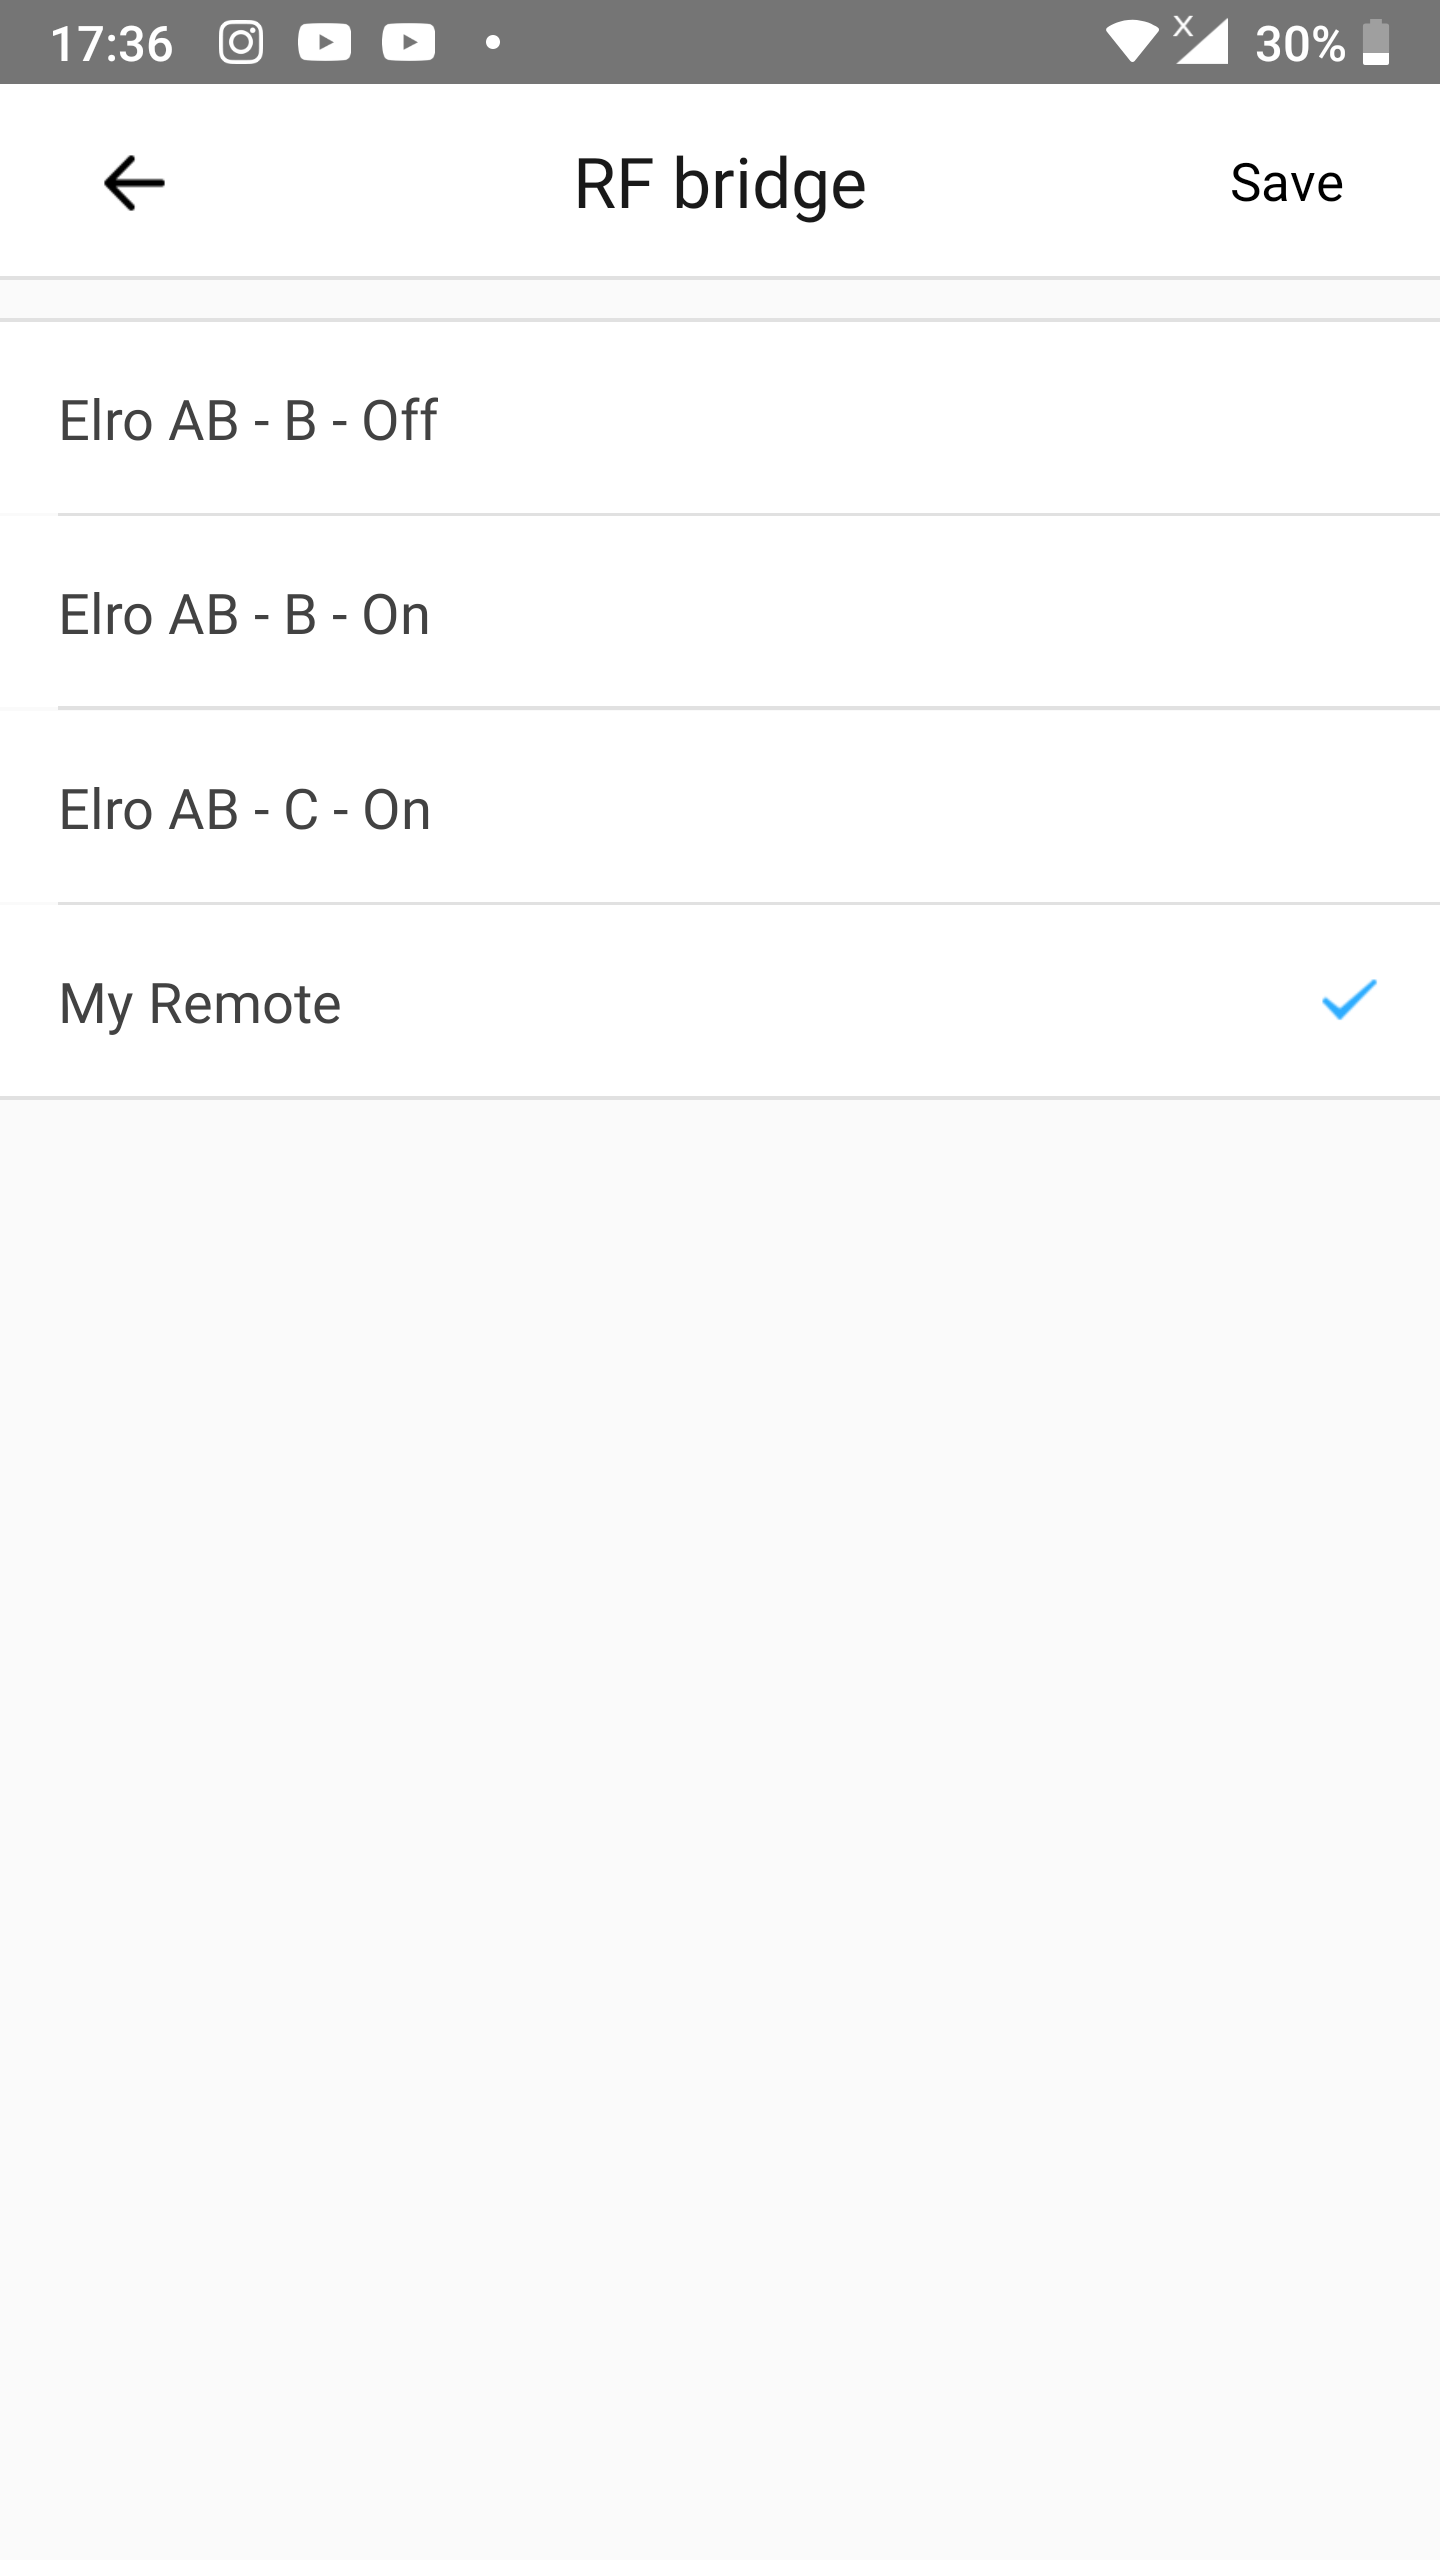
Step 5: Select the correct alarm
- We have added the old RF remote control button as an alarm. Select the correct button name in the list In the example in the previous chapter we added it with the name
My Remote. When selected a tick at the right on that row will appear. - Tap
Savein the upper right corner.
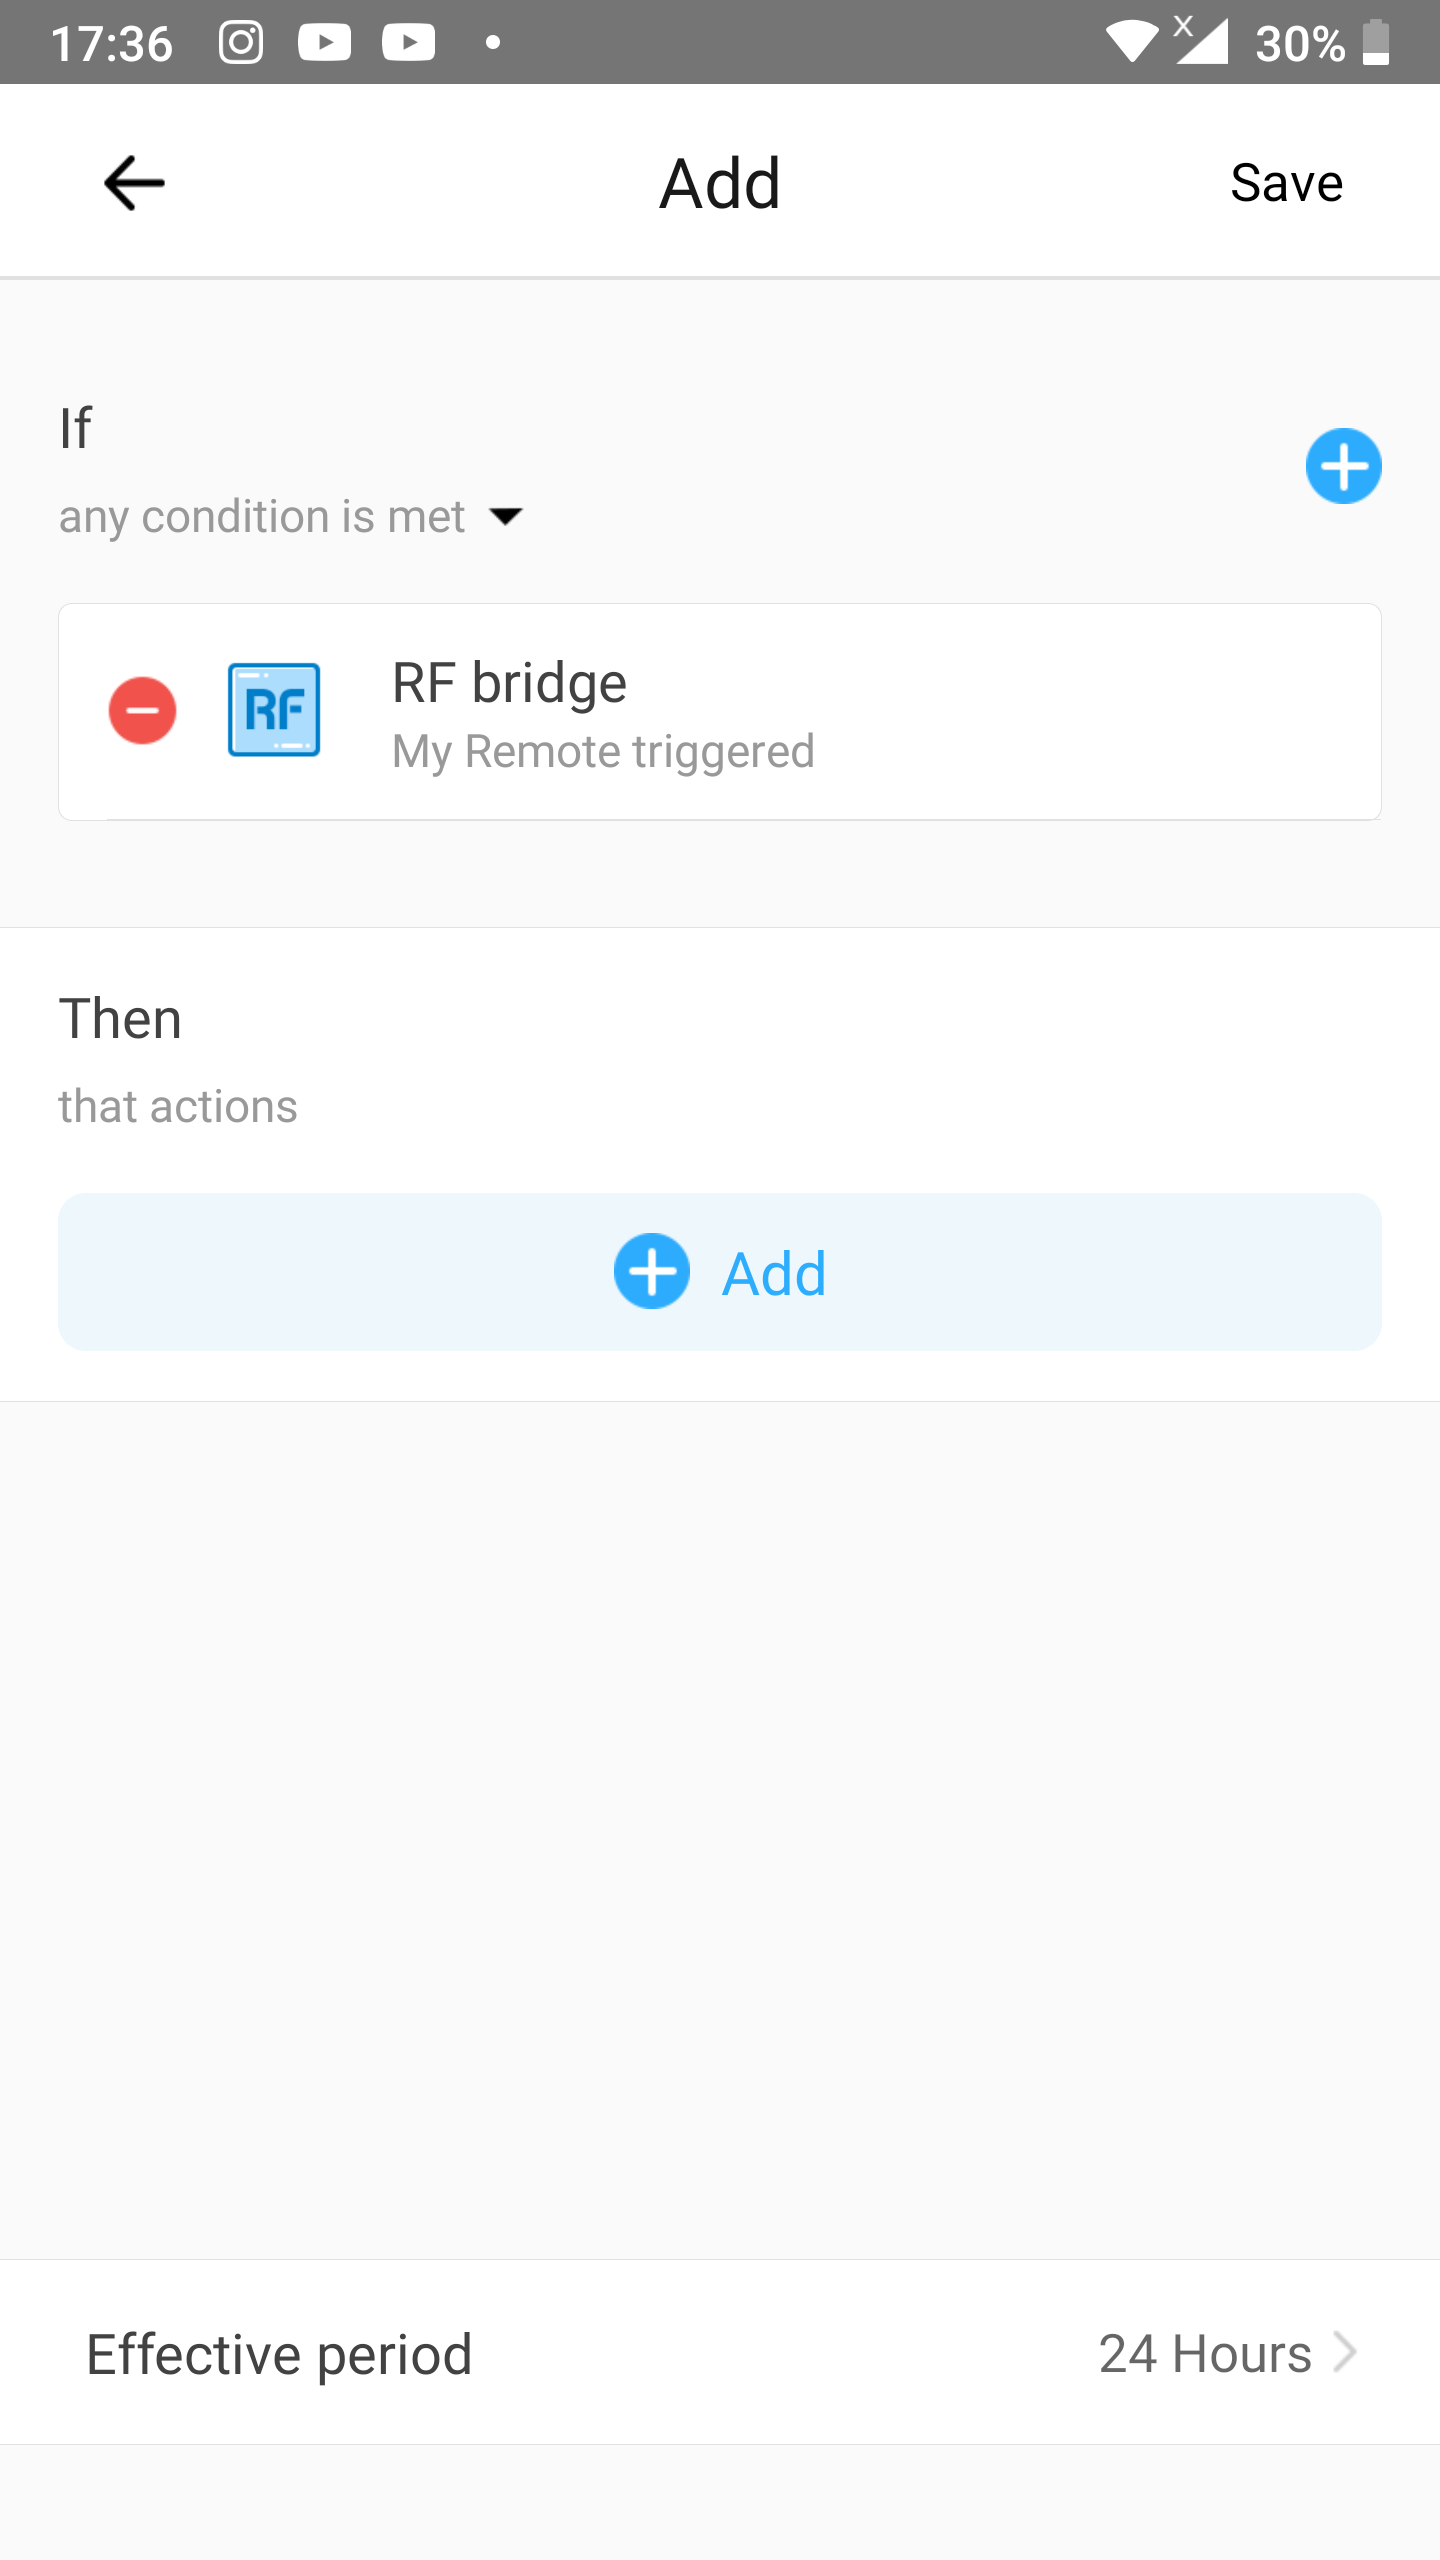
Step 6: Add the Action
- Now that you are back at the scene setup screen tap
Addbelow the chapterThen.
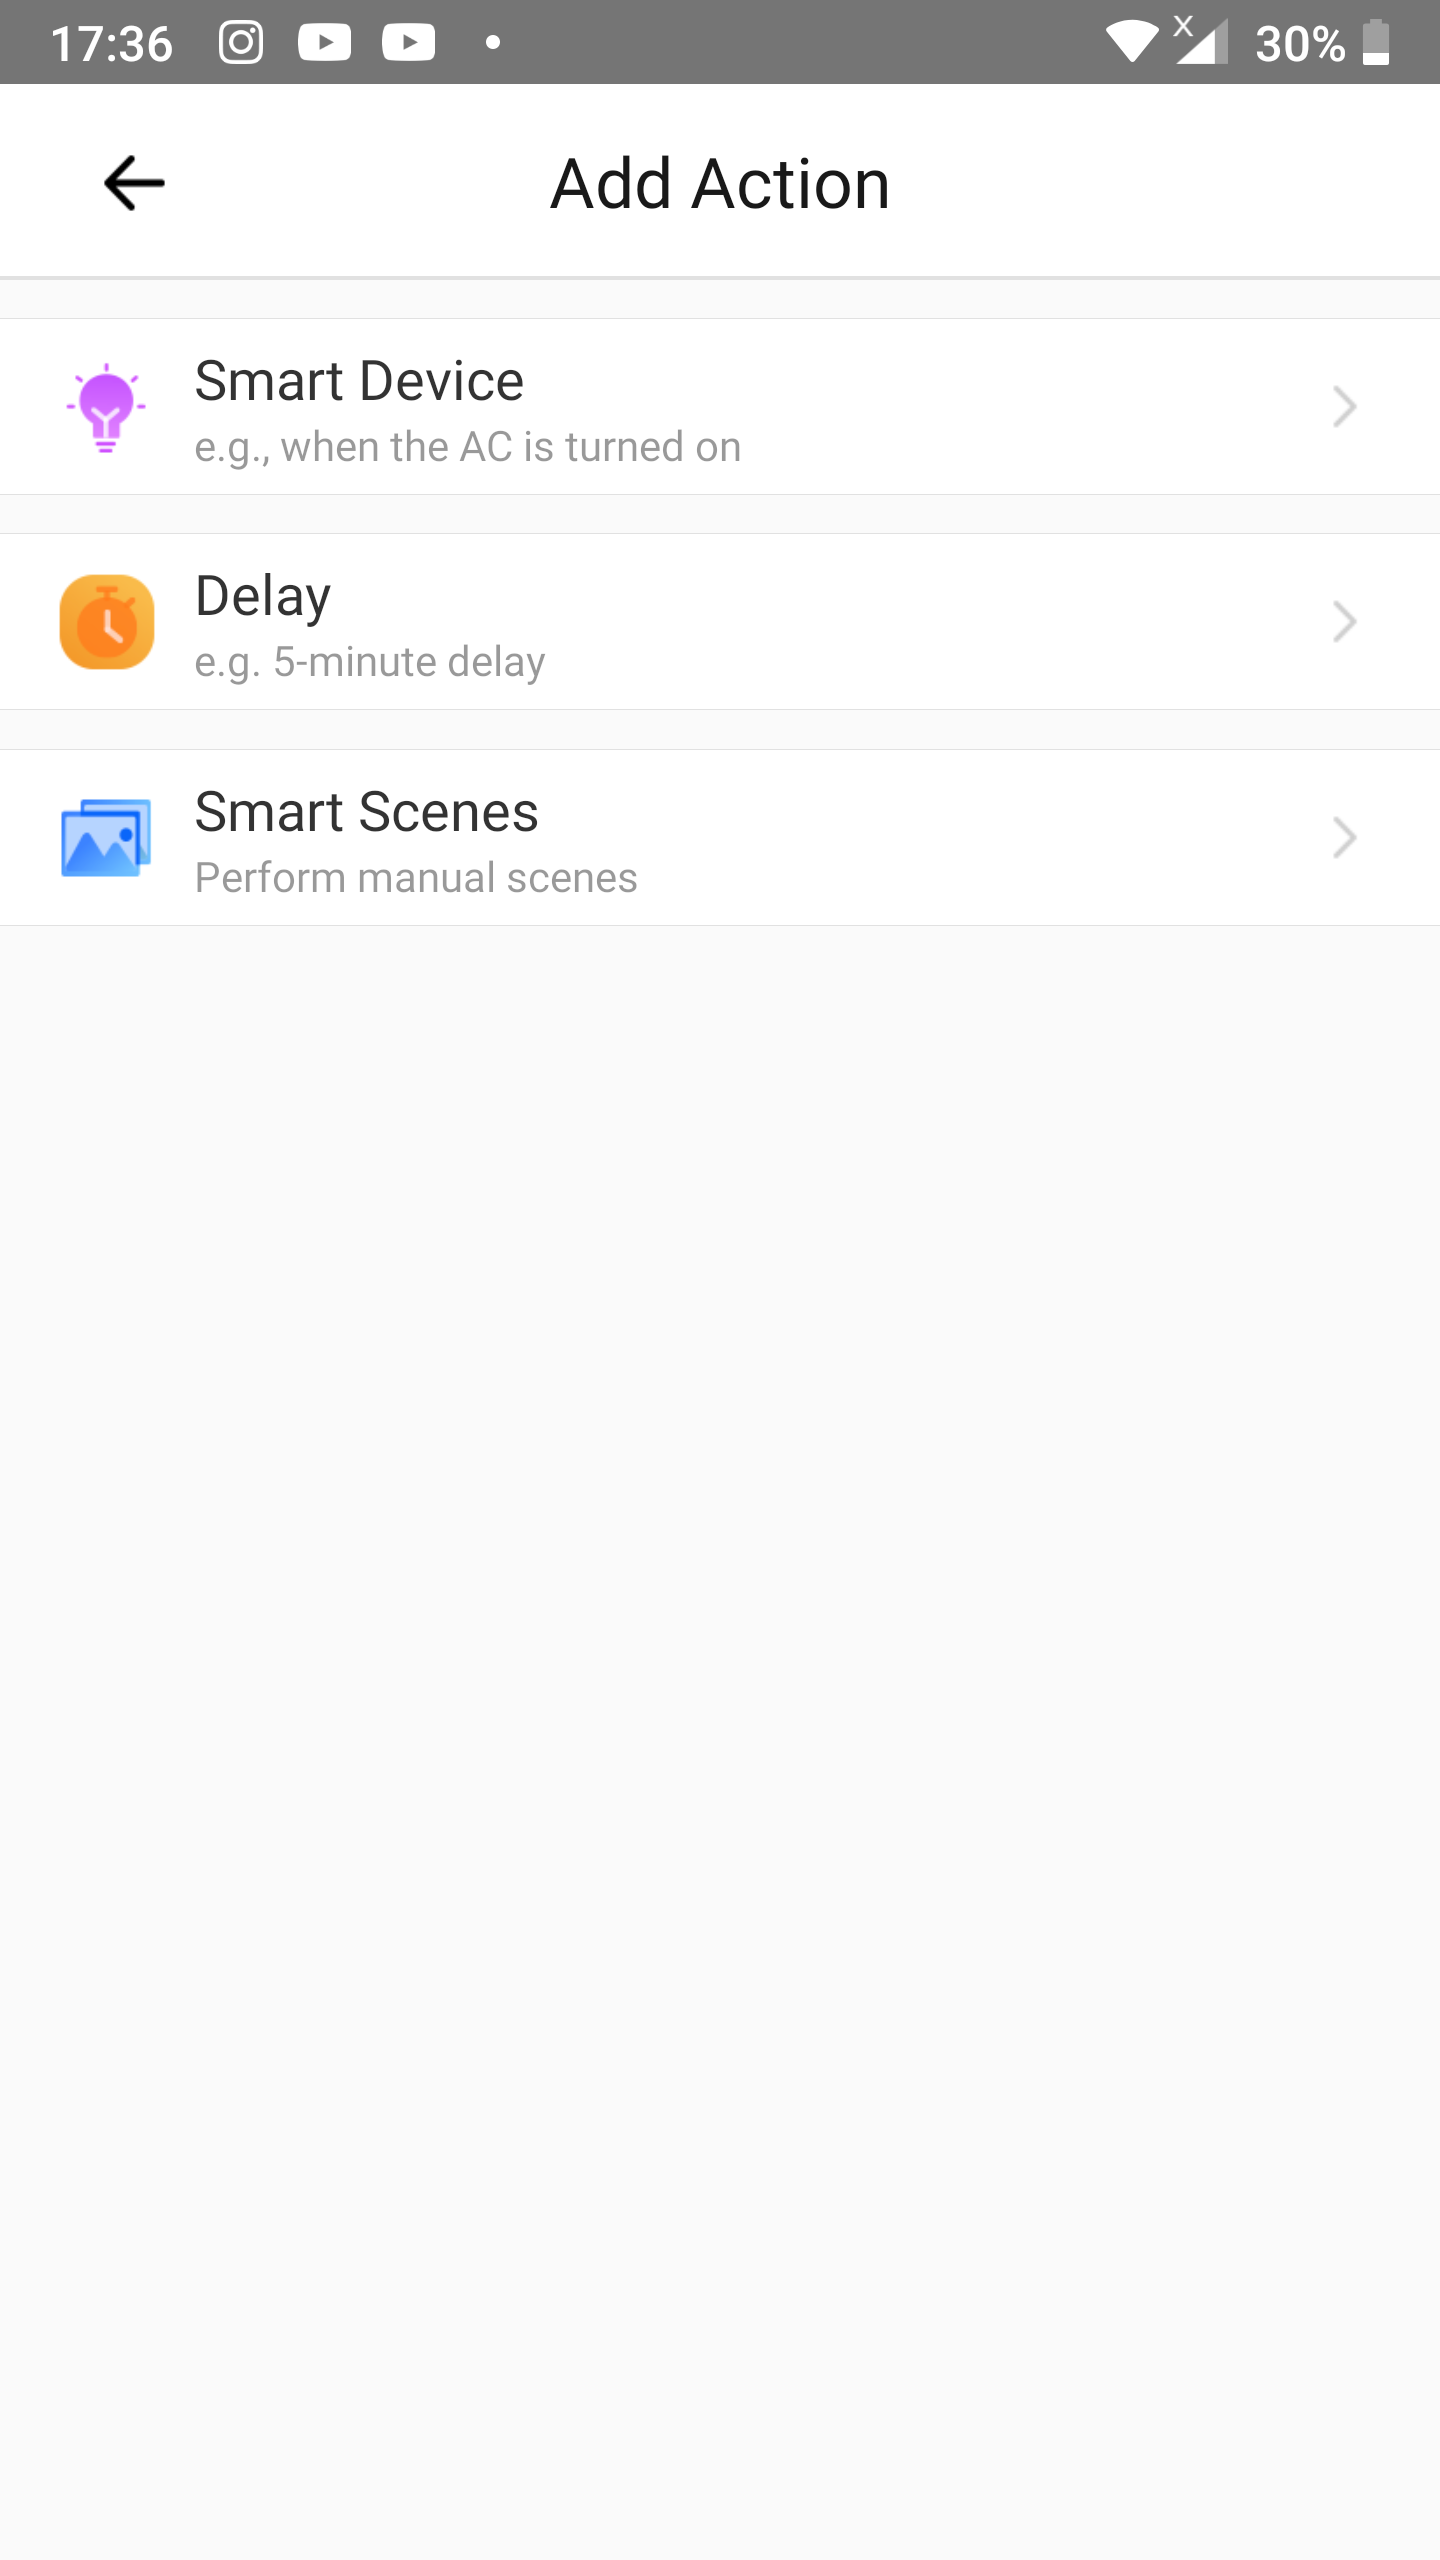
Step 7: Select the correct Action
- Tap
Smart Device.
Step 8: Select the correct device for the Action
- Select the device you want to control with the old RF remote control button. In this example we have chosen for
LED-strip keuken(Dutch for LED strip kitchen).
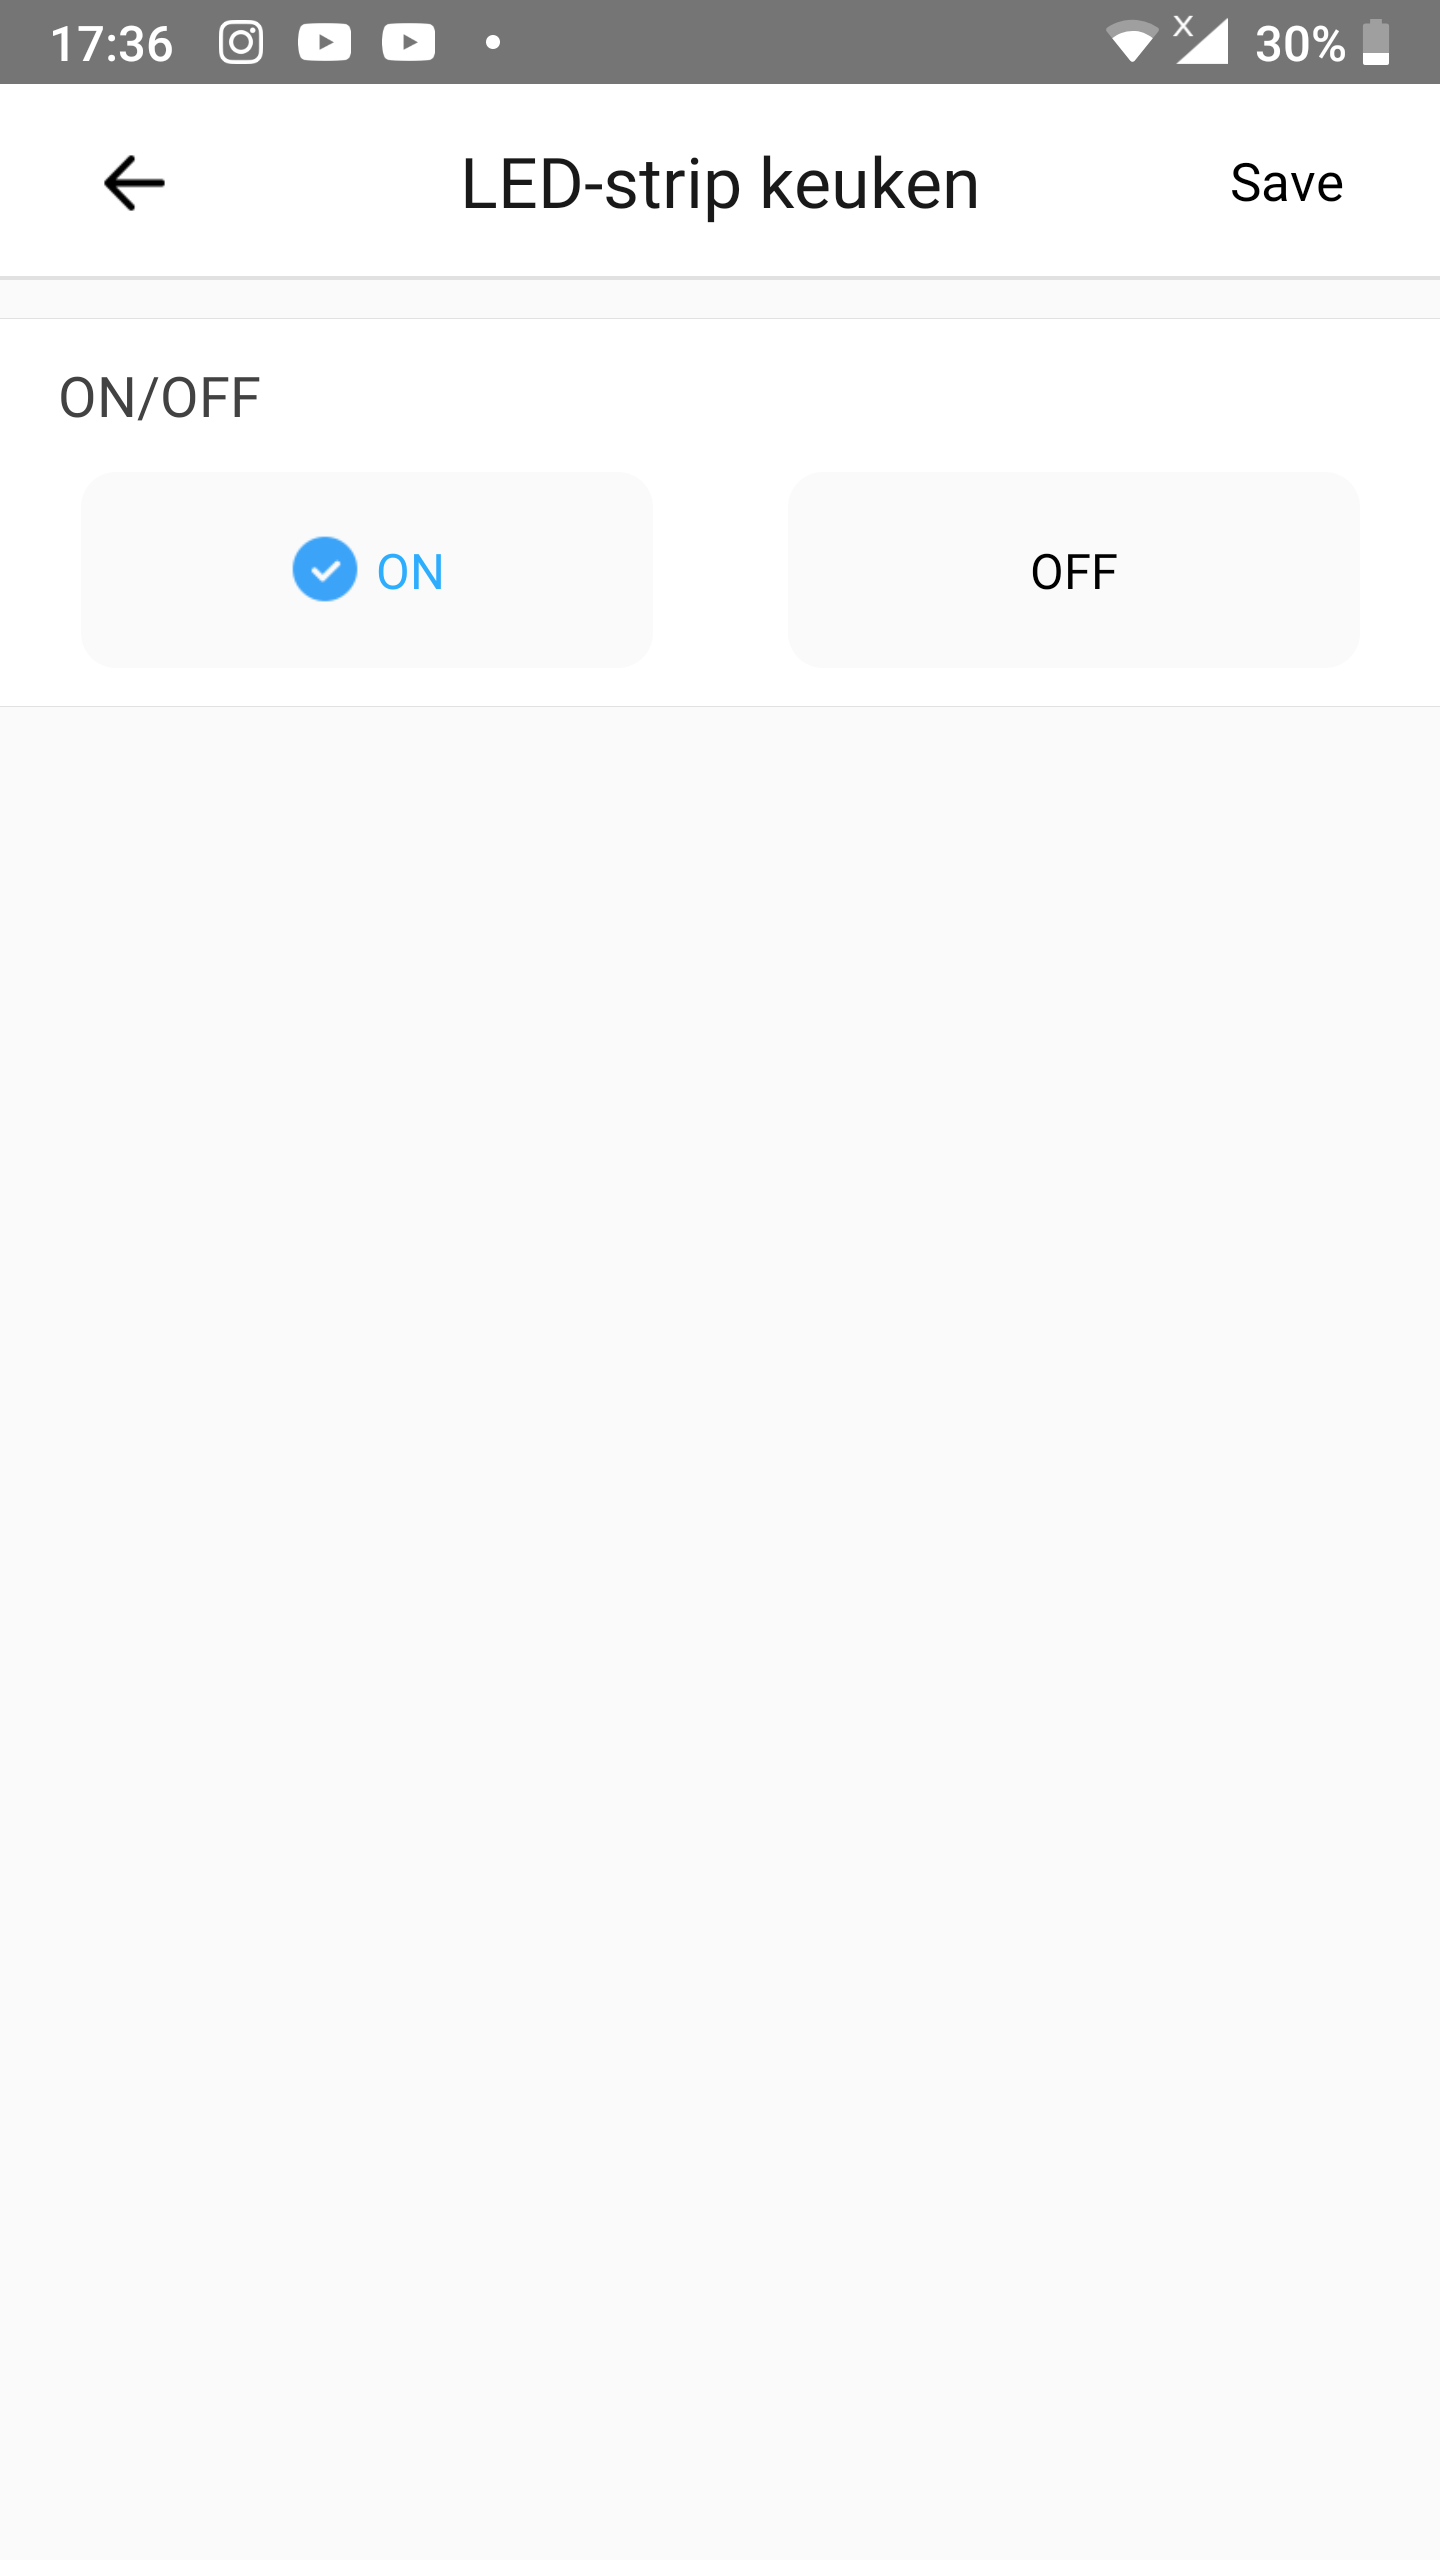
Step 9: Select the action to perform for the selected device
- Select the action you would like to perform on the selected device. In this how-to the action will be performed when you press the RF remote control button. In the example on the right we have chosen for the
ONcommand. - Tap
Savein te upper right corner.
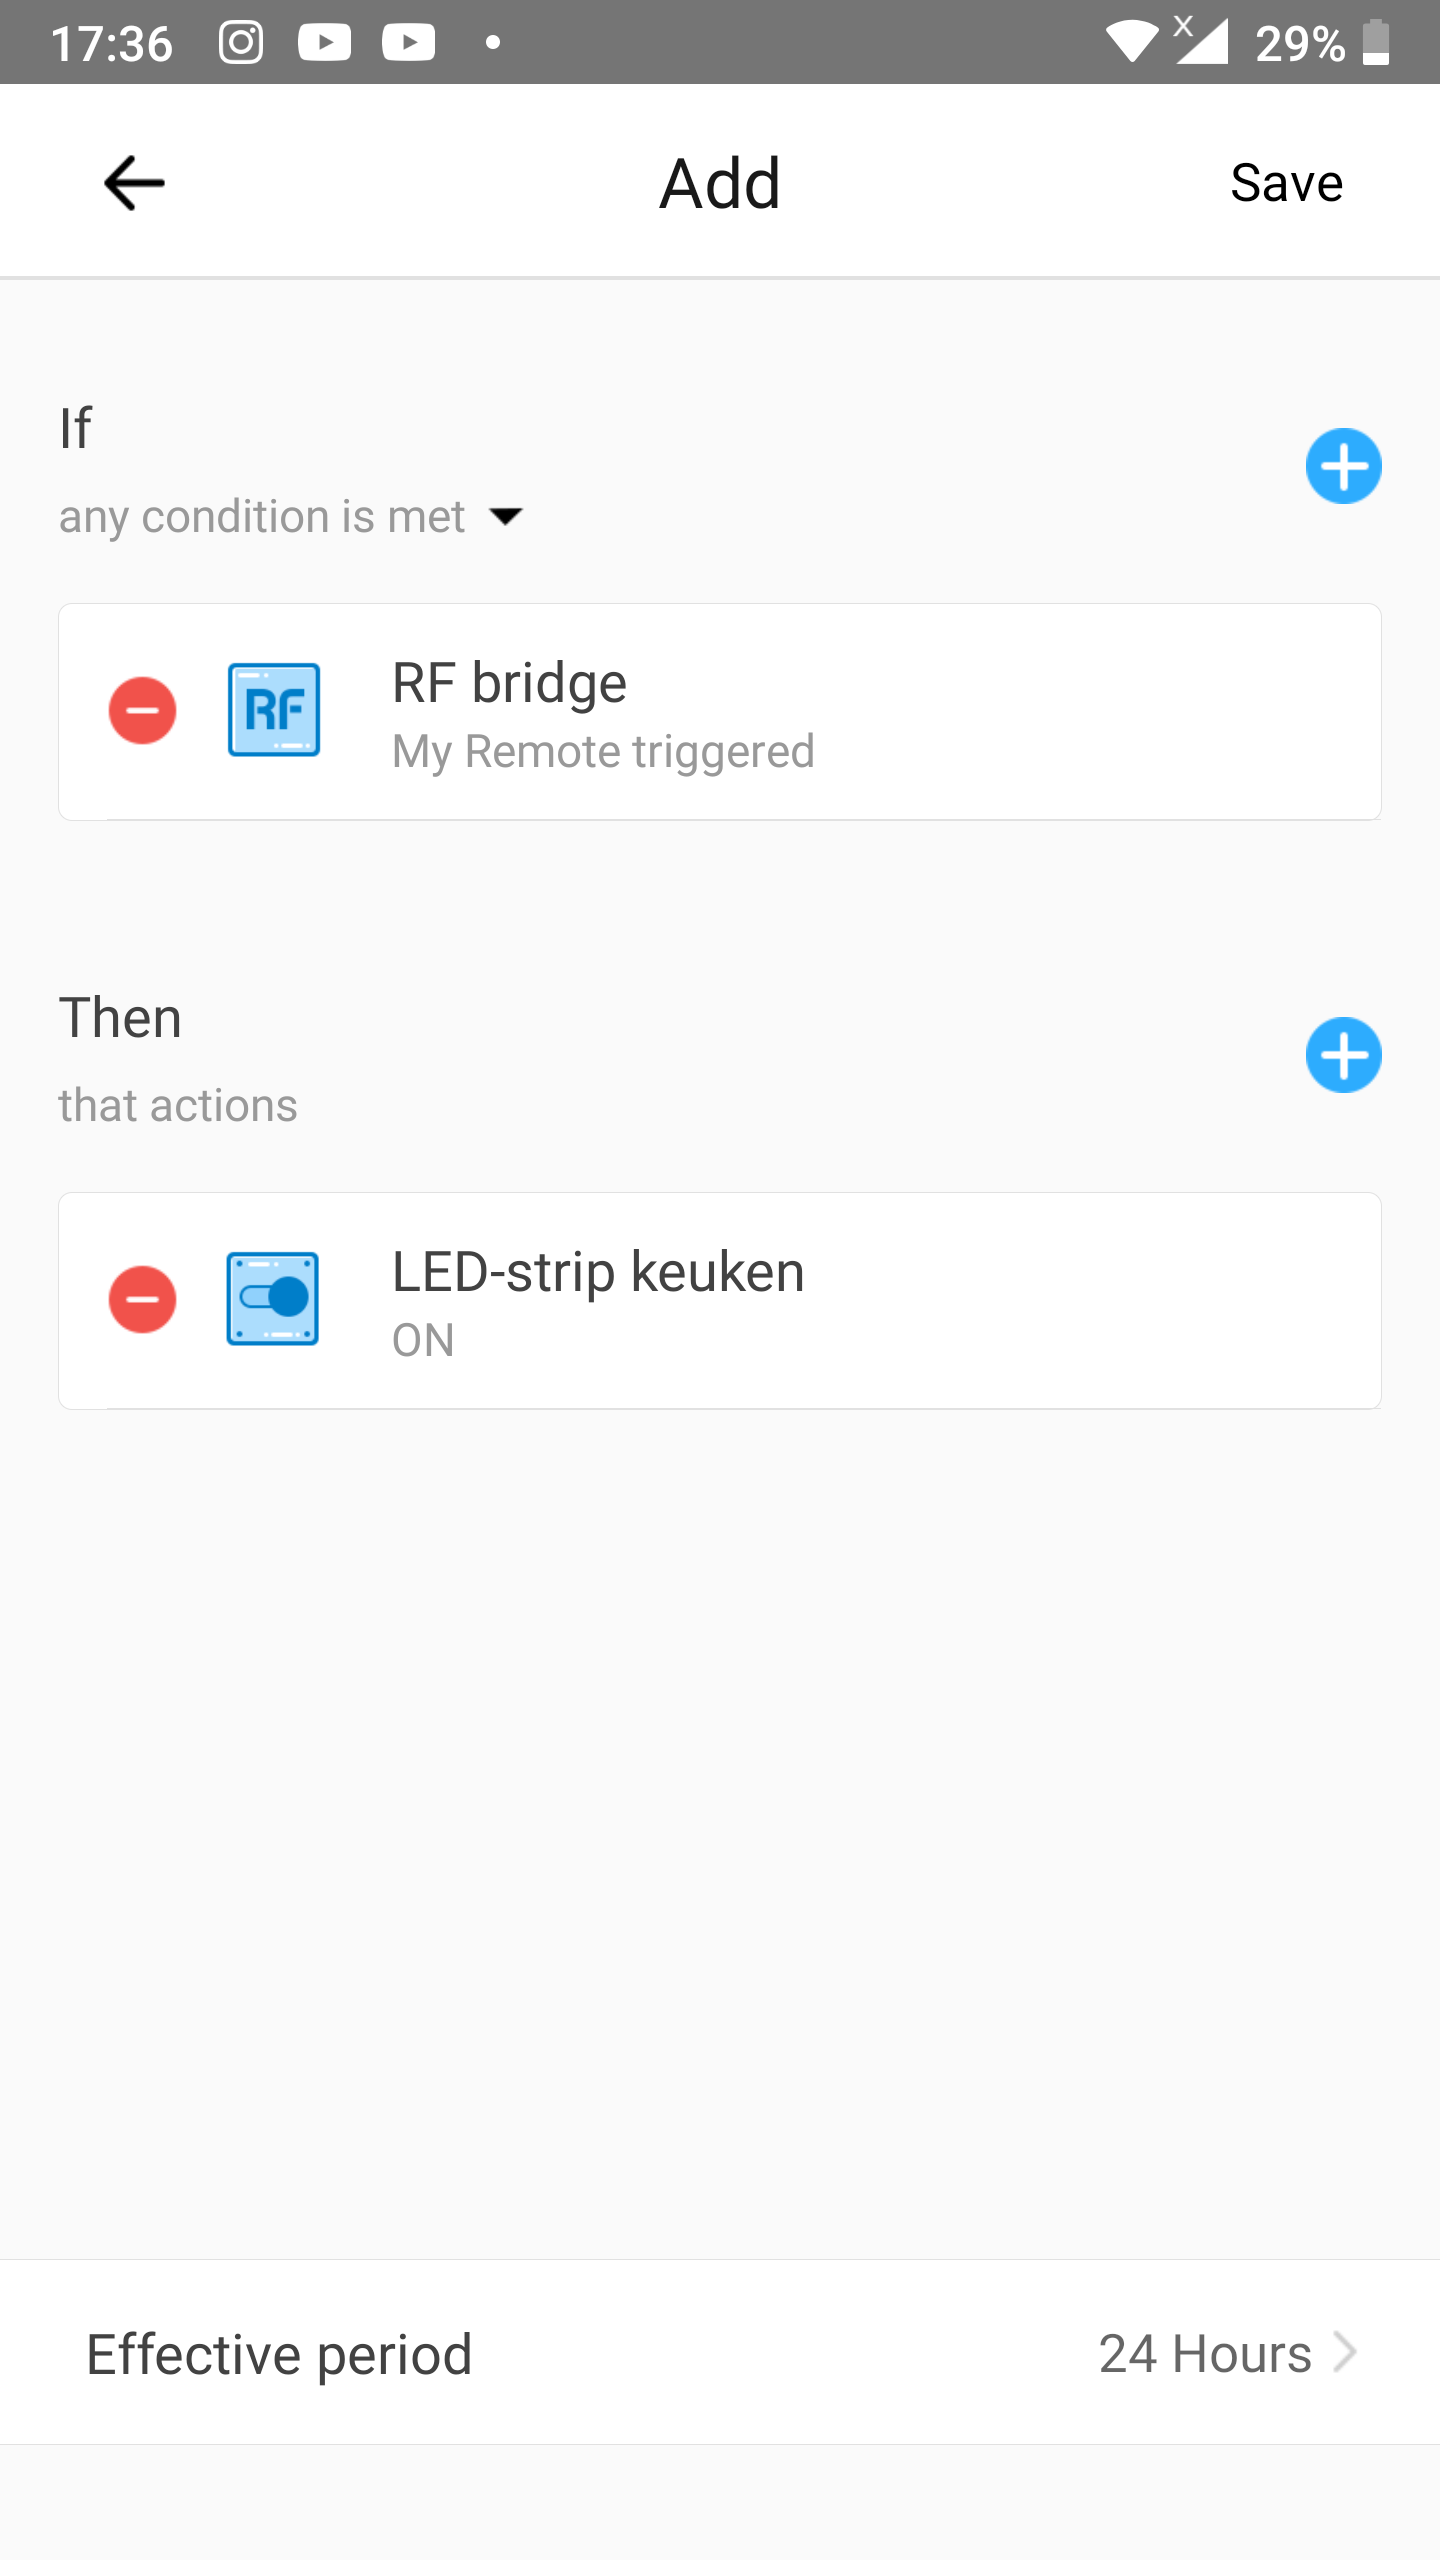
Step 10: Save the scene
- Now that you are back on the scene setup screen tap
Savein the upper right corner.
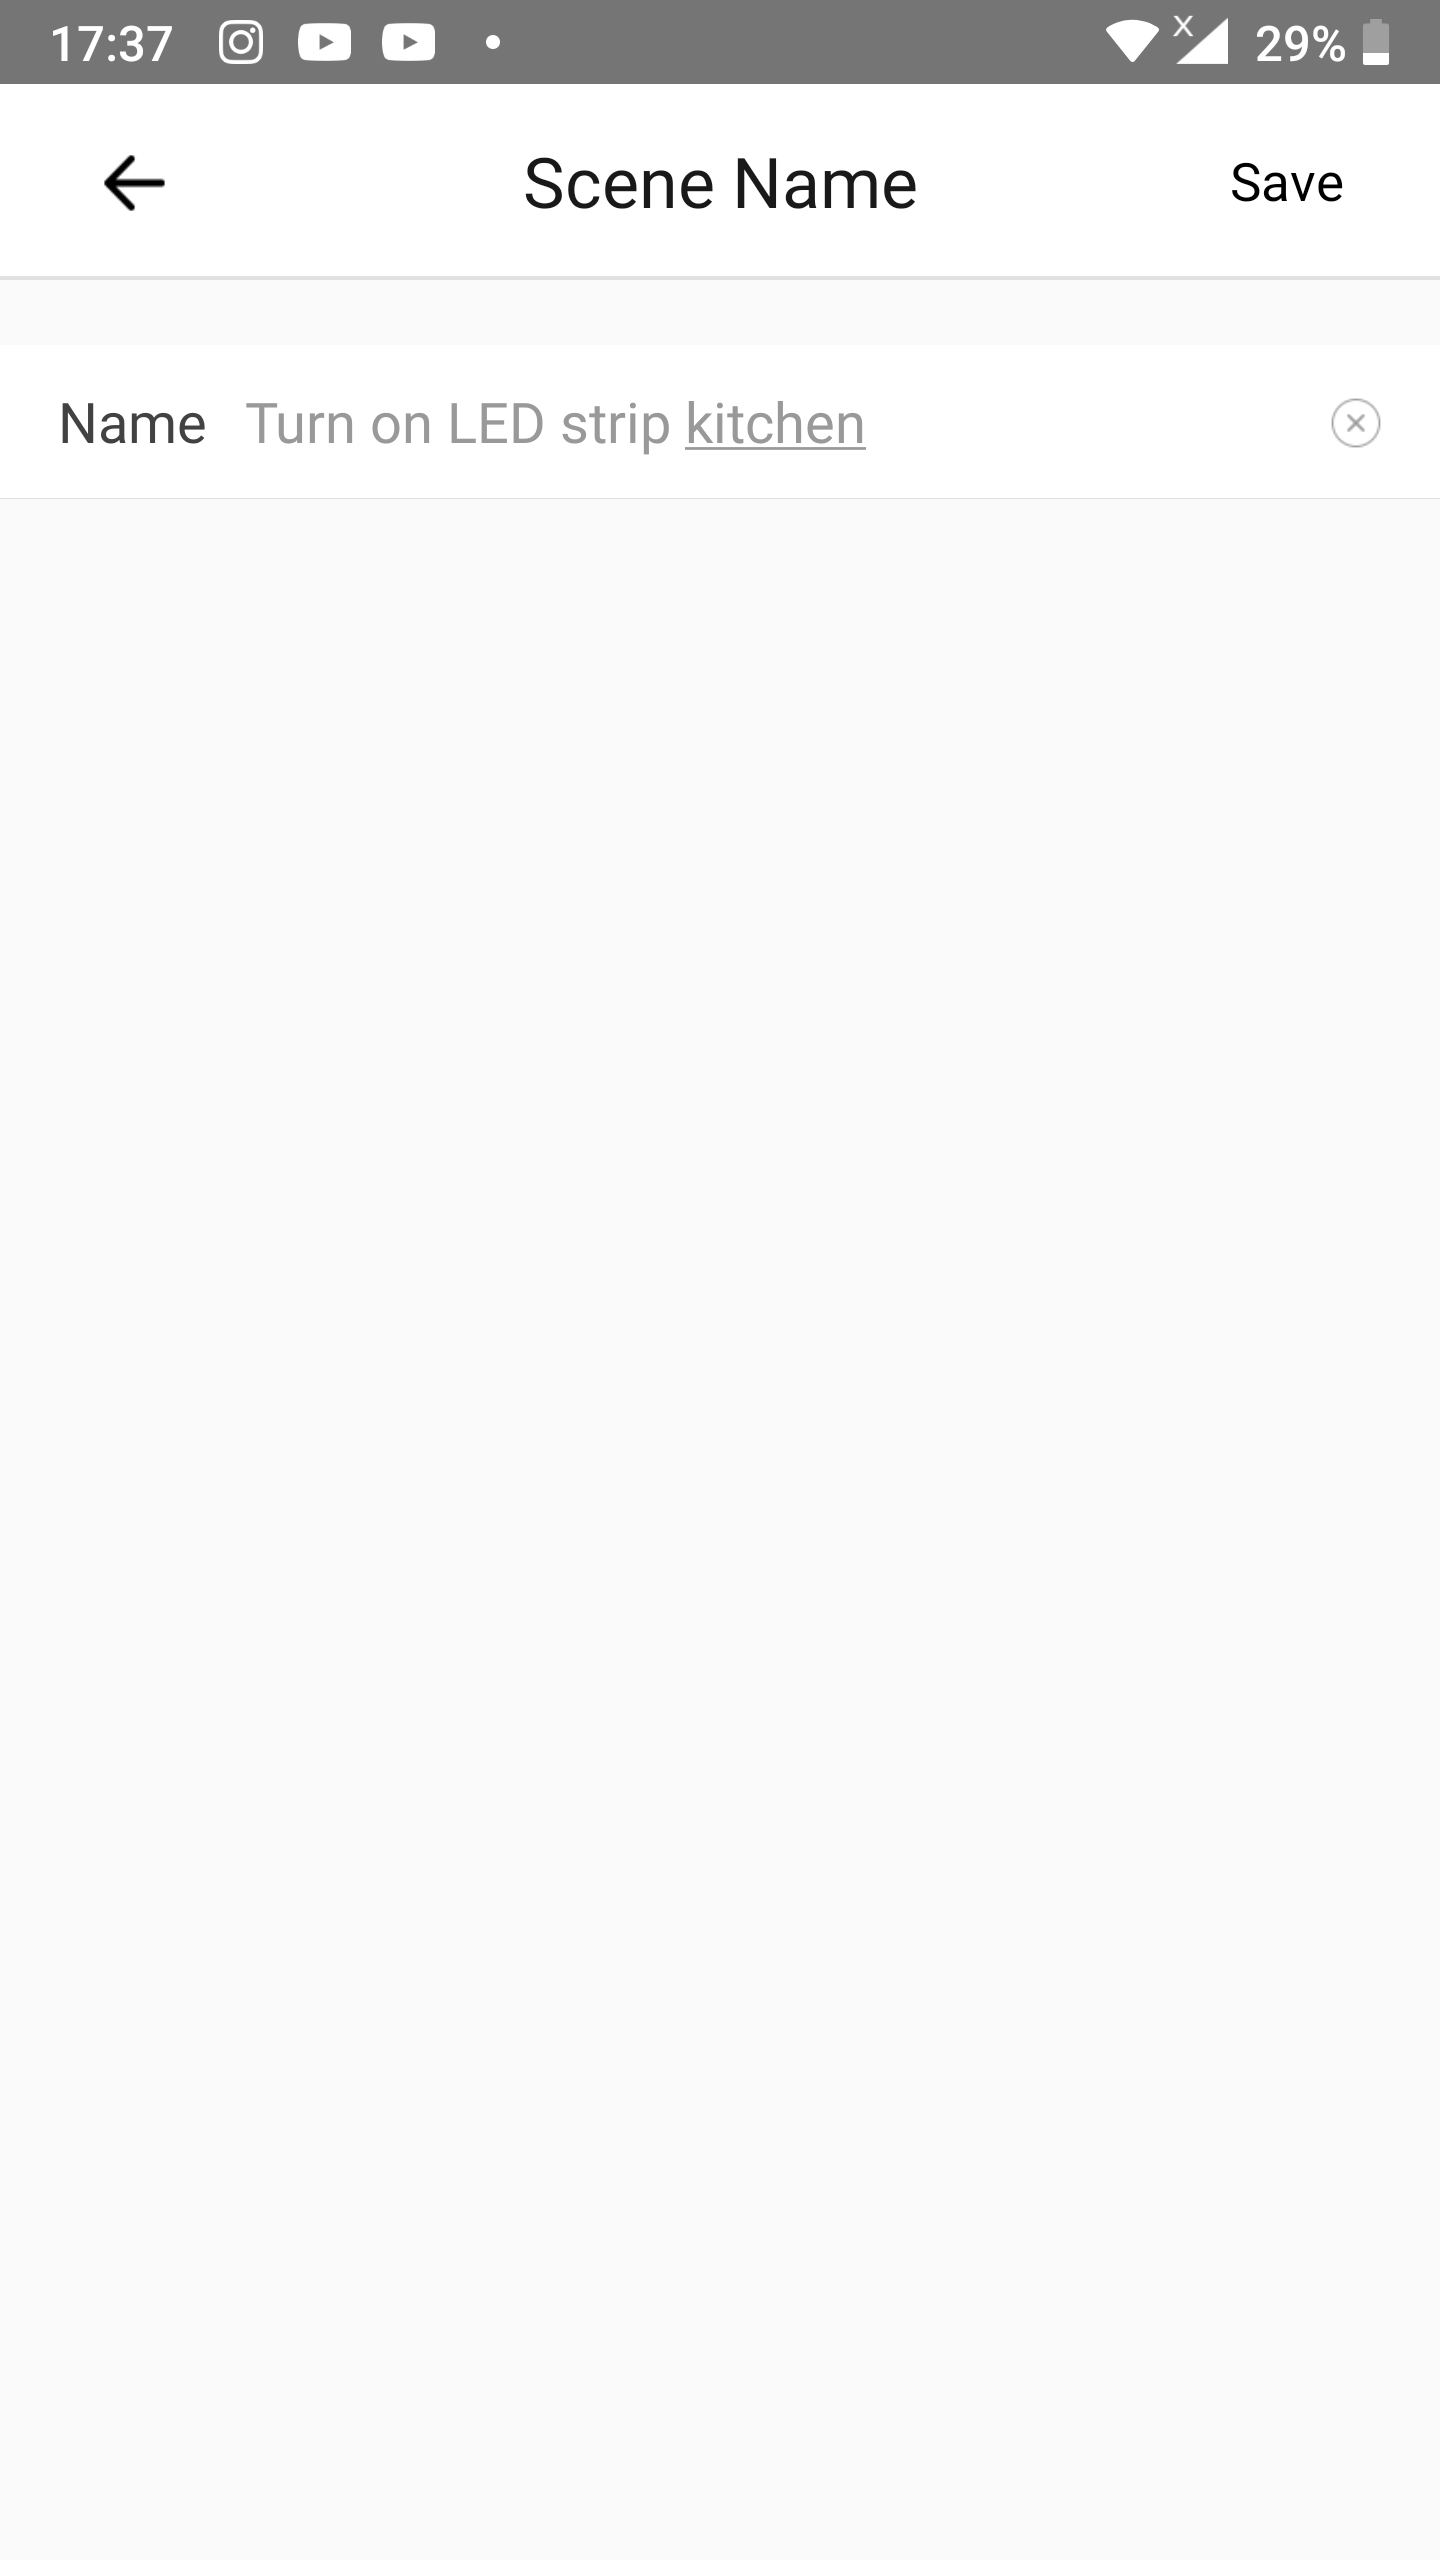
Step 11: Give the scene a name
- After Name fill in a name for the scene. In the example on the right we chose the name
Turn on LED strip kitchen. - Tap
Savein the upper right corner.
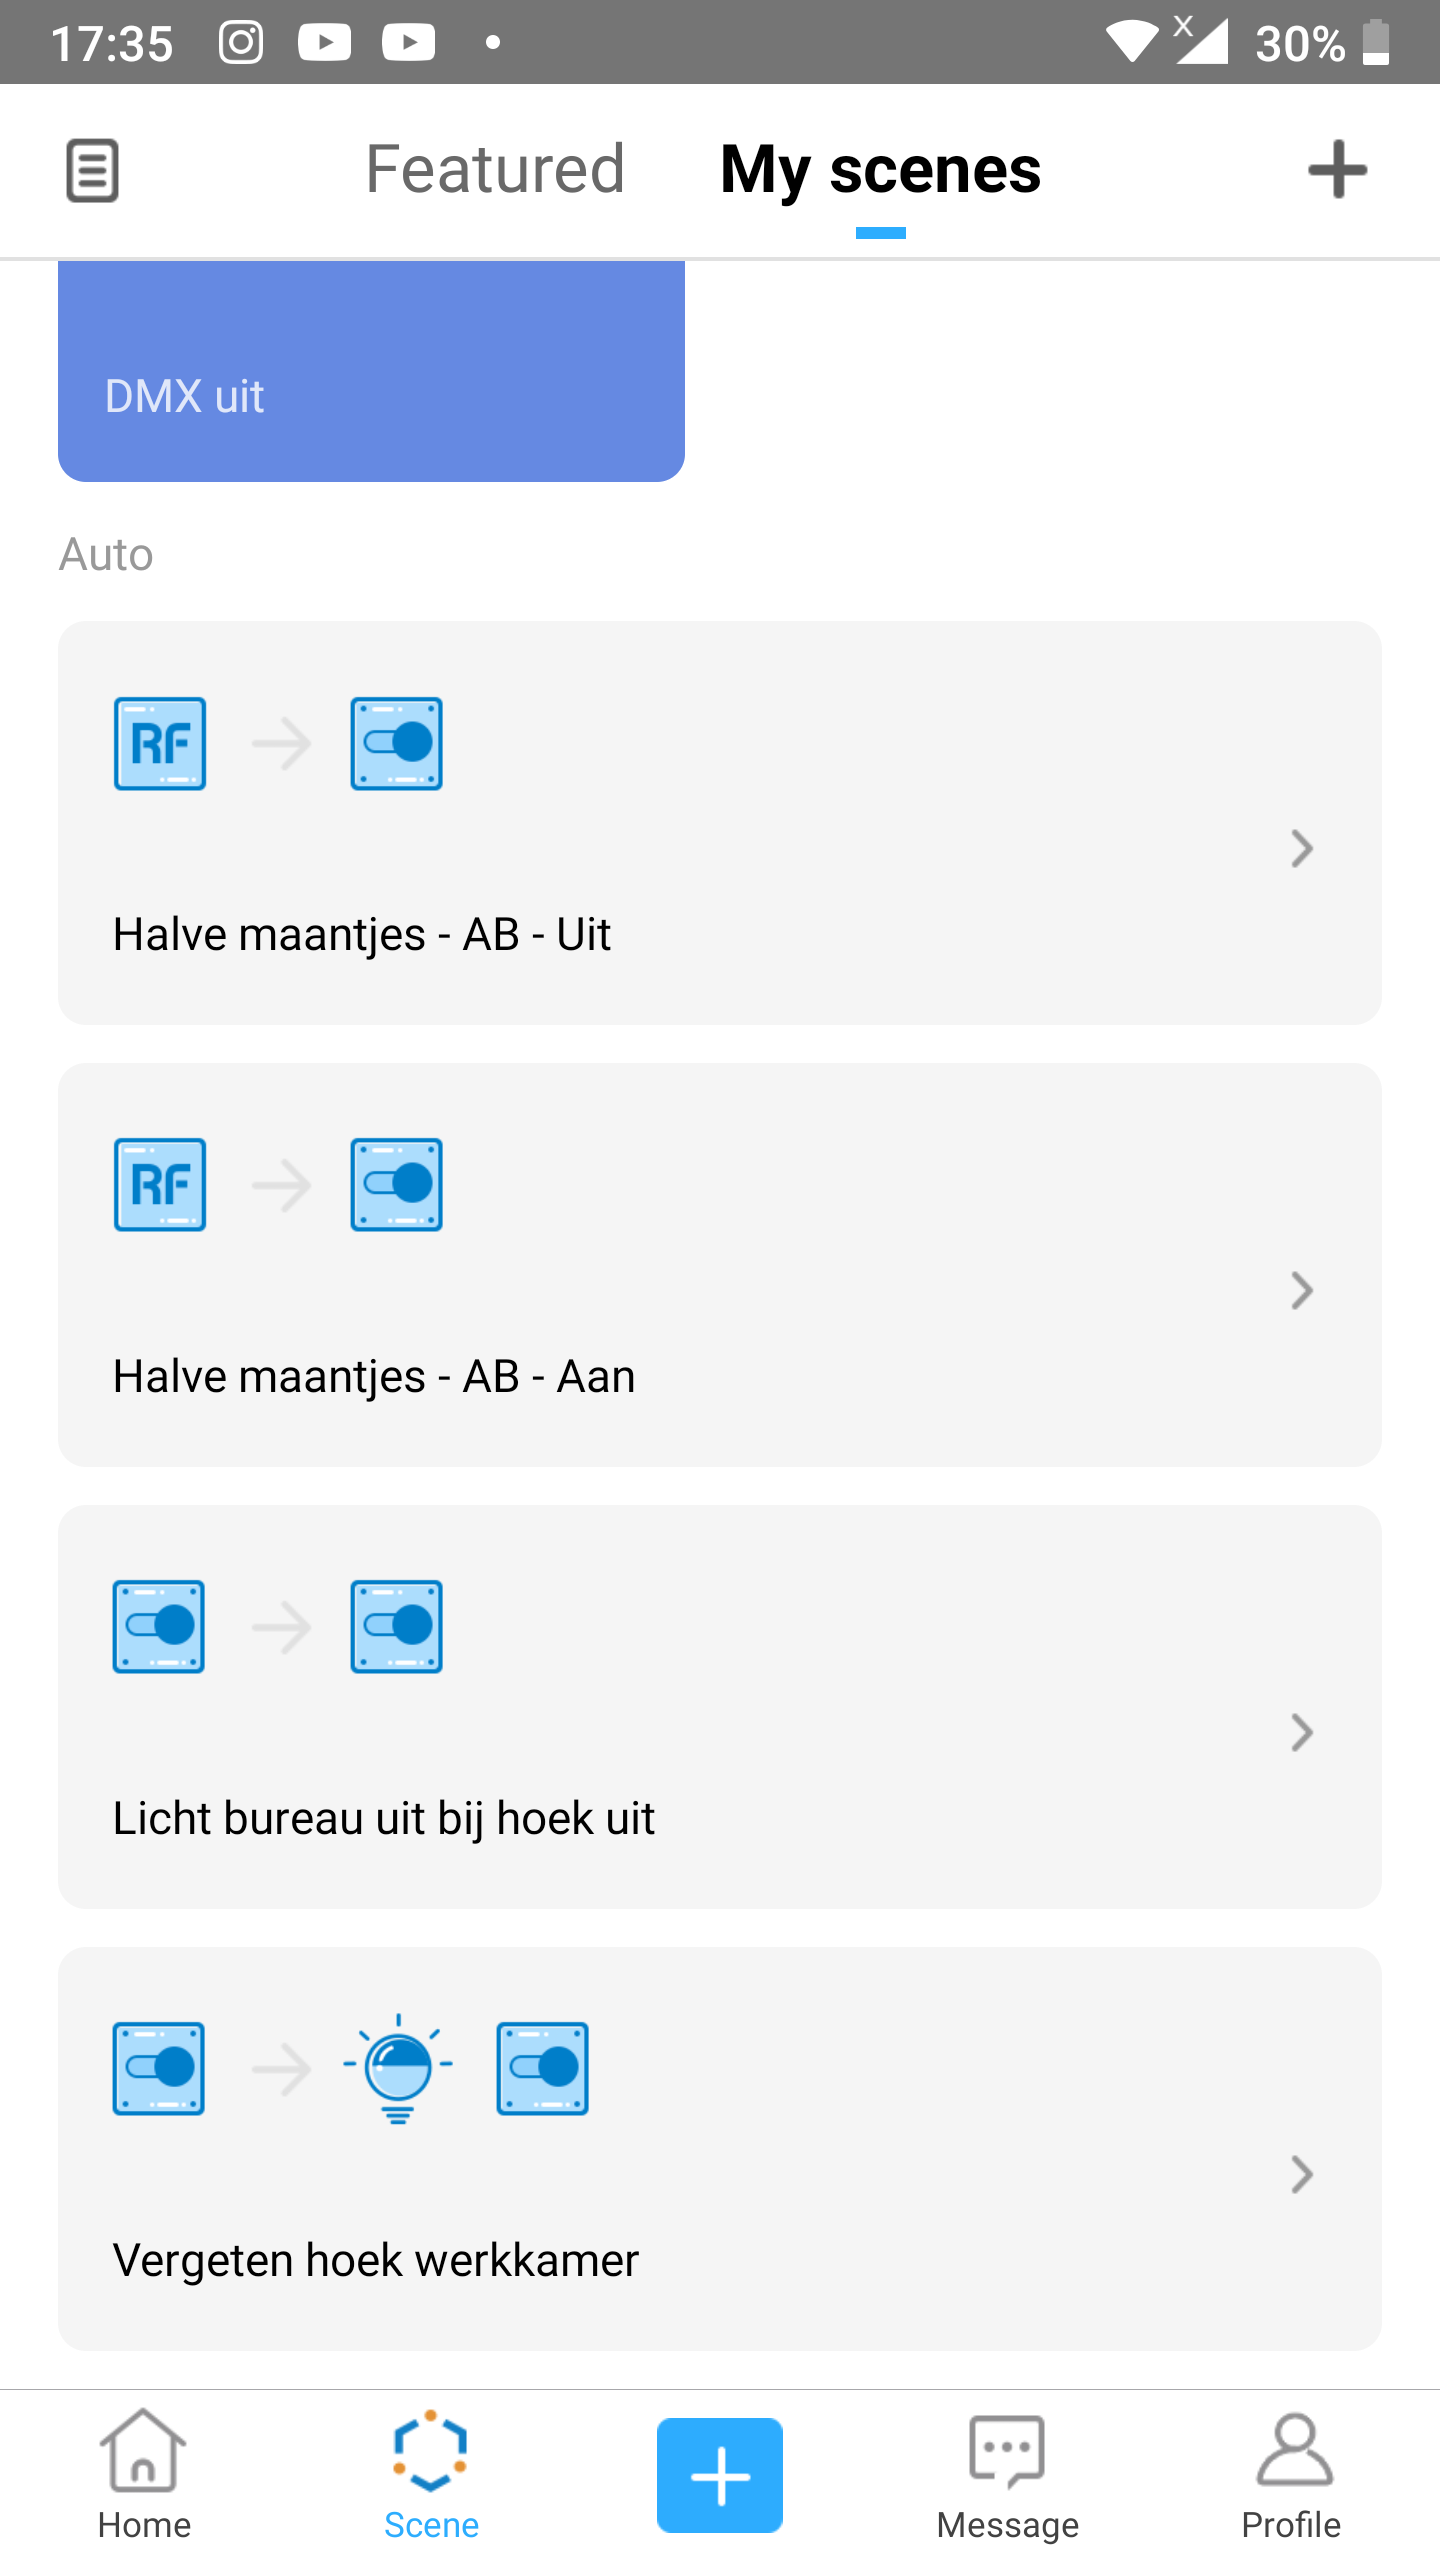
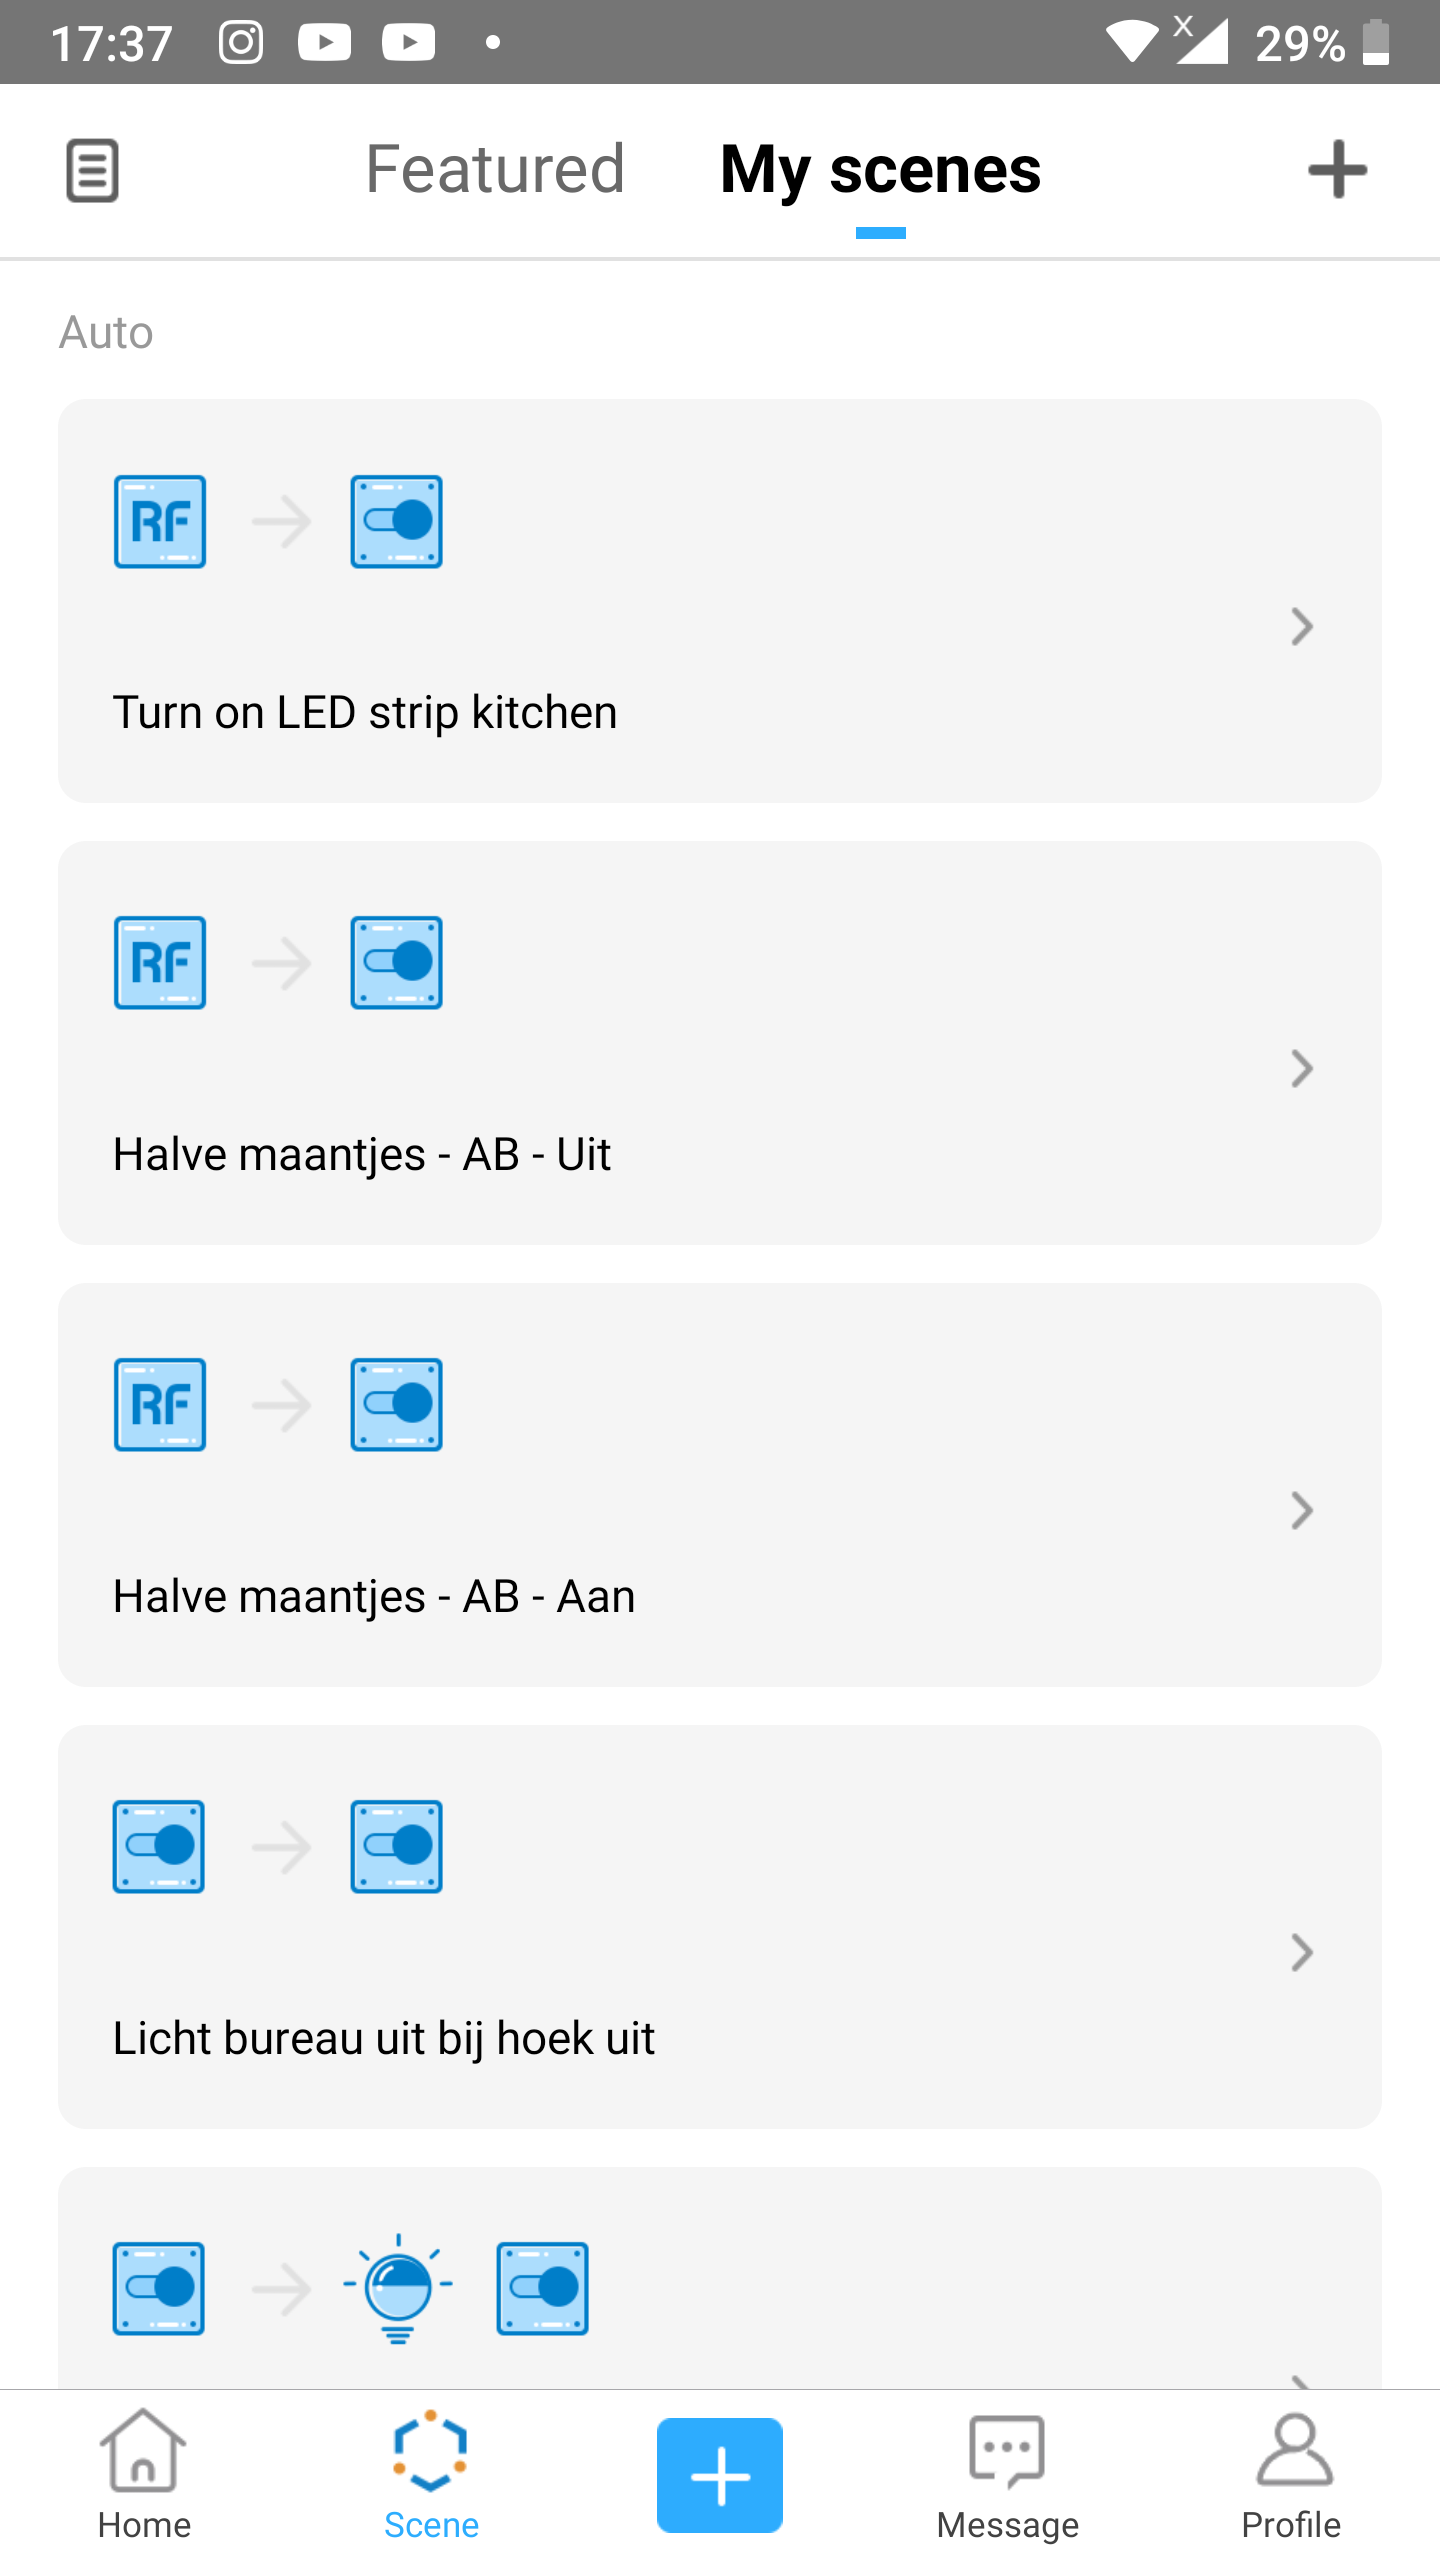
Step 12: Finished
- Your scene is now saved and will be executed when you press the button on your old RF remote control you added to the RF bridge in the first chapter.
- The scene is displayed in the
Autosection on theScenescreen of the eWeLink app. In the example above in step 11 we named itTurn on LED strip kitchenwhich is shown at the top of theAutosection at the example on the right.
You must be logged in to post a comment.